There’s a lot to consider when moving into your new dorm room, things like: what if my roommate has night terrors? How do I pronounce the word “duvet“? How many times can I use my bath towel before I legally have to wash it??
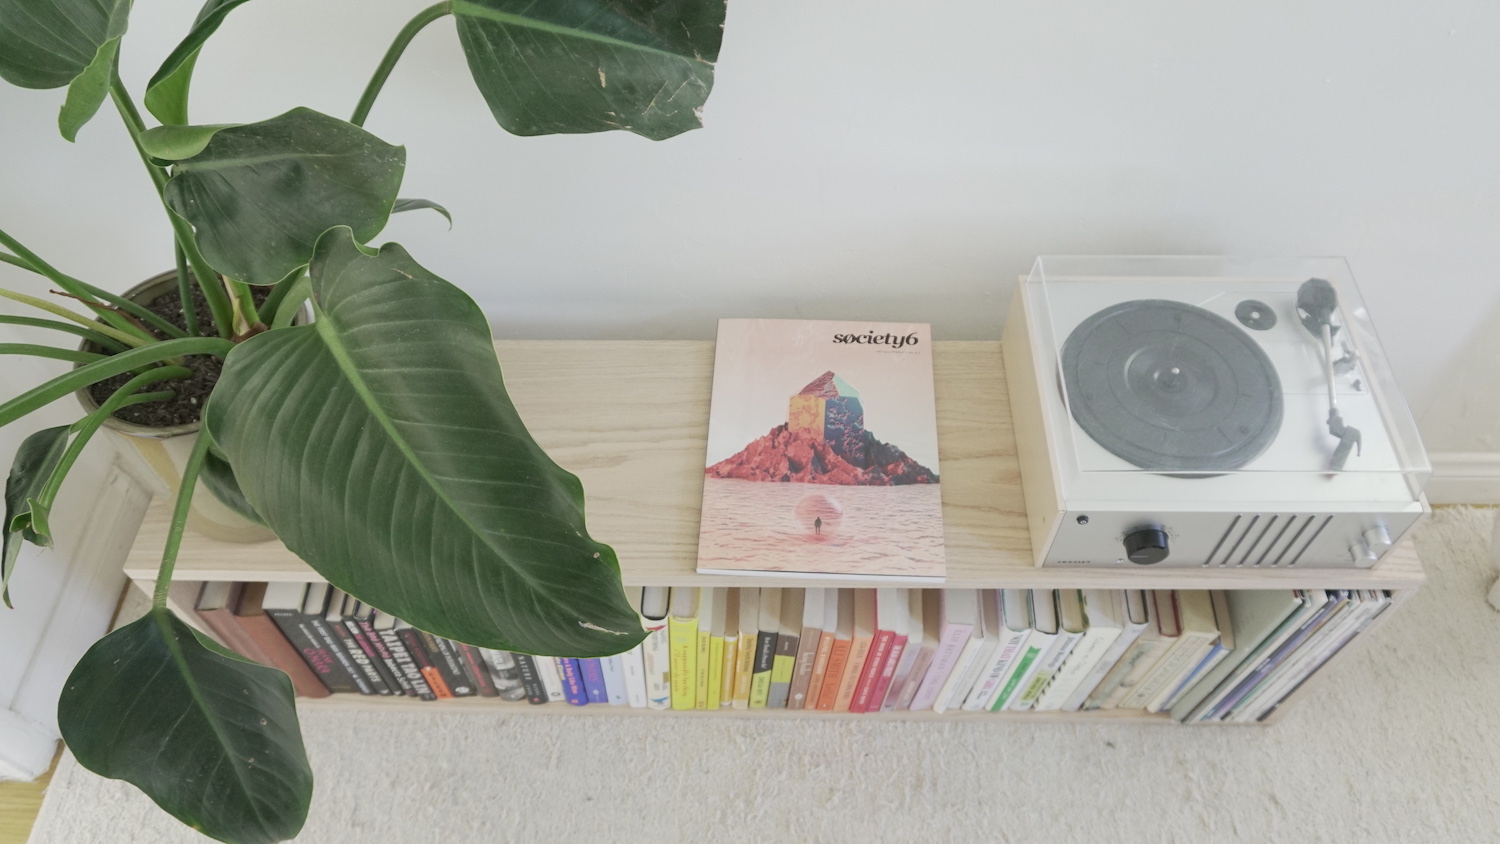
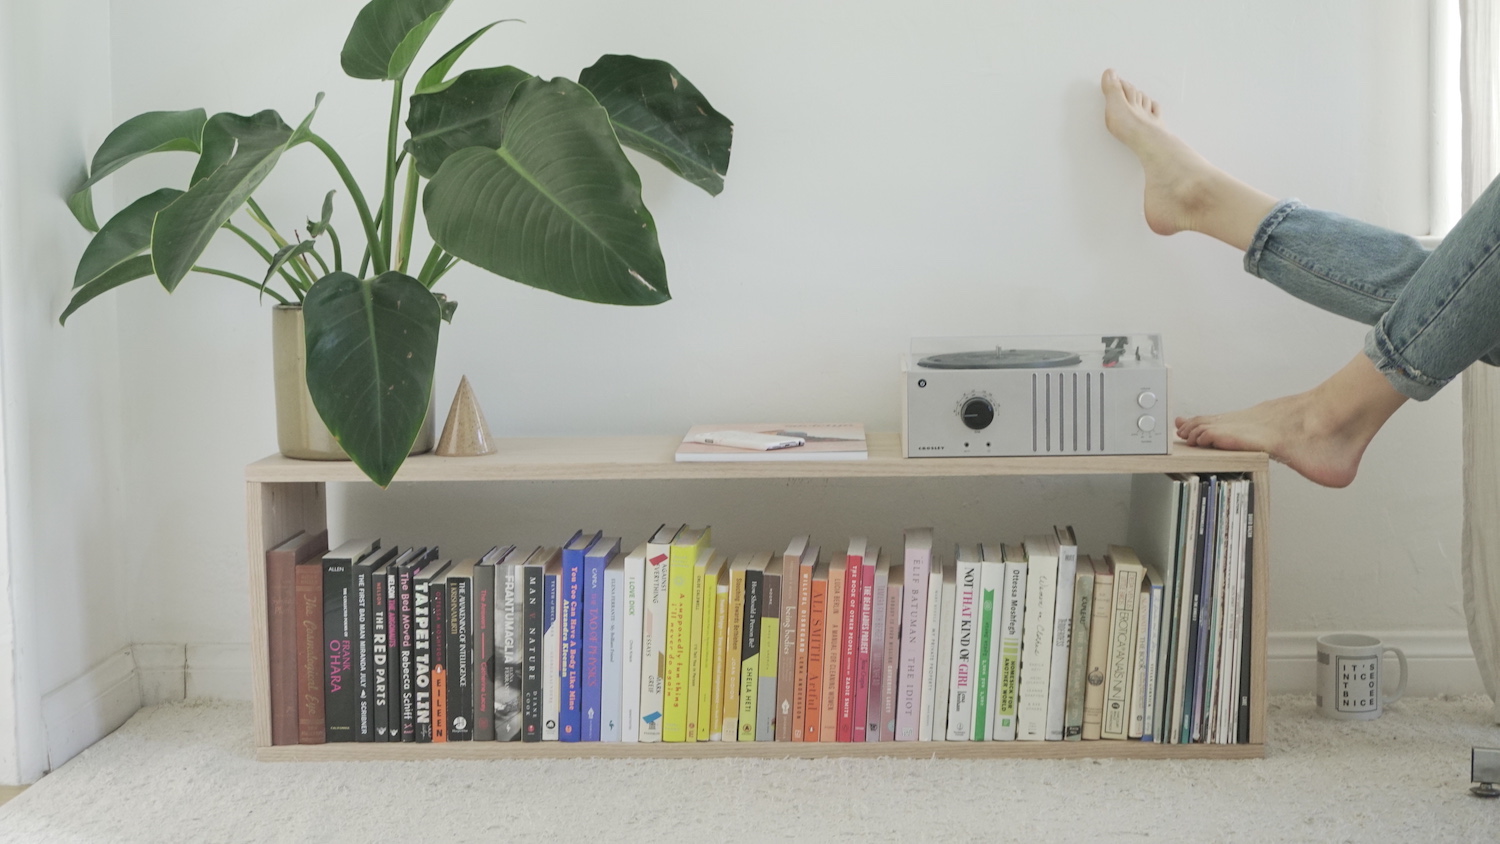
Another thing to consider is SPACE since you might not have a lot of it to work with. Given that you’re going to be buying and reading a lot of books, I put together a super easy DIY bookshelf how-to for a simple, minimalist bookshelf that you can customize to fit your space. Pro tip: if you want another row, repeat the below and stack the shelves. I used red oak which is a little more expensive but if you want to keep all of the materials under $50, go with pine. The height I went with works well for records too!
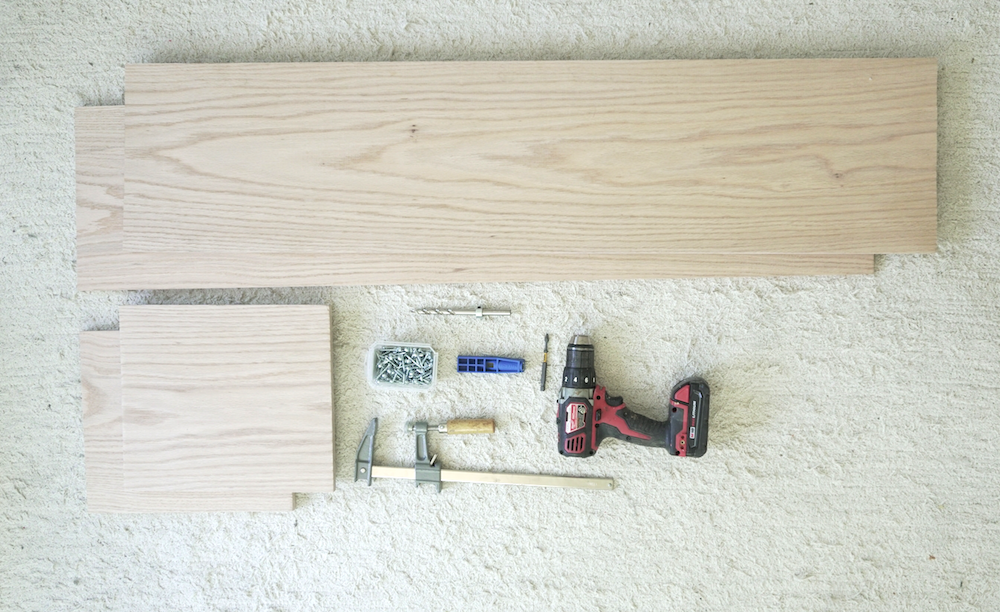
What you will need:
Tools
- Power Drill
- Kreg Pocket Hole Jib ($19)
- Kreg Pocket Hole Screws 1-1/4”
- #2 Square Head Drill Bit
- Wood Clamp
- Scrap bit of wood
- Orbital Sander (optional)
- 220 Grit Sand Paper (optional)
Materials
(this is the size that I went with but you can customize it for your space)
- 11.25”x48”x0.75” (x2)
- 11.25”x13”x0.75” (x2)
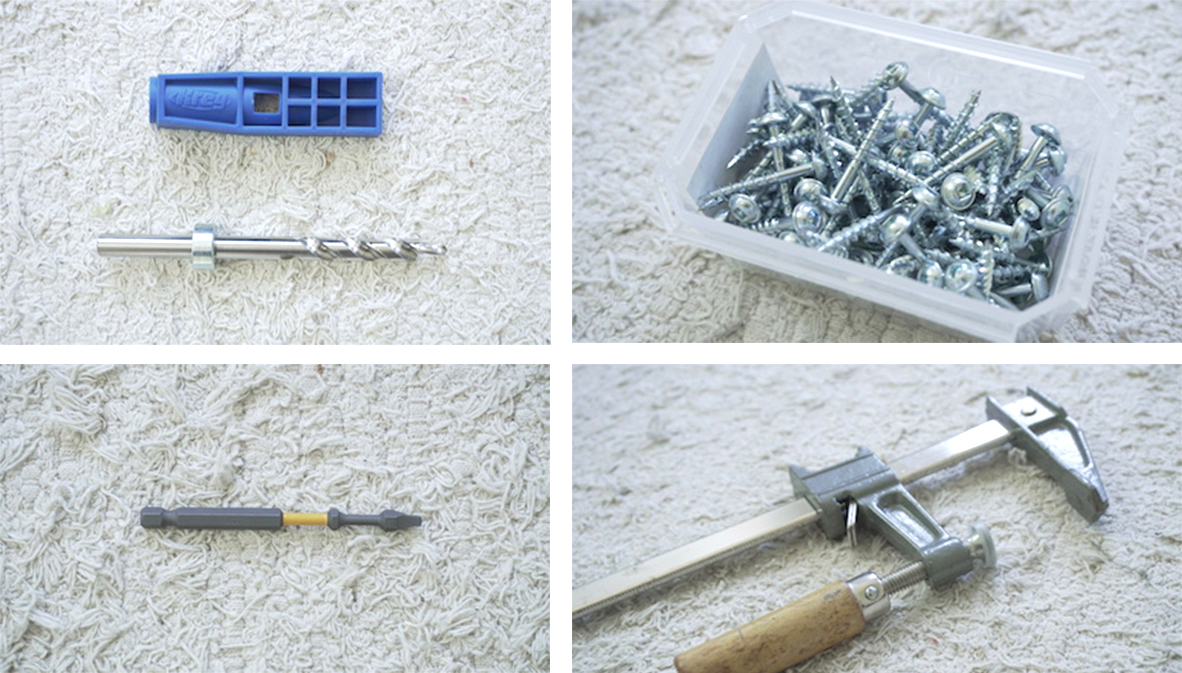
Top left: Kreg Pocket Hole Jib Top Right: Kreg Pocket Hole Screw 1-1/4" Bottom Left: #2 Square Head Drill Bit Bottom Right: Wood Clamp
Step 1: Prep the pieces
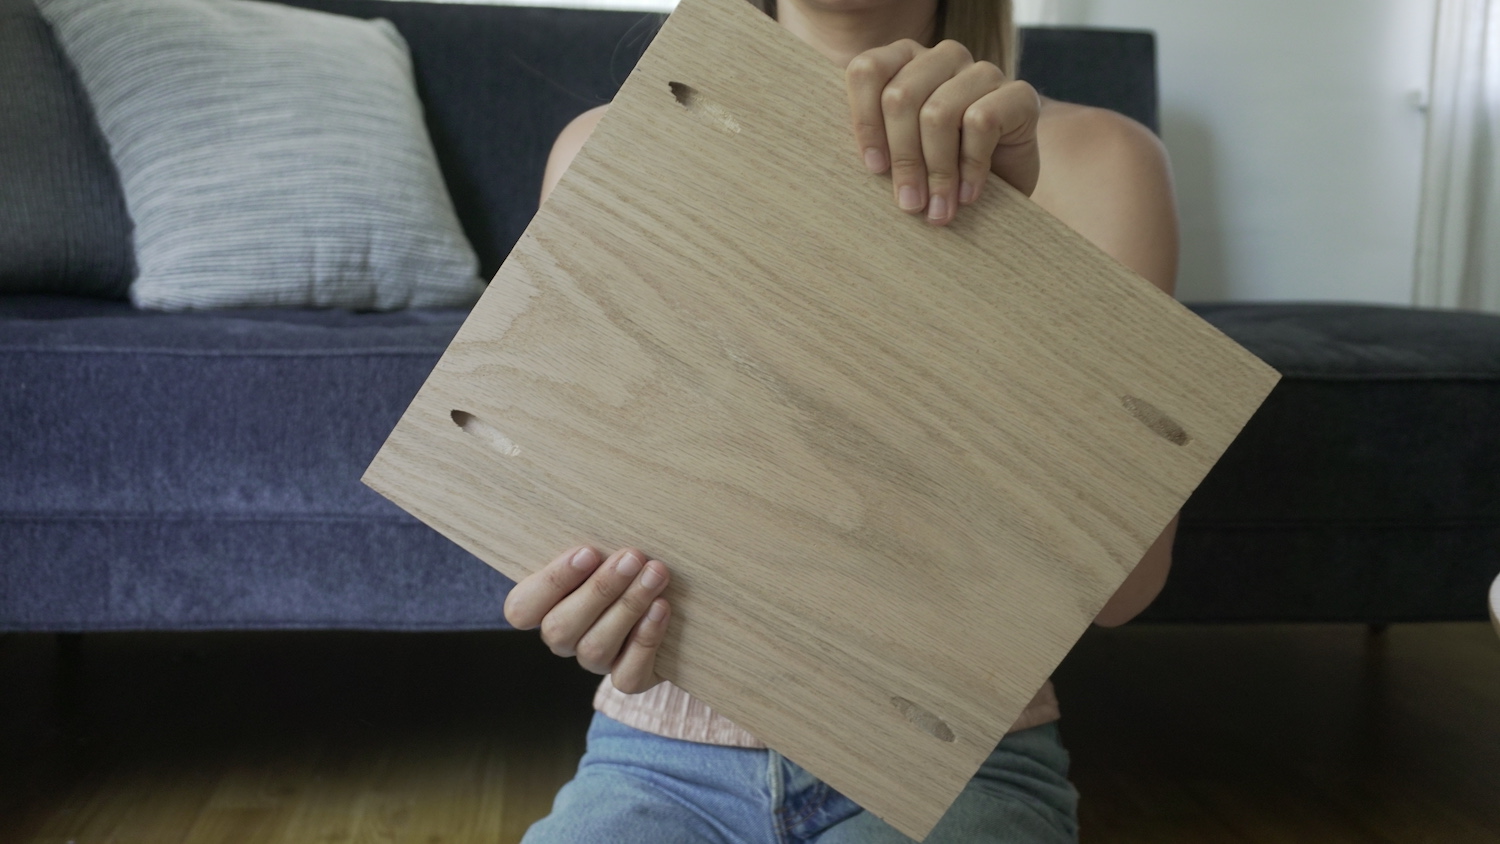
First off, take the shorter boards (13”x11.25”) and measure and mark 2” in from the 13” edges in all four corners.

So you’re going to want to make pocket holes, which is an angled hole to join your boards together. Grab your wood clamp, spare bit of wood and pocket hole jib. Use the scrap piece of wood to protect the bottom of the board. Clamp the jib to the edge of the board centered over your mark.
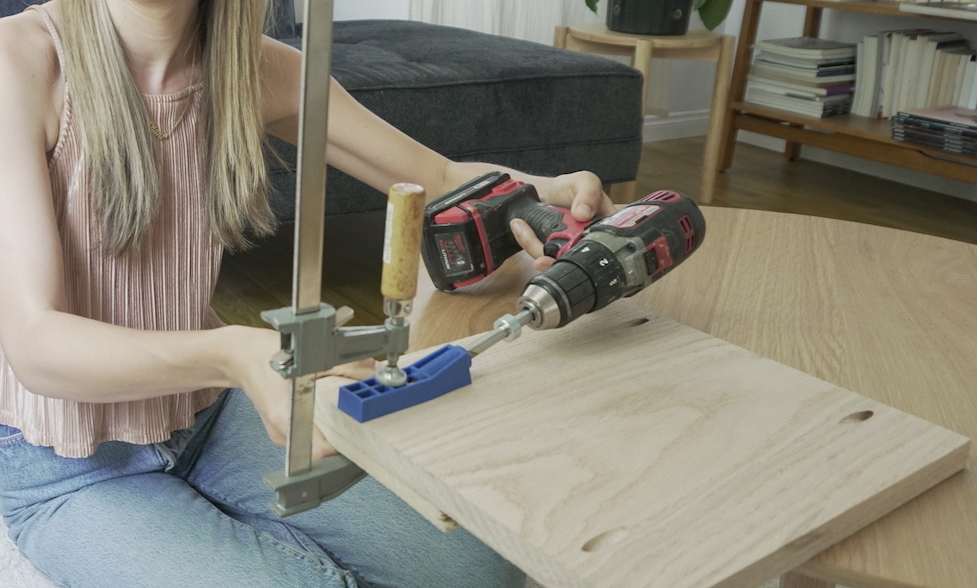
Take your power drill and drill into your jib until it can’t go any further. Keep the drill running as you pull it out. Repeat for every corner.
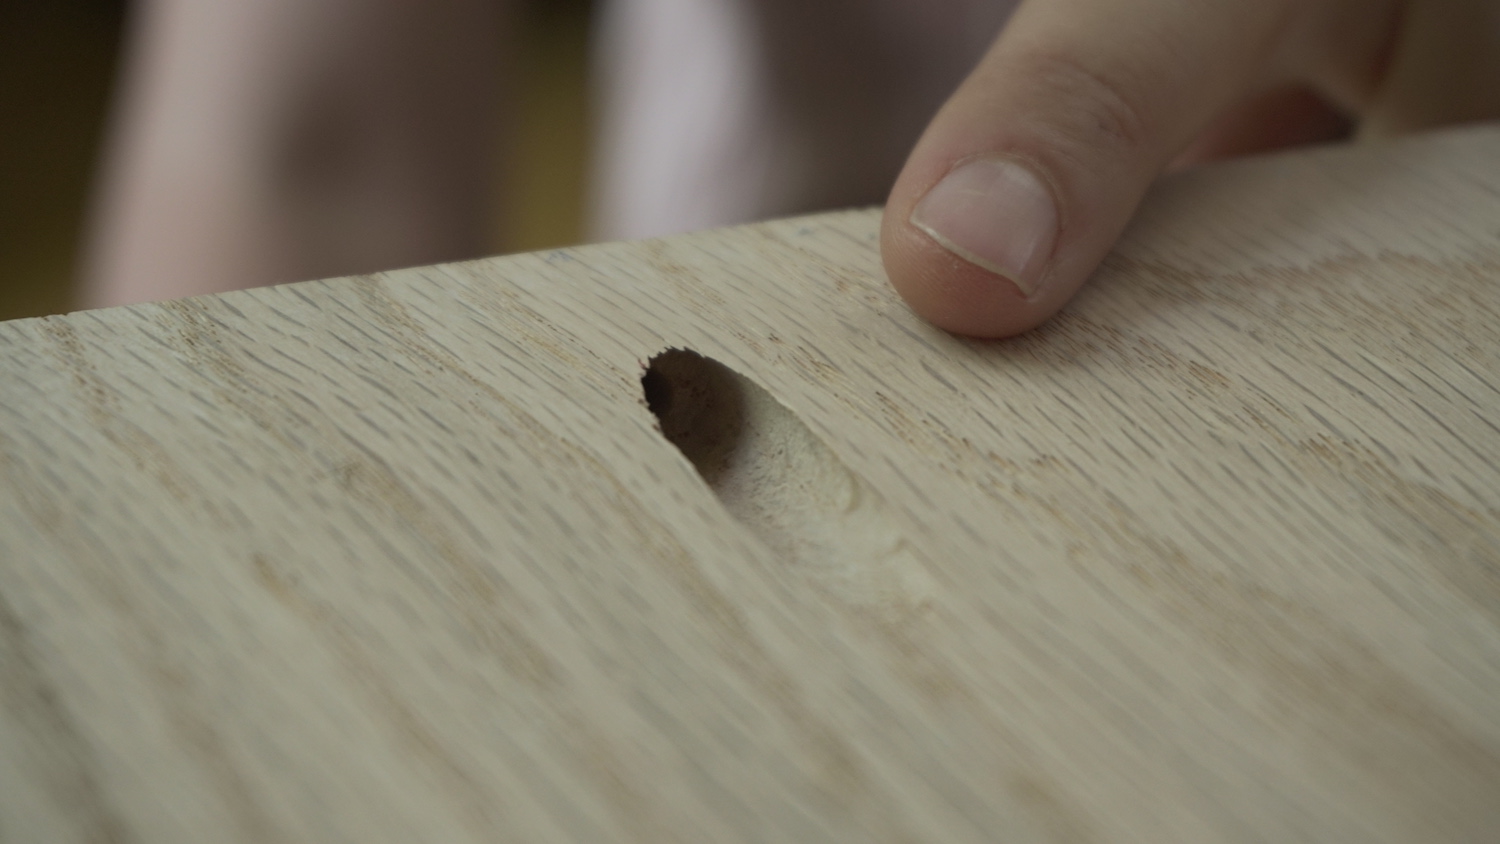
This is what it should look like!
Step 2: Drill the boards together
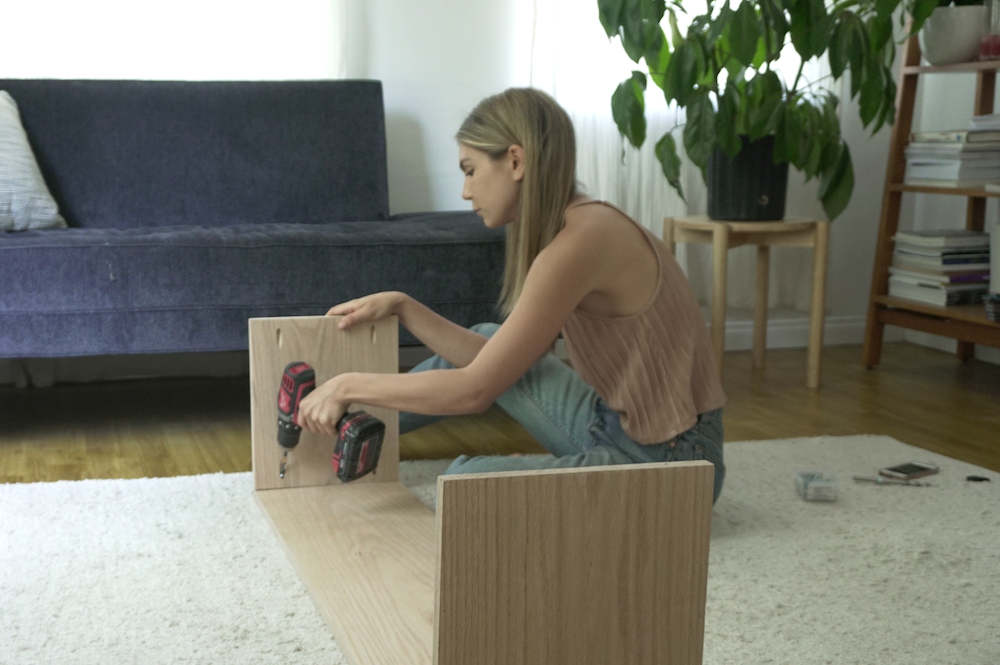
Place your pocket hole screw in the pilot hole you’ve created with the jib.
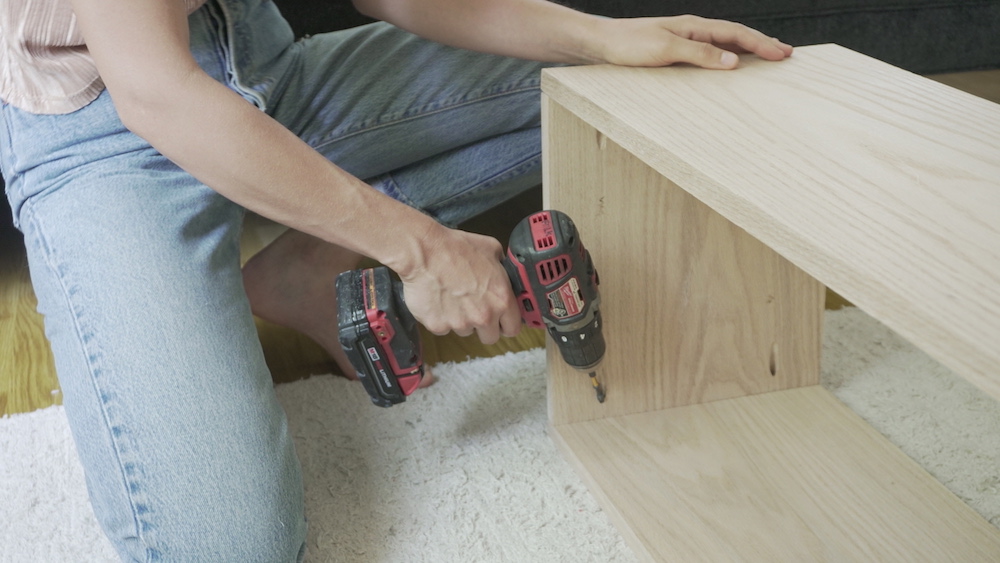
Use #2 Square Head Drill Bit to join 13” boards to the short ends of the 48” boards. And that’s it! You can use mineral oil, carnauba wax, or stain on the wood if you’d like or sand it down and leave it raw like I did. Ok now for the fun part…
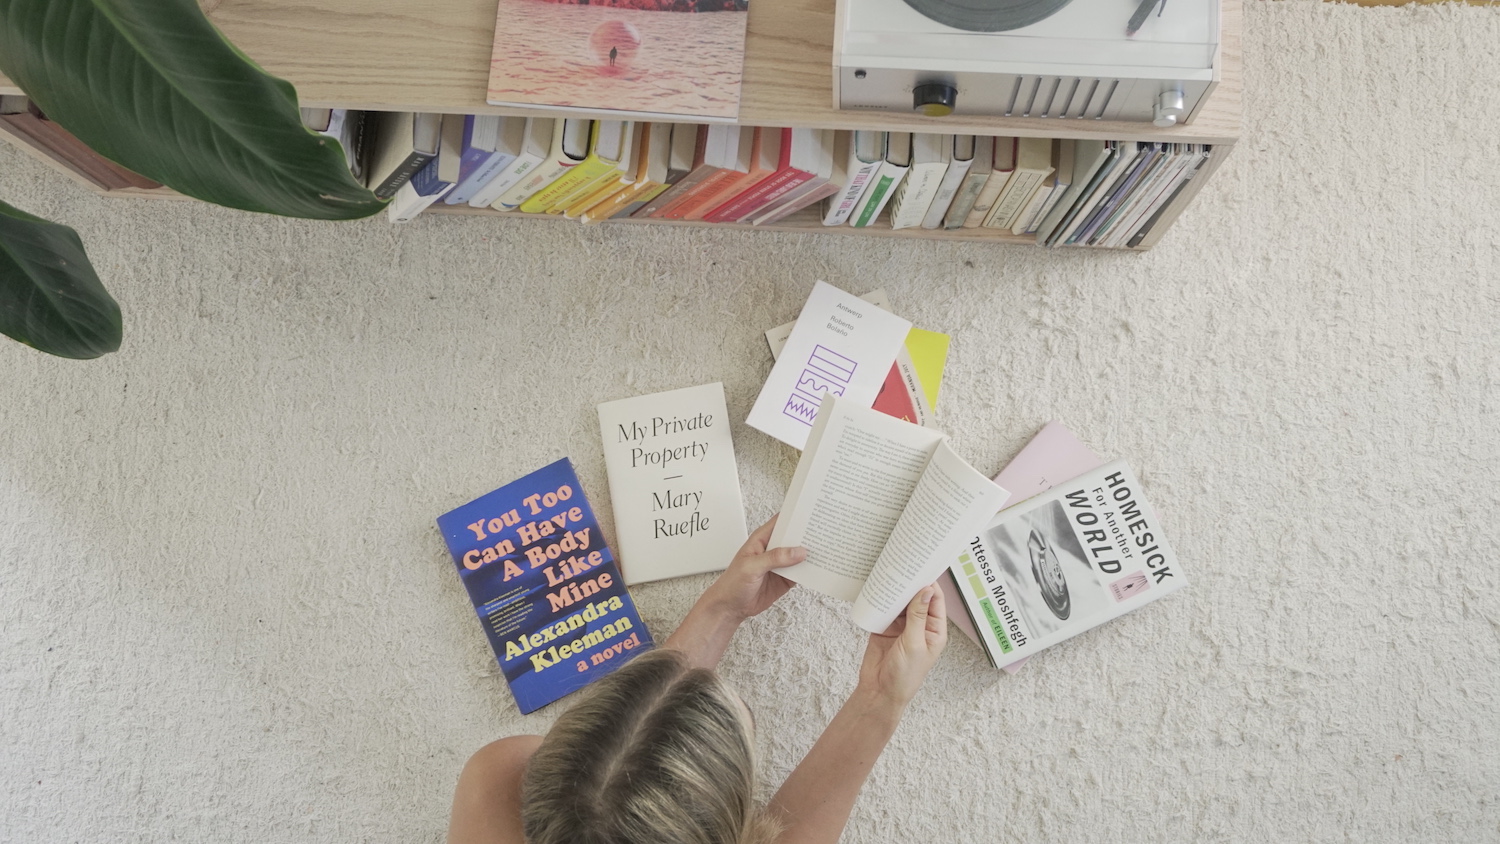
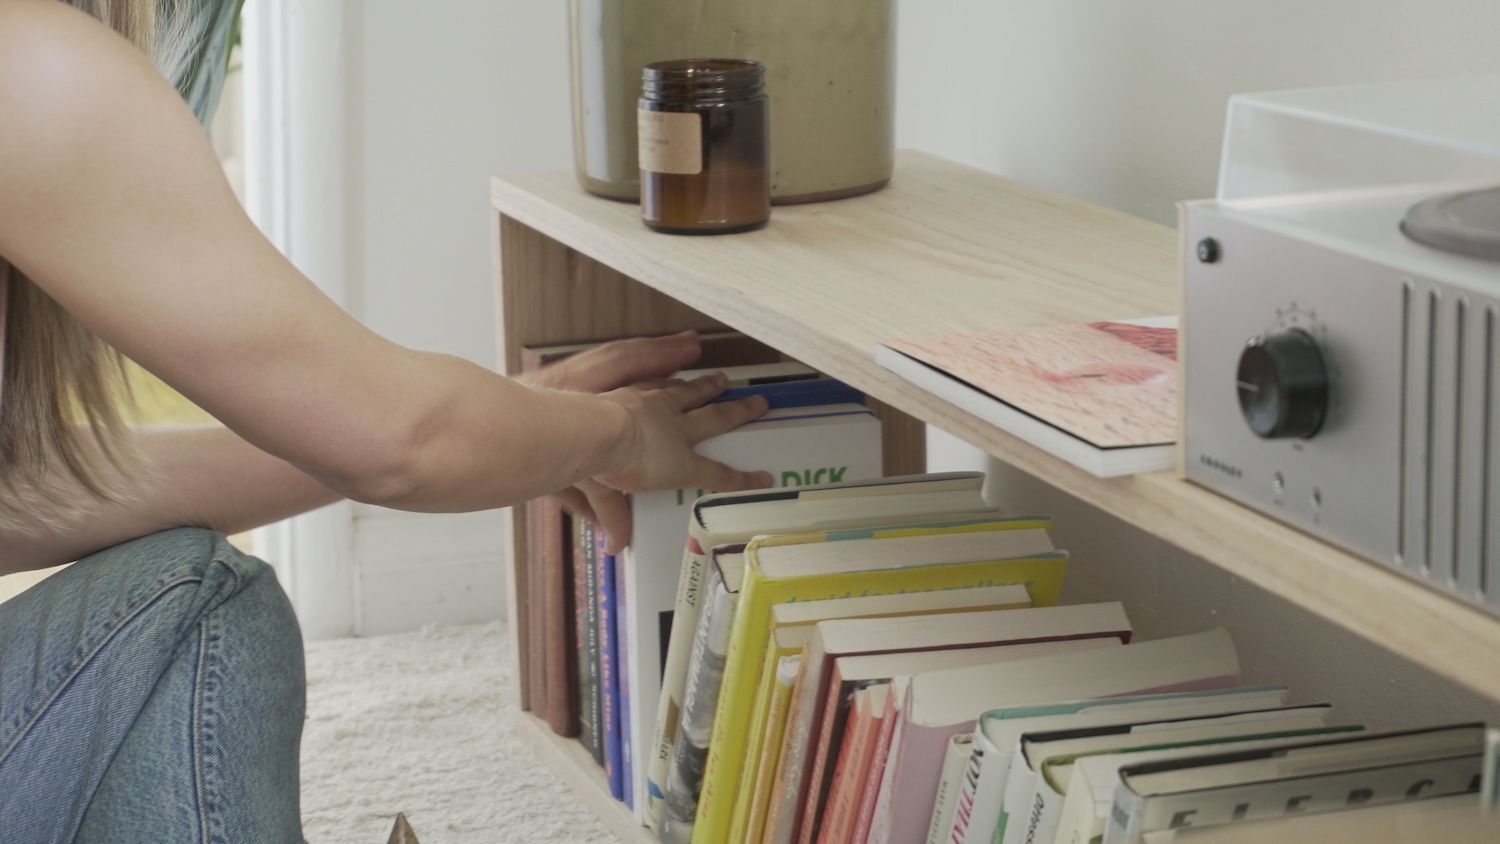
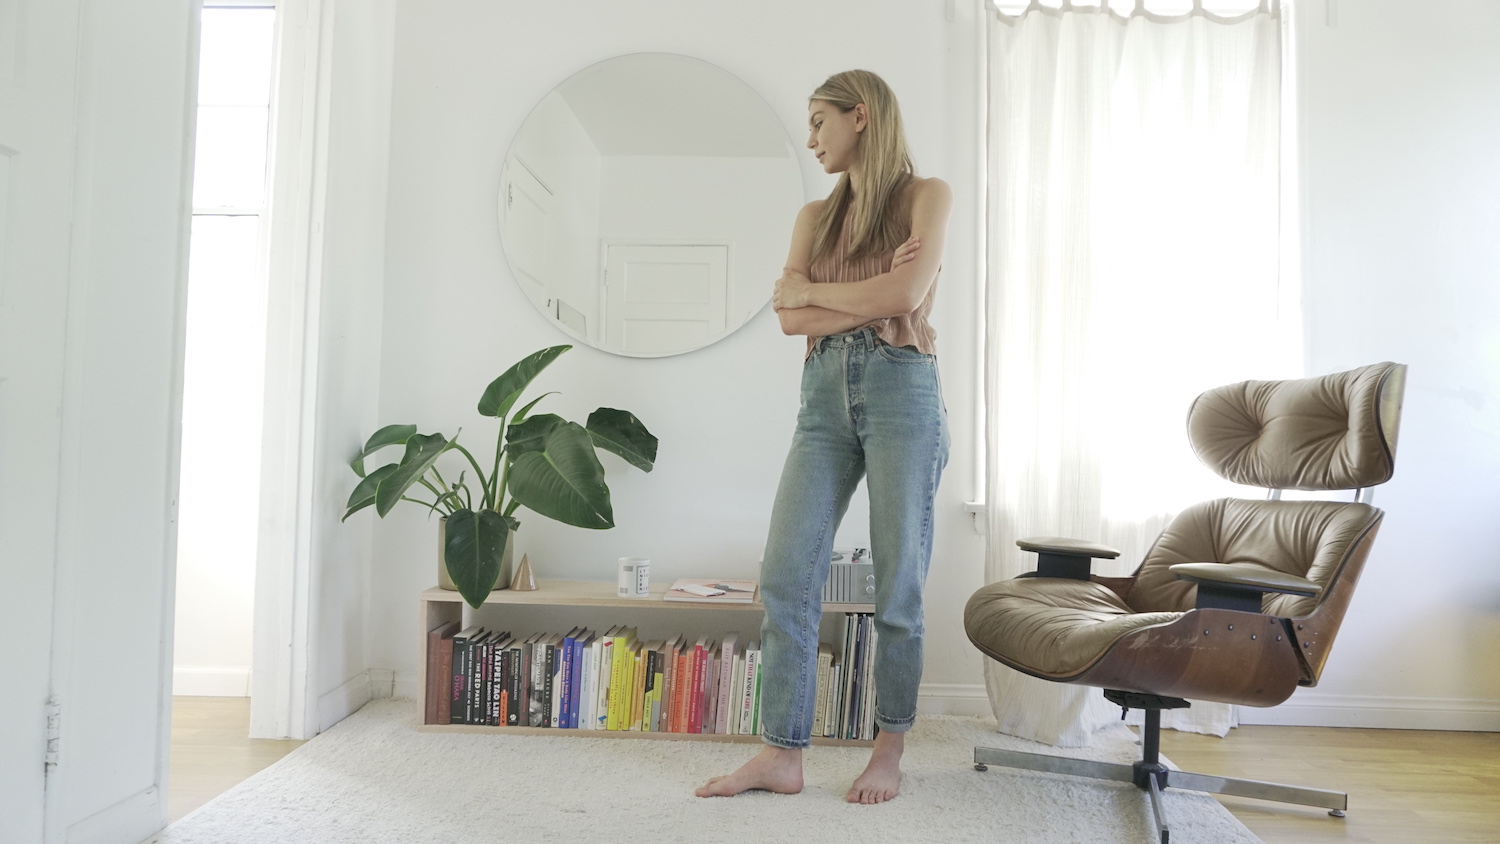
Step 3: Organize your books!
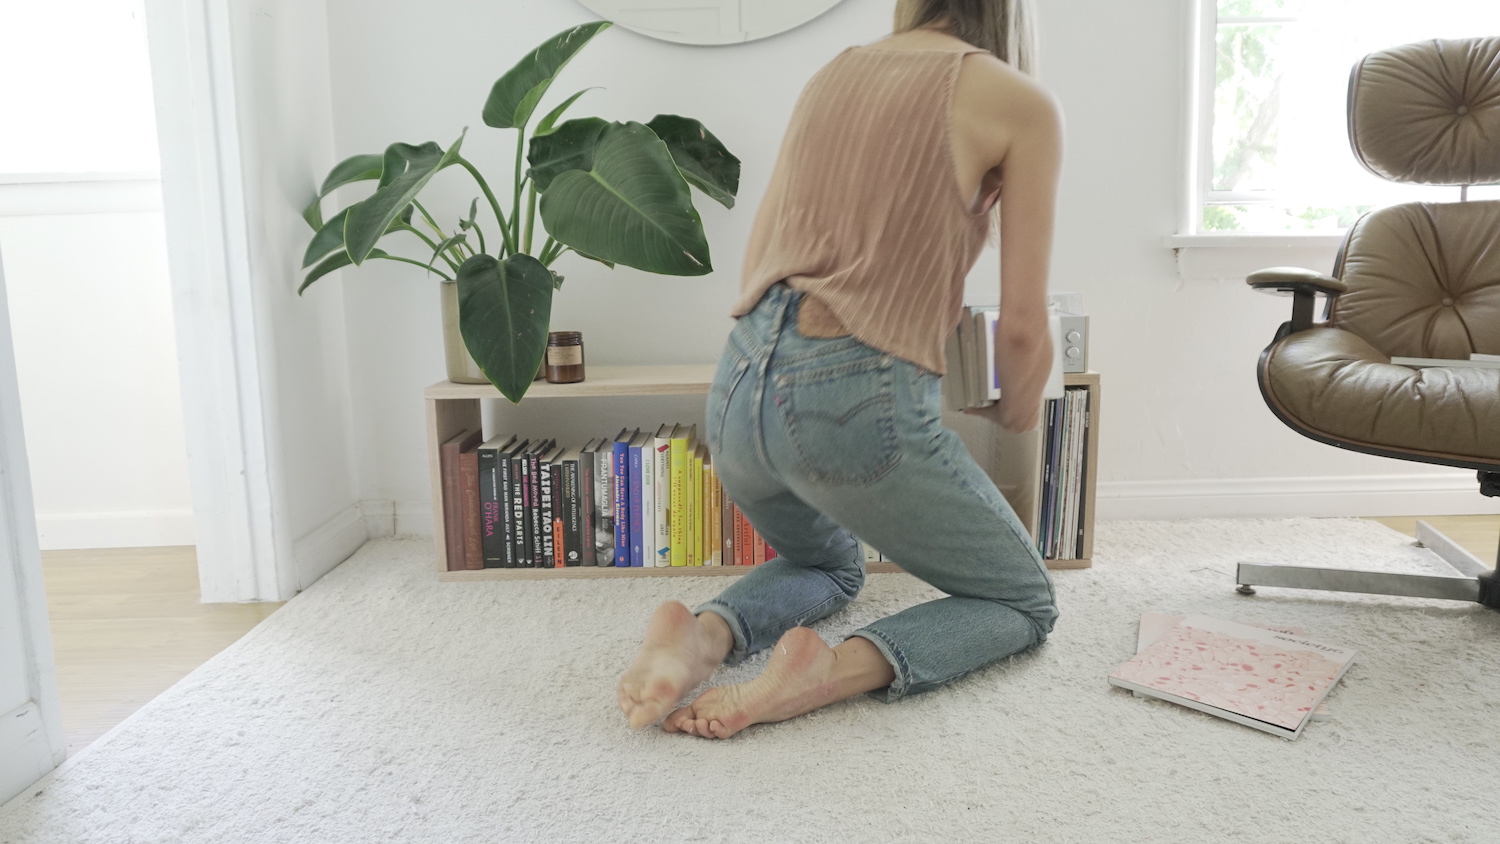
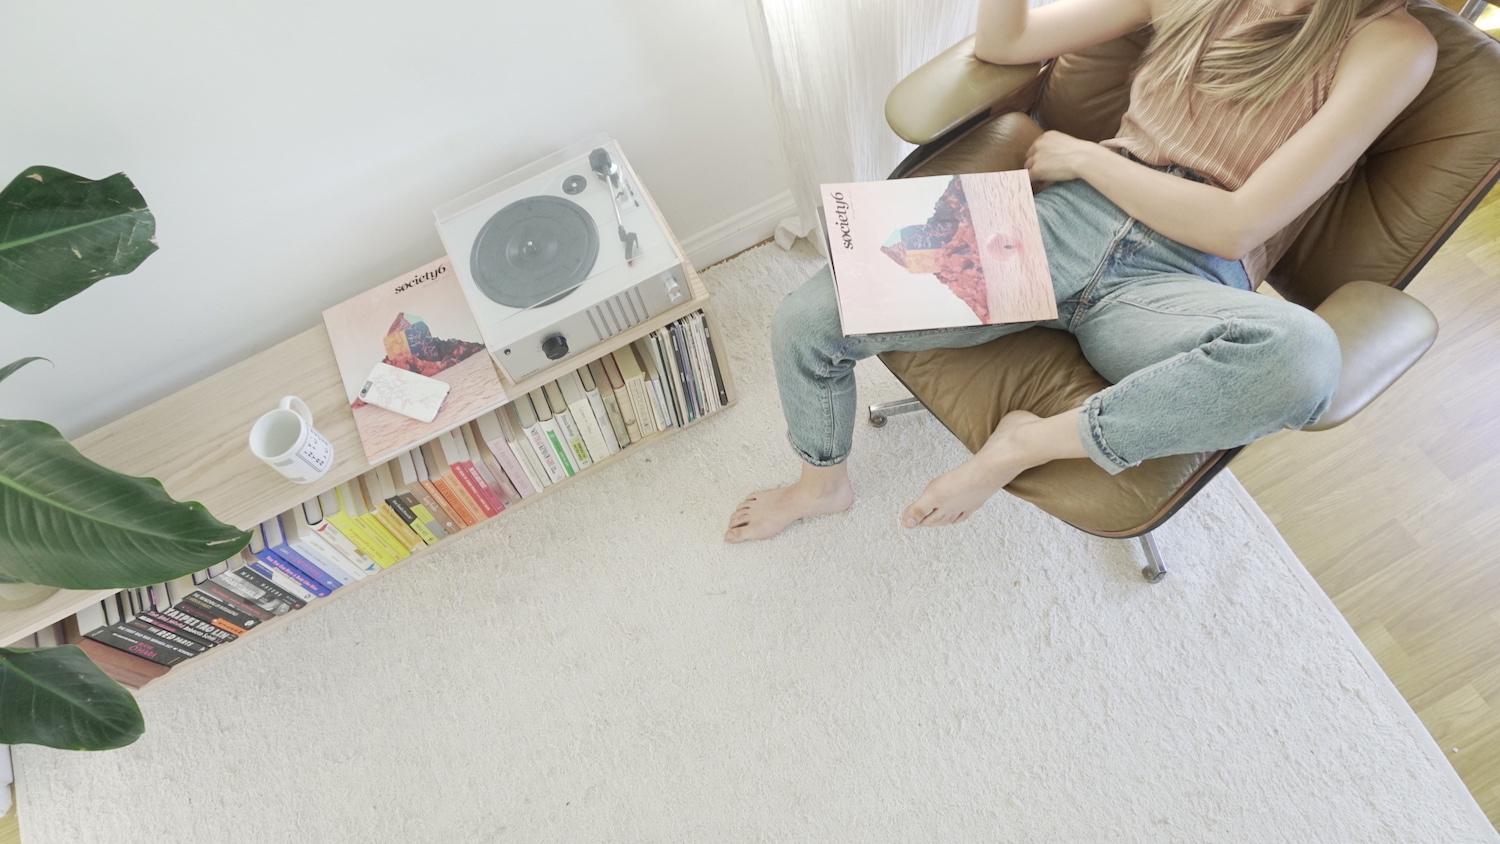
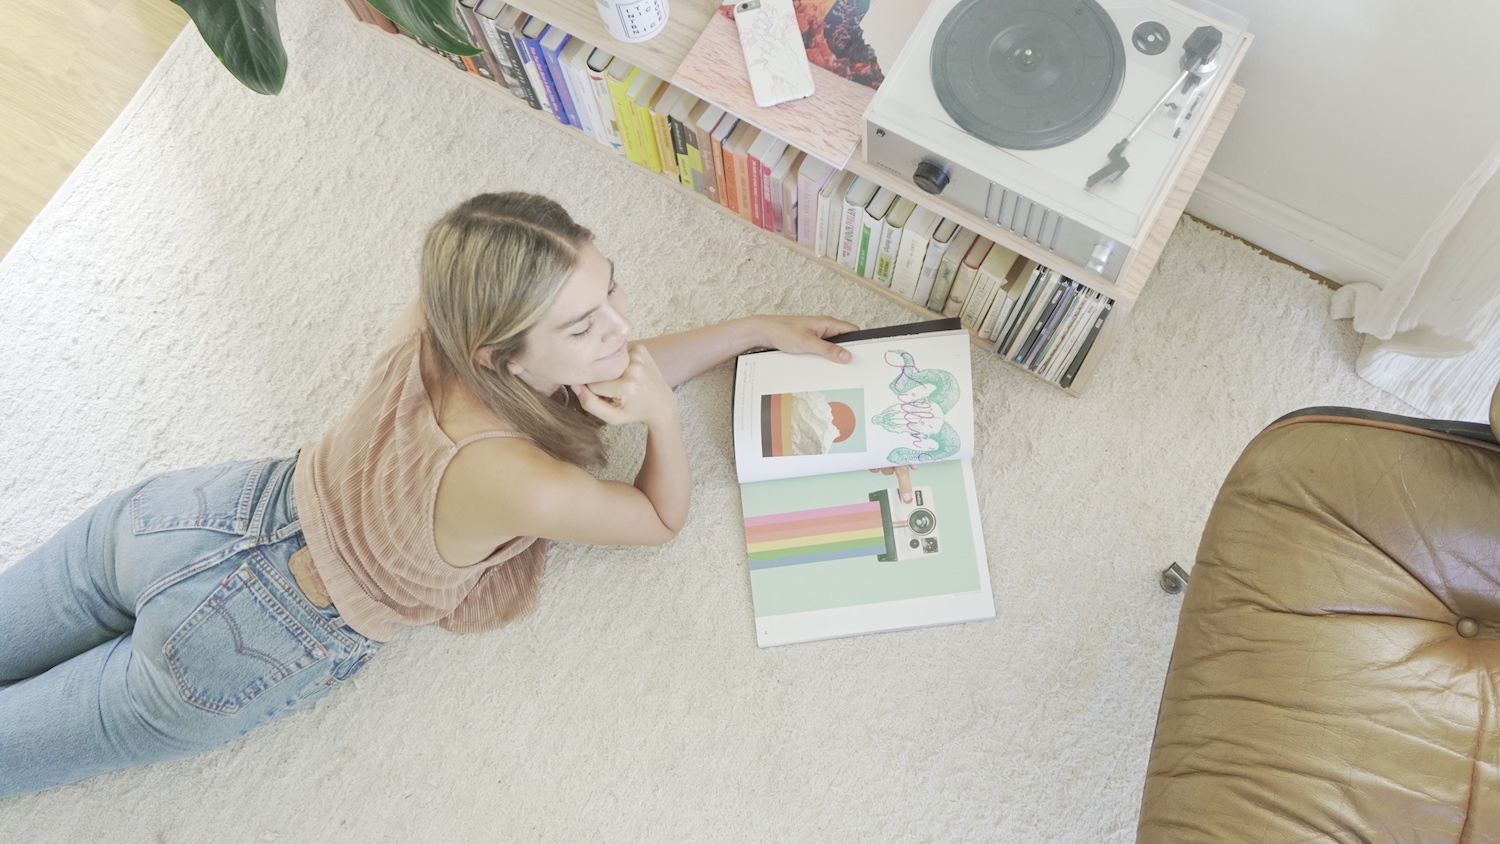
Step 5: Chill out
Comments