Choosing the right frame for your art prints is half the battle of decorating your walls.
Not to mention it can be expensive, ugh. So, we asked DIY blogger Cara Irwin of Goldalamode for a little help. Here, she teaches us how to make acrylic frames that are super chic– you’ll feel like you have your very own legit art gallery. Oh, and they’re easy on the wallet and won’t damage your walls. What’s not to love? Read on for the full how-to!
Everyone loves amazing art. Nobody likes a million holes in the wall. I want to tell you about a way you can hang your Society6 art without damaging your walls. It’s annoying enough when you own a home but it can be a big no-no when it comes to renting and dorm living. I want to show you a way you can hang art in your dorm or apartment without spending a TON on frames and without damaging your walls. Acrylic and Command strips are going to be your new best friends.
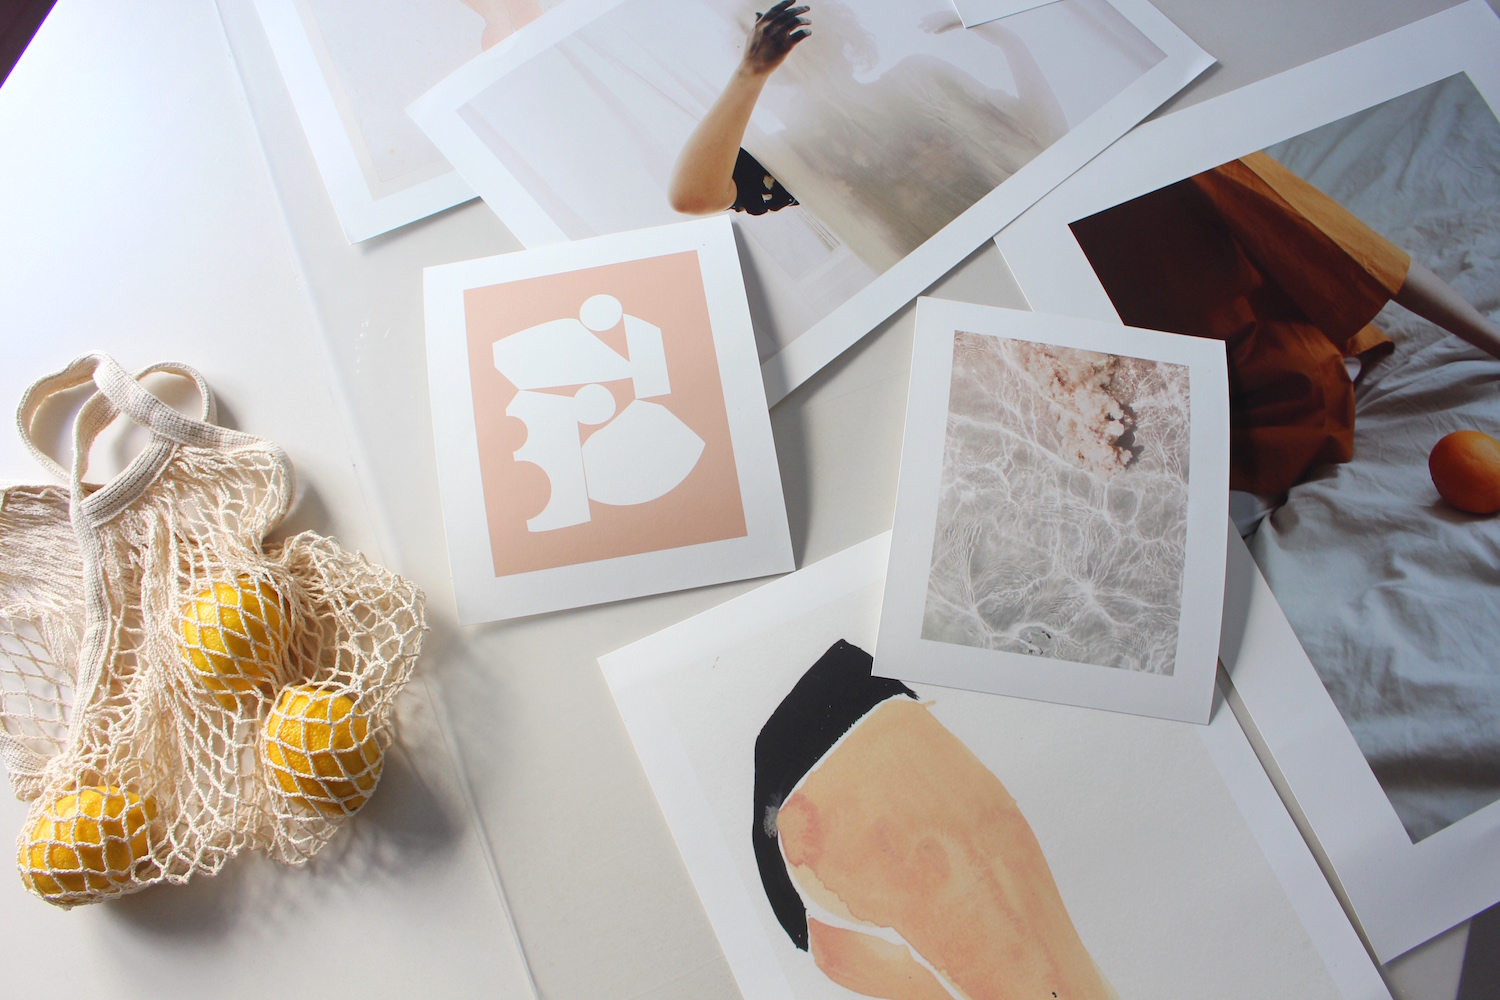
I chose to hang all of my prints on acrylic. I added some fun detail to the back of the acrylic with some rope. I think it really shows off the art and it’s going to save you some money on framing!
What you’ll need:
- Acrylic
- Command strips
- Glue Dots
- Measuring Tape
- Acrylic Knife
- Tape
- Rope (optional)
Steps:
- Decide what size acrylic you need
- Buy acrylic and an acrylic cutter at a Home Depot or Lowe’s (they can also cut it for you instead)
- Lay art out on acrylic (use a level to make sure it’s all even)
- Use glue dots to stick art to acrylic (it will not ruin the art –it peels right off)
- Tape rope to back of acrylic
- Stick Command strips to back of acrylic (I had to double up on the Command strips for strength but also because the rope stuck out a little on the back).
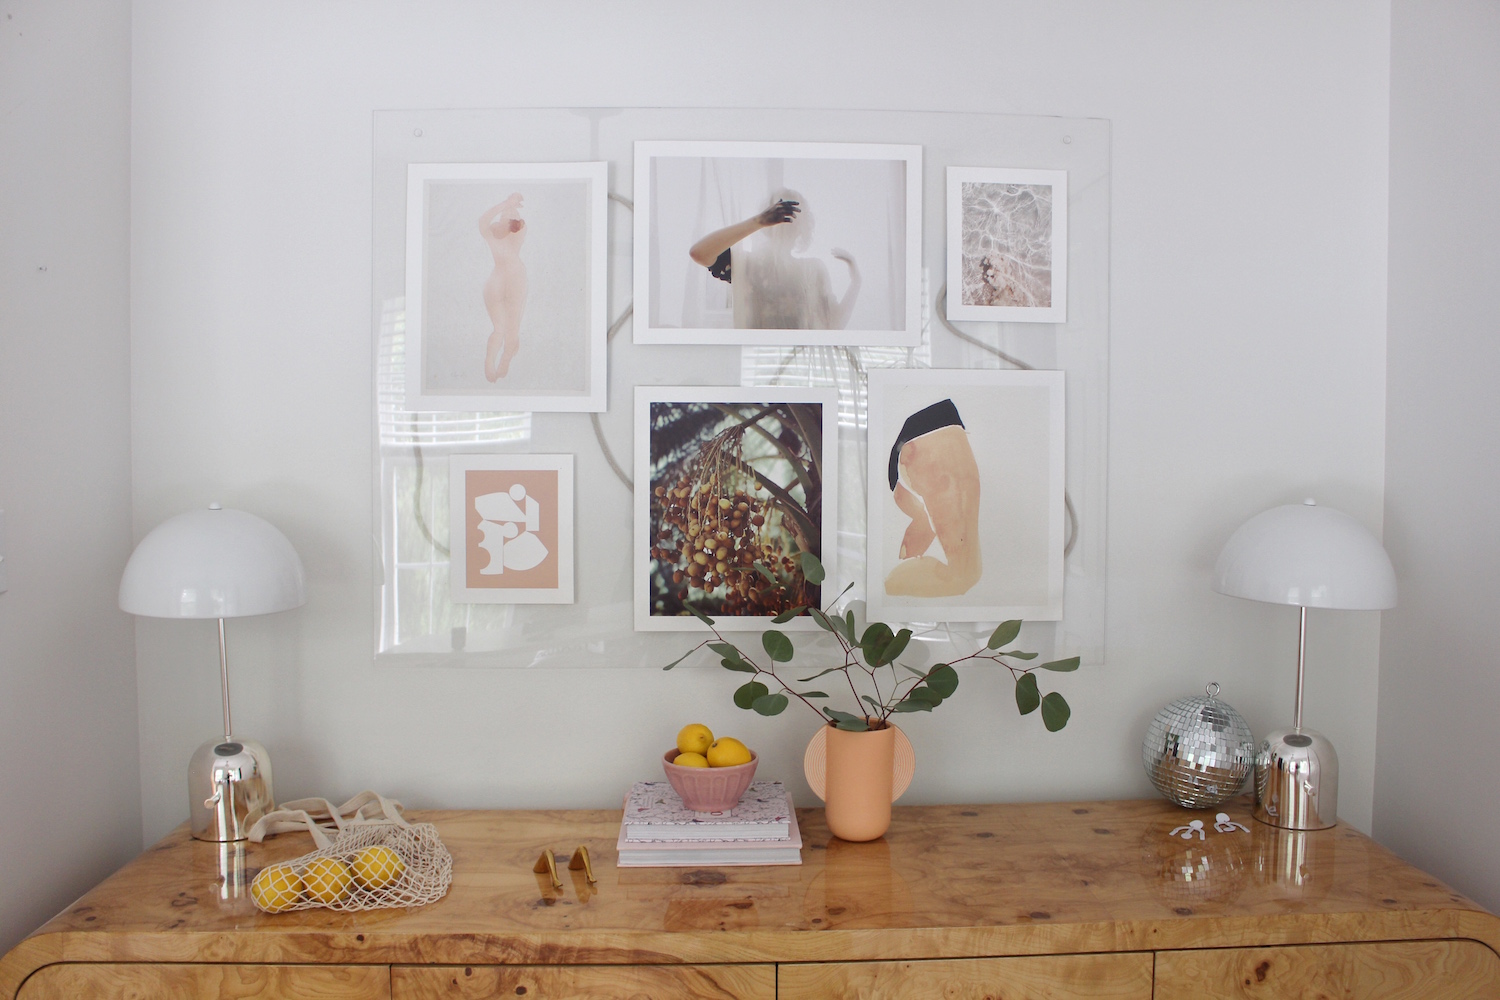
I had a couple ideas about how I wanted to hang a gallery wall and a single piece of art in my office. I debated using washi tape, which is also a really cool idea. I ended up using a larger piece of acrylic for the gallery wall and a smaller piece for the single art print. You can also use the washi tape on the acrylic if you wanted to add some designs. I chose to use a piece of rope on the back to add some texture.
I got the rope at Home Depot for about $1-$2. The larger acrylic piece was about $40. That is probably the cost of ONE frame (at least). You can spend upwards around $200 for one single frame. $40 for a whole gallery wall is quite the steal!
TIPS:
- Make sure you don’t buy the temporary glue dots. I bought them and they didn’t last very long.
- When you’re cutting the acrylic yourself, flip the acrylic and cut the opposite side as well. It makes it easier to break off.
- Make sure you’re buying the correct Command strips. The weight limit that they hold is on the back.
Single piece of acrylic:
I added a piece of gold chain to this one. You can use a drill to create holes in the acrylic. You’ll just need a couple sizes of drill bits. Make sure you tape off where you are drilling so that the acrylic doesn’t shatter. You also want to start from the smallest drill bit and work your way up to the size you need.
I used a small clear command hook to keep the chain up. It has the same look as if you hung it on the wall!
I hope you’re feeling super inspired to hang your art in a cool (and clear) way. You can have decorated walls and not break the bank. Everyone wins and your place looks amazing. Have fun!
Comments