Got a strict rental agreement and sad, blank walls? Turns out, the two don’t need to go hand in hand.
With a few simple tools and a creative approach, you can add all the finishing touches to your space without breaking any of the rules. Here, interior stylist Autumn Hachey shows us three different rental-friendly ways to hang art without the headache.
As an experienced “renter” for close to ten years now, I know the struggles all too well when it comes to decorating a rental. And although there are some obstacles with renting, I am a major advocate for making any space feel like home regardless of how temporary it may be. There’s nothing worse than feeling like you’re “waiting” to decorate, waiting to move, waiting to own, waiting to buy your own place.
My advice? Stop waiting. Your home is your home whether you rent or own and it needs to feel like your haven, because it is! And luckily for you, there are so many options out there that aren’t permanent, AKA, landlord friendly ;).
One of my personal favorite ways to make any blank wall or space feel instantly homey is to add ART. One of the things that often comes up in rental agreements is holes in the walls. For a lot of renters it’s simply not an option to hammer nails into the walls to hang art. So, I’m sharing my top three tried and true rental hacks that will liven up your space while still playing by the rules.
1. Find What Sticks
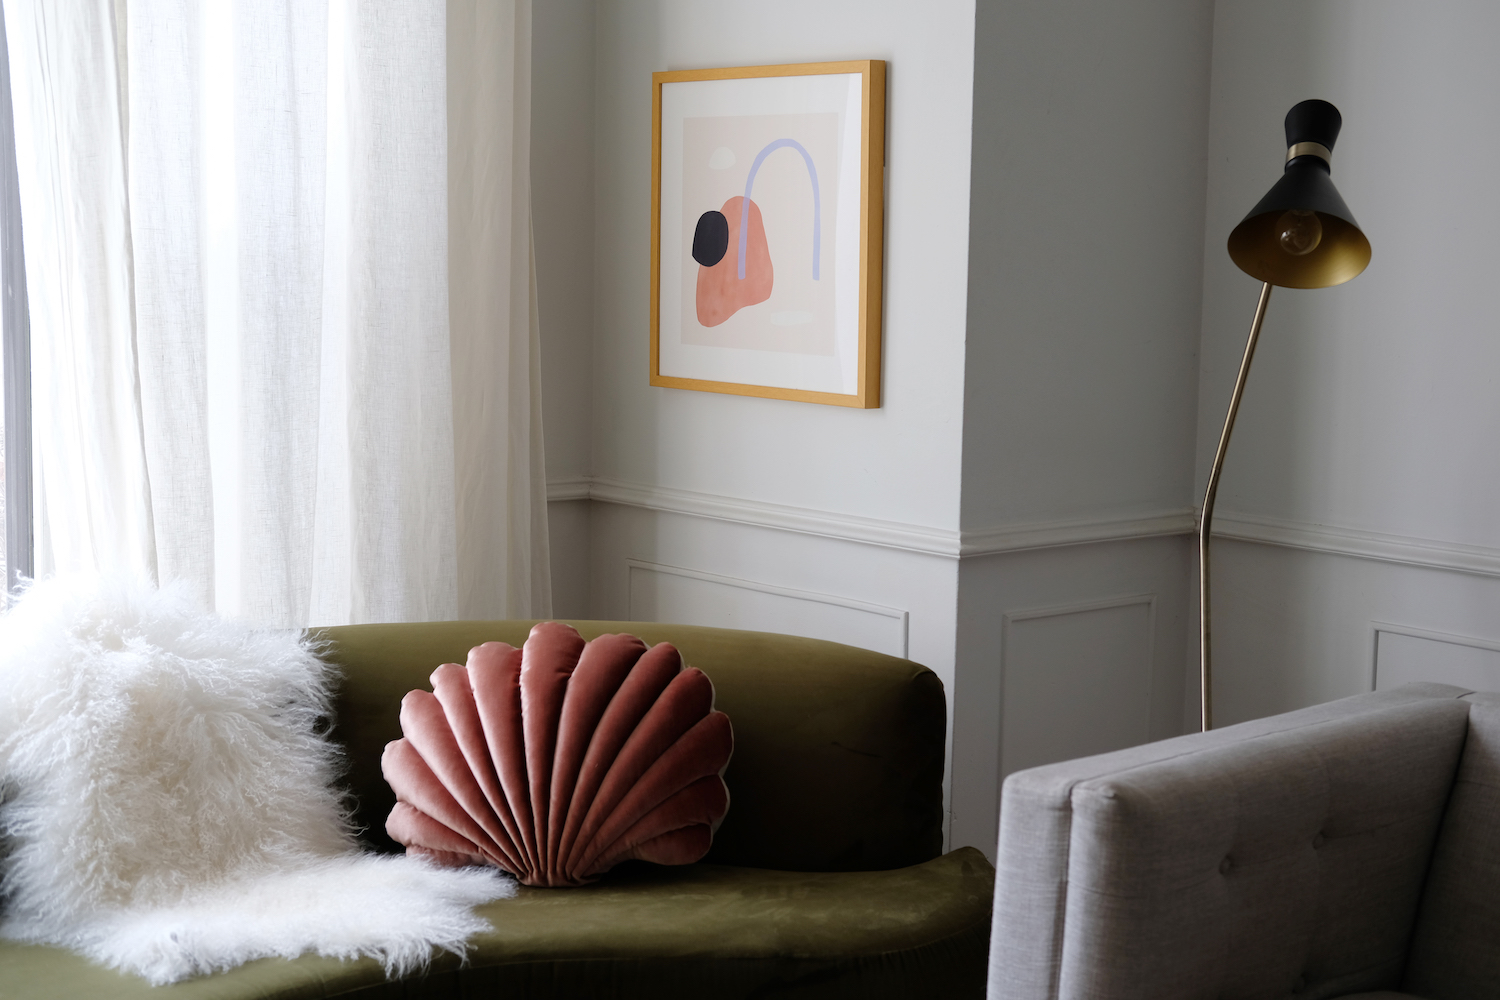
Adhesive hangers are inexpensive, easy to install and just as easy to remove. In order to install them- simply stick the velcro together, and then peel off the sticker backing. Peel off the opposite side sticker backing and stick to the wall. Be sure to balance a level on top to make sure you’re placing your print in the right spot. And voila! Your art looks the exact same as it would if you had hung it on a nail, but this way is renter-friendly and can be removed when you go. You landlord will never know the difference. How great does this Door in the Desert print look alongside my DIY green velvet sofa? Match made in heaven! *kisses fingers*
2. Lean It!
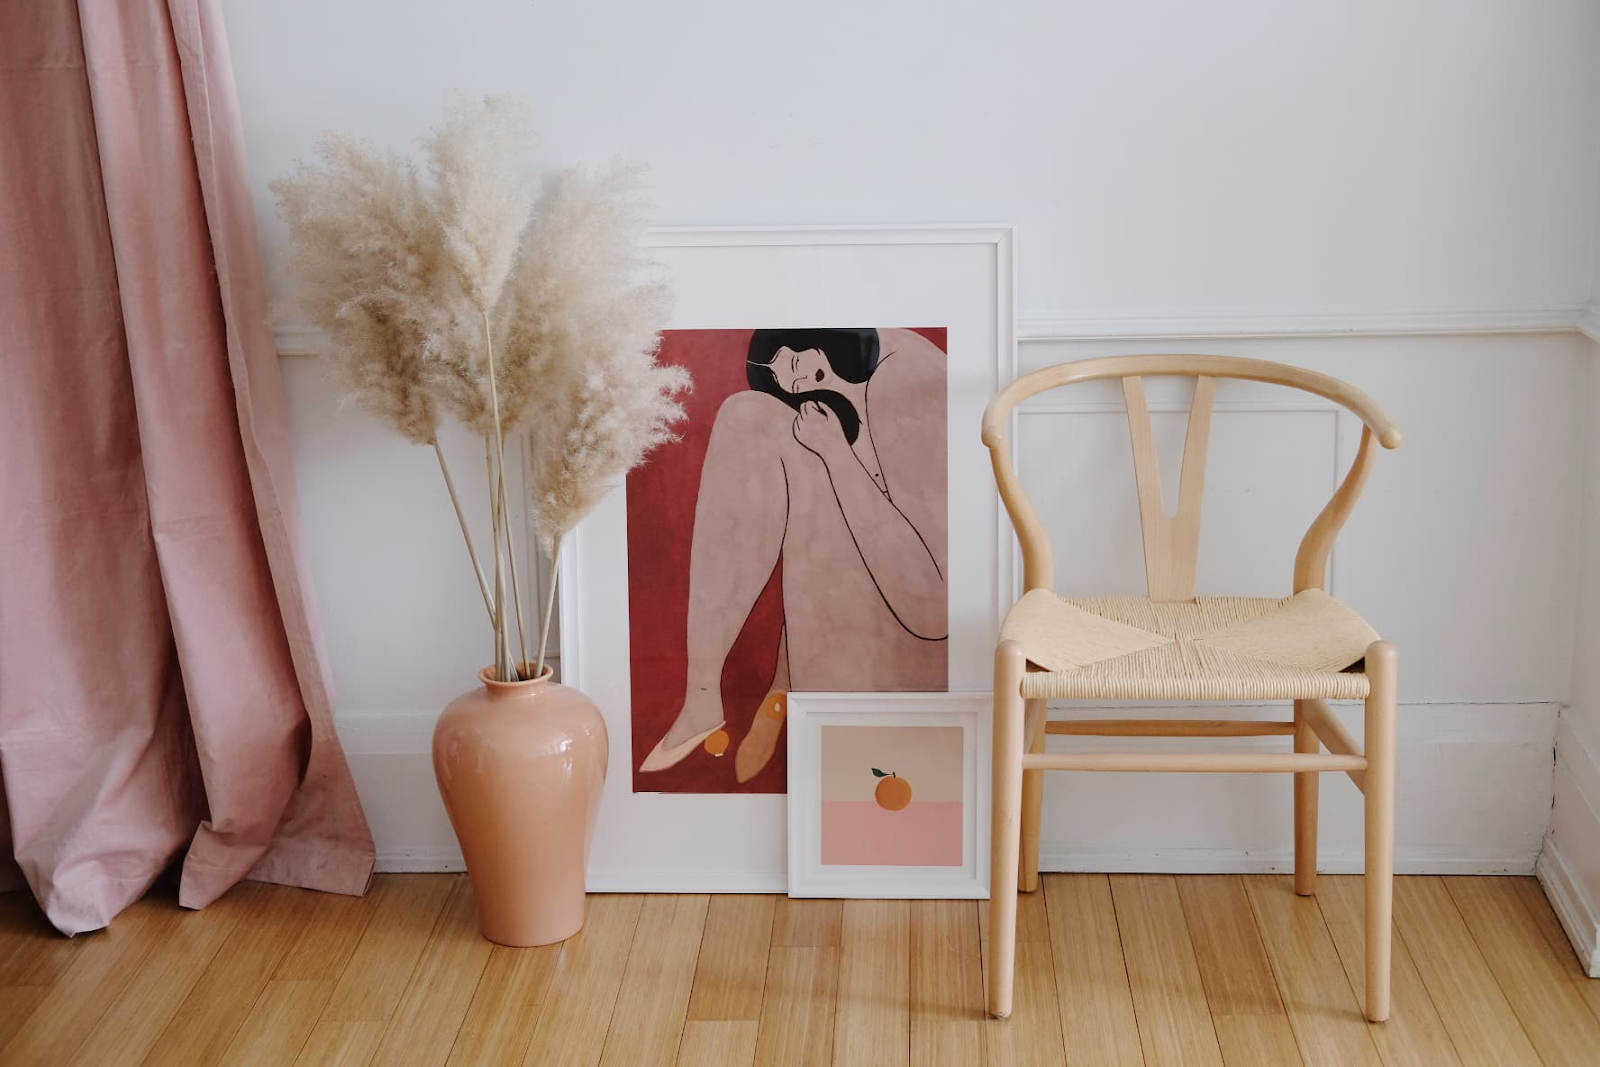
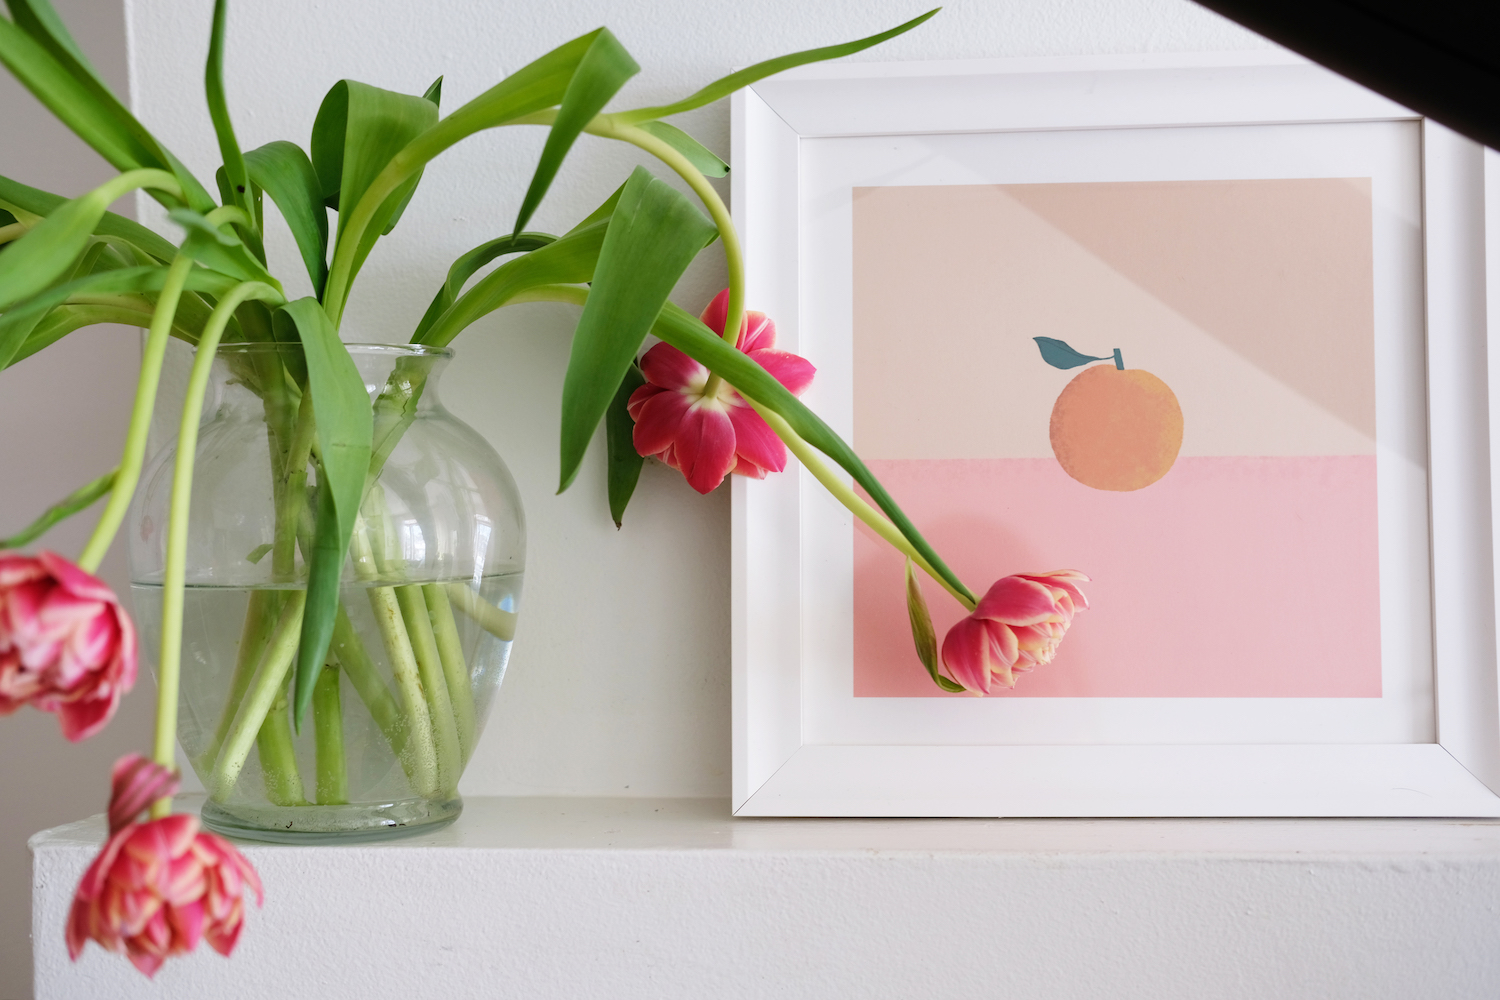
There is no rule book when it comes to design, and art doesn’t necessarily have to live on the wall! If you have open floor space it can be an optimal place to lean art, especially big art prints. I loved this Gray Matters art print paired with this adorable Orange print. (I thought the lady’s shoe looked like an orange, so these two HAD to hang out, obviously). Layering art on the floor is a great way to display art without any commitment. Feel like changing it up? Easy! Just switch out your prints. Want to add more? Cool. The world (floor) is your oyster.
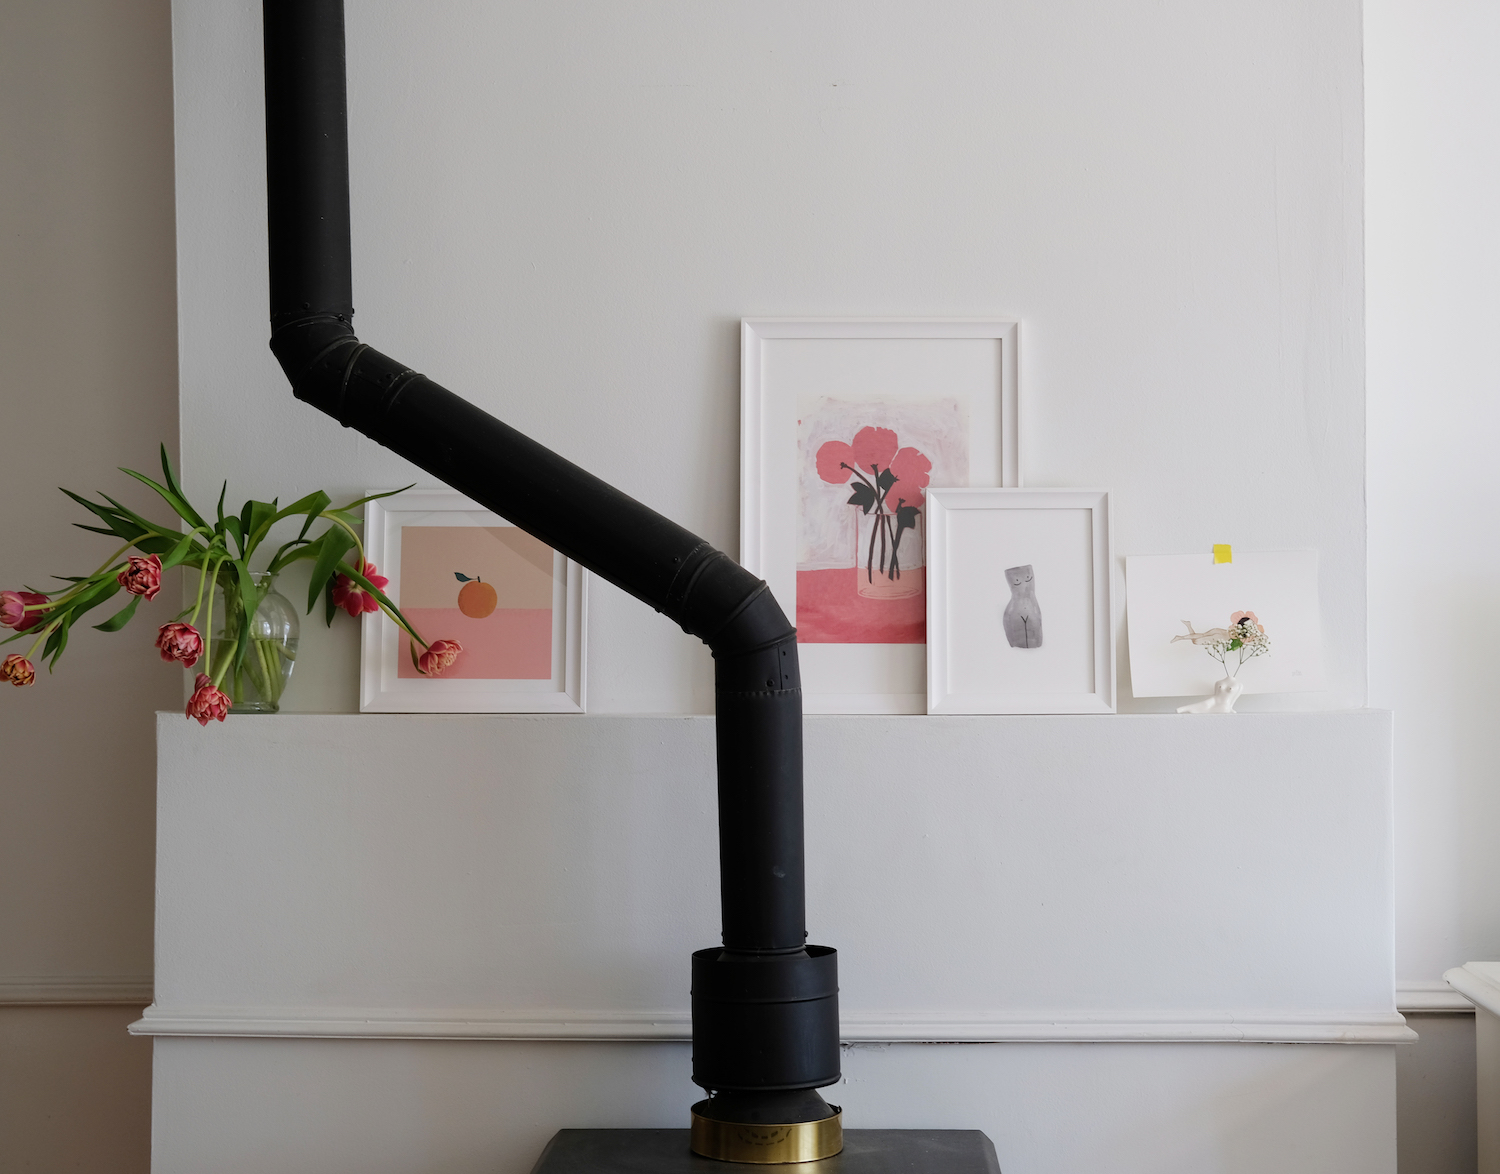
3. Use Cute Tape
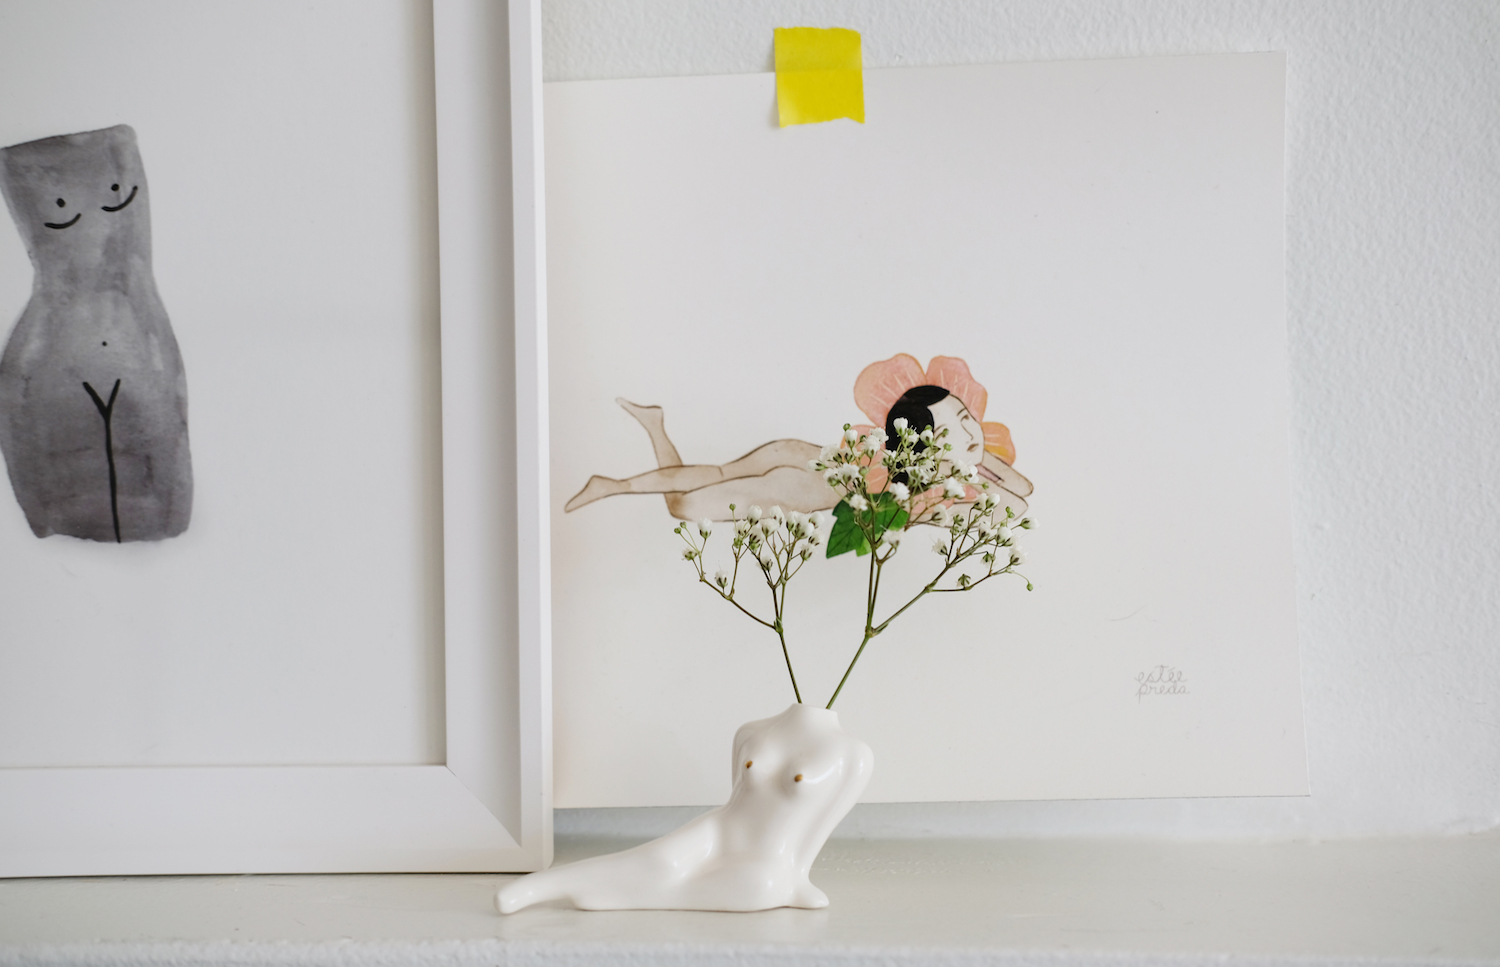
On my mantel I’ve taken cues from the floor and continued to layer and lean my art in this vignette. I’ve also added washi tape! For this look, I opted for an unframed version of this adorable Estée Preda print so I could tape her up. There are so many options out there now when it comes to washi tape so you can really find any color or pattern. It’s a simple solution that will add some depth and texture to your walls.
Comments