Create a Duffle Bag that your customers will love!
Just in time for holiday getaways, we’re now supporting the sale of your work as duffle bags, which you can read specs on here.
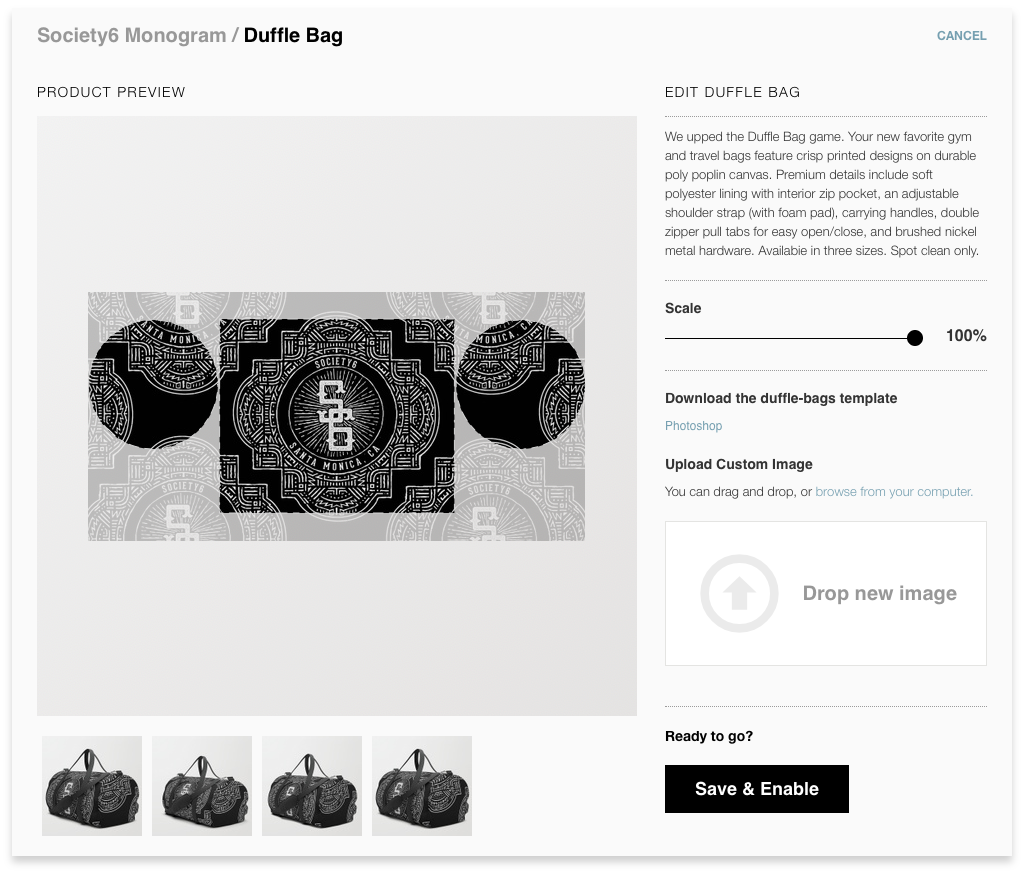
In this article, we want to focus on a step-by-step process for designing the best duffle possible. You have control to design three key print areas that’ll make your Duffle Bag(s) particularly awesome.
This tutorial covers:
- Important Duffle Bag asset information
- How to use the Duffle Bag Template
Duffle Bag asset information *use template
Minimum Duffle Bag asset requirements
- Asset Size: 14579 x 5700
- Recommended DPI: 300
- Recommended File Type: JPG
- Center panel will be identically printed on both sides (not mirrored)
- Make sure you fill the entire space
How to use the Duffle Bag template for Photoshop
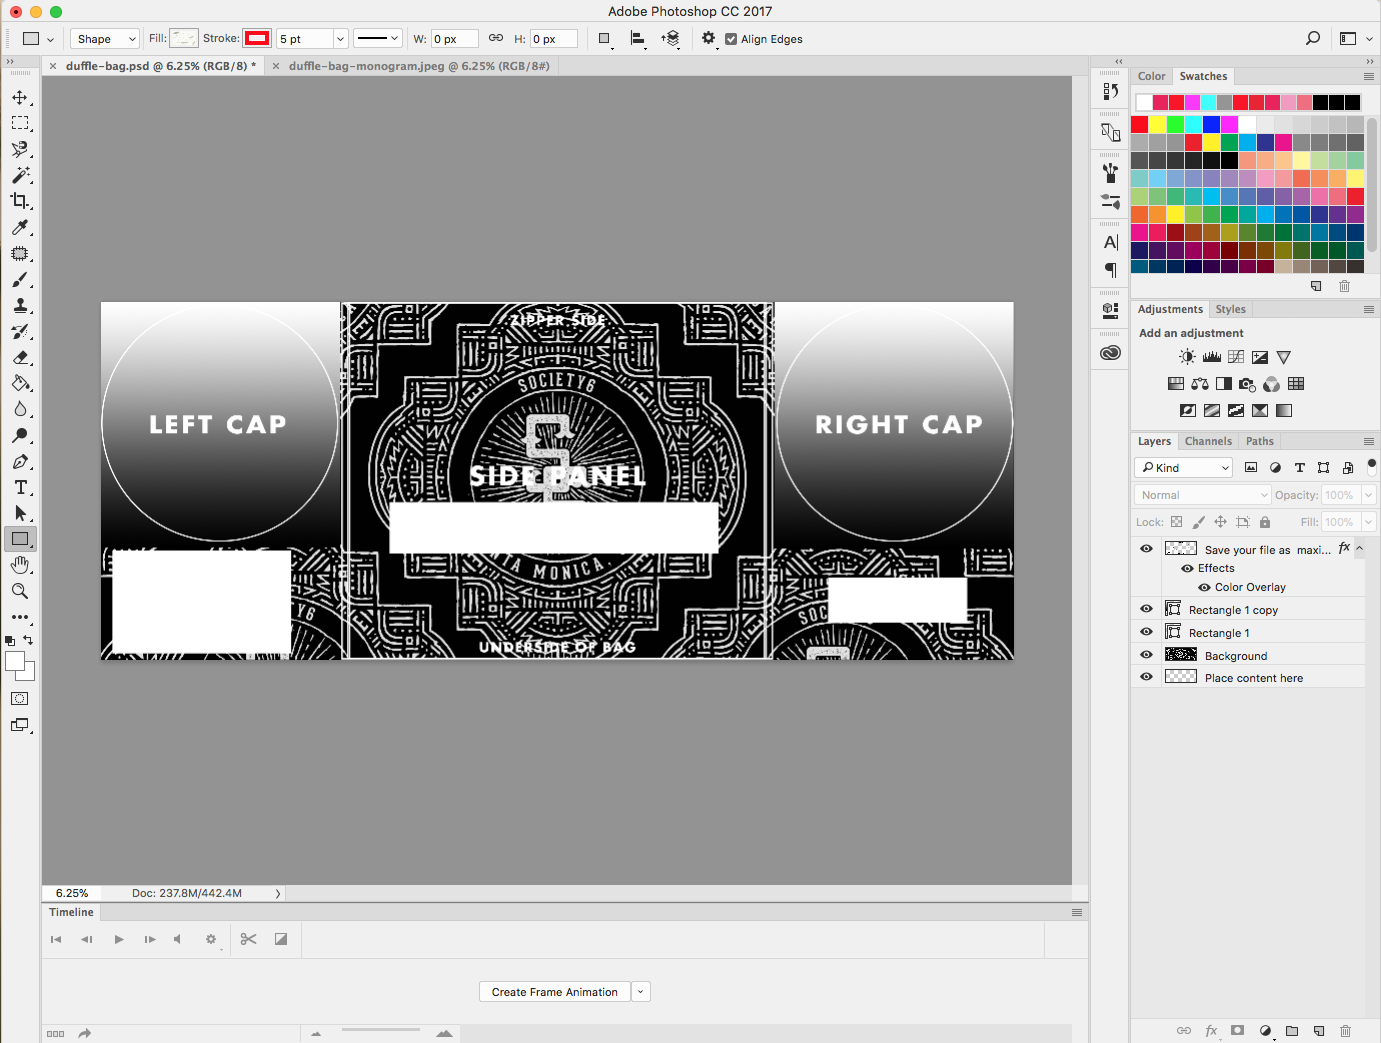
You’ll notice there’s three key printing areas that you have control of.
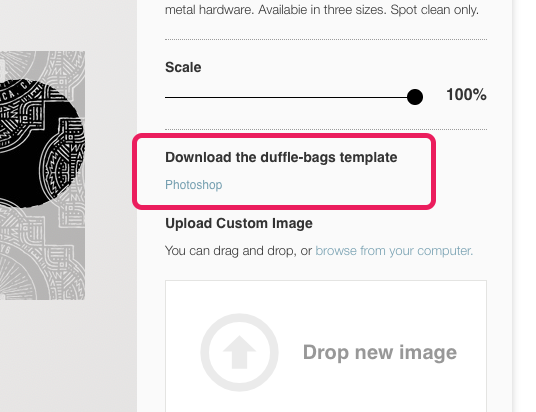
Step 1: Download and open the Duffle Bag template for Photoshop
Navigate to your Artist Studio, and then down to Apparel where you’ll find your new Duffle Bag.
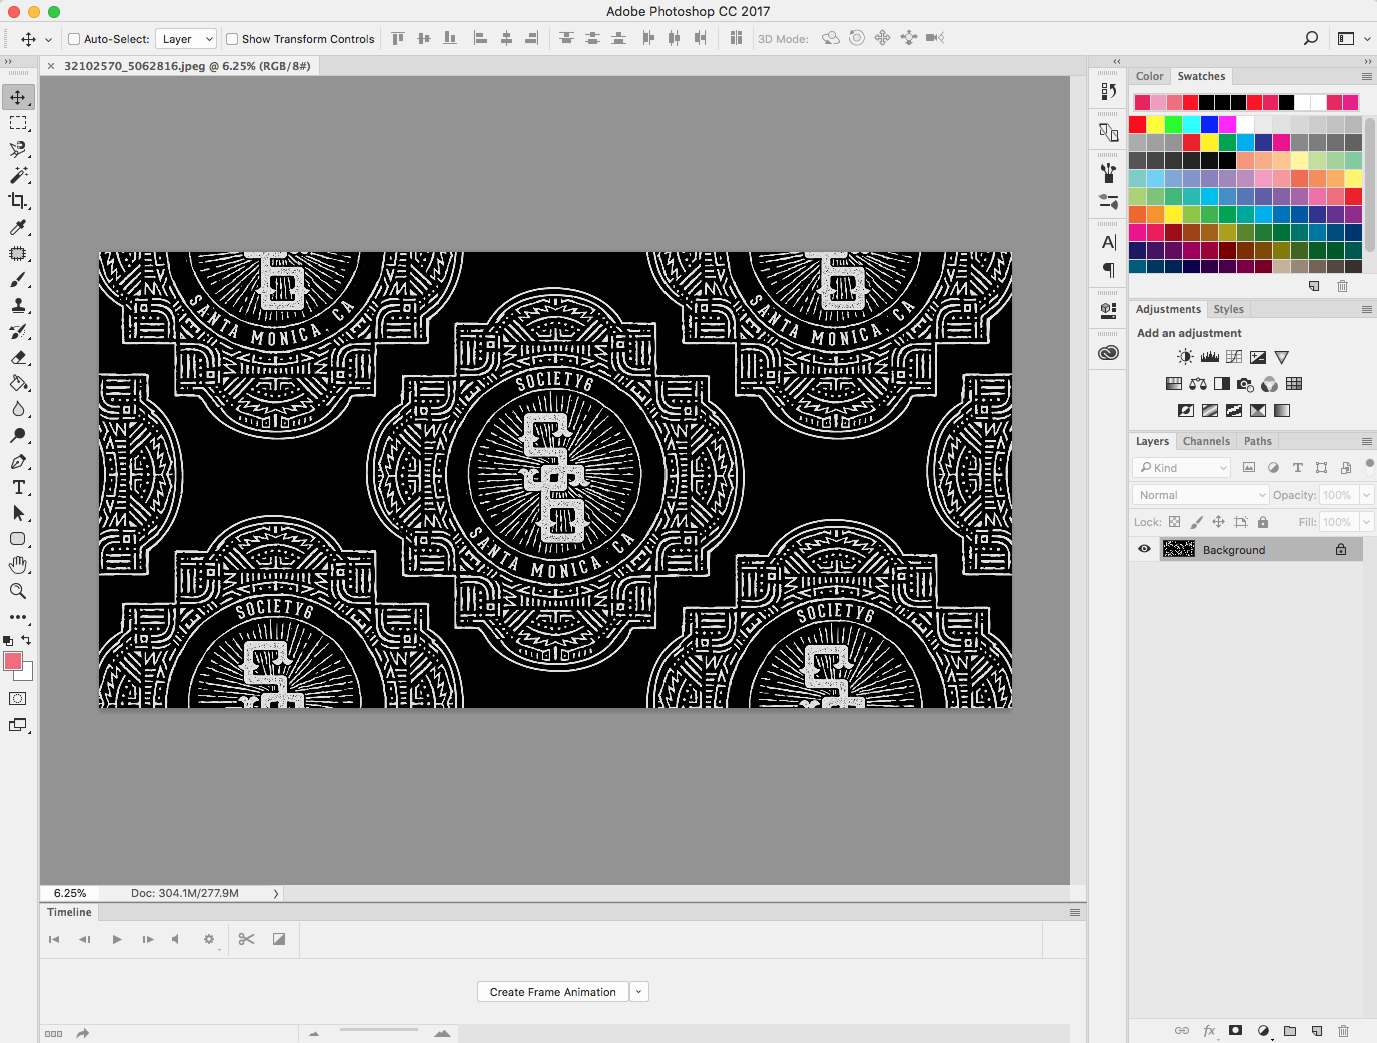
Step 2: Open your artwork in Photoshop
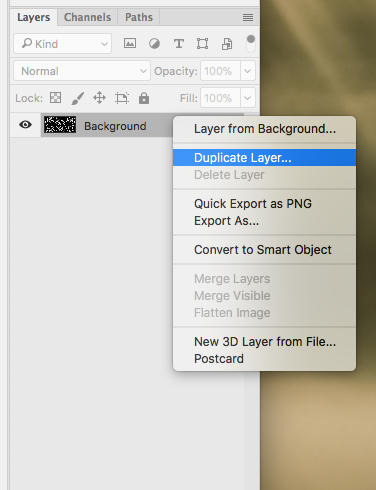
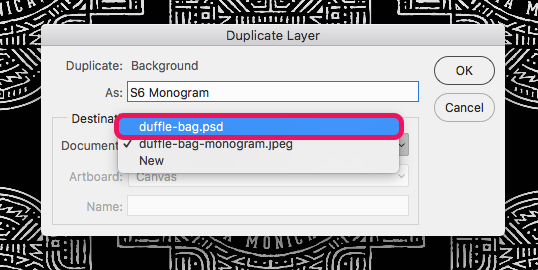
Step 3: Create a duplicate layer of your background in your template
Right click on your “Background” layer and selecting “Duplicate Layer”.
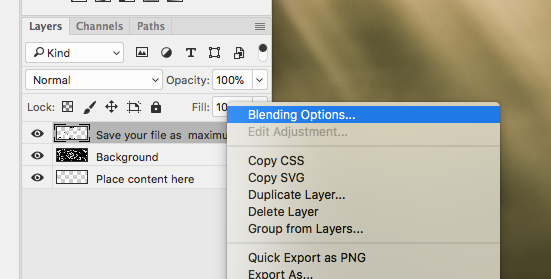
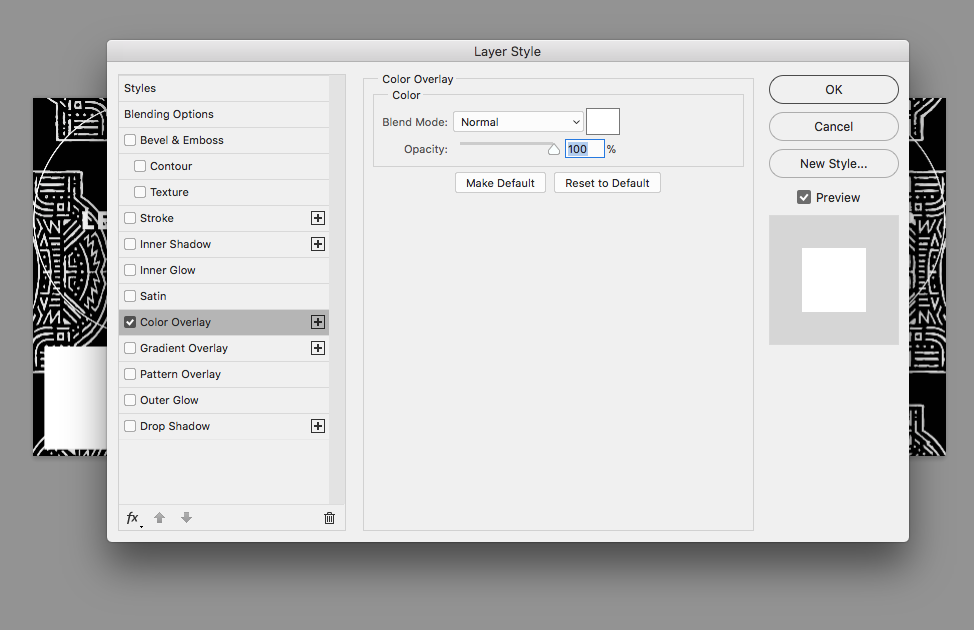
NOTE: If your artwork is on the darker side, a quick hack is to change the color of the overlay Layer using Blending Options. In this case, I used white.
Step 4: Save your PSD now
This should be standard procedure if it’s not already. Save early. Save often. Can’t stress this enough. You don’t want to get halfway through the process just to lose everything in a software crash.
Step 5: Adjust position of your design on the Side Panel
The design you place here will print identically on both sides (not mirrored).
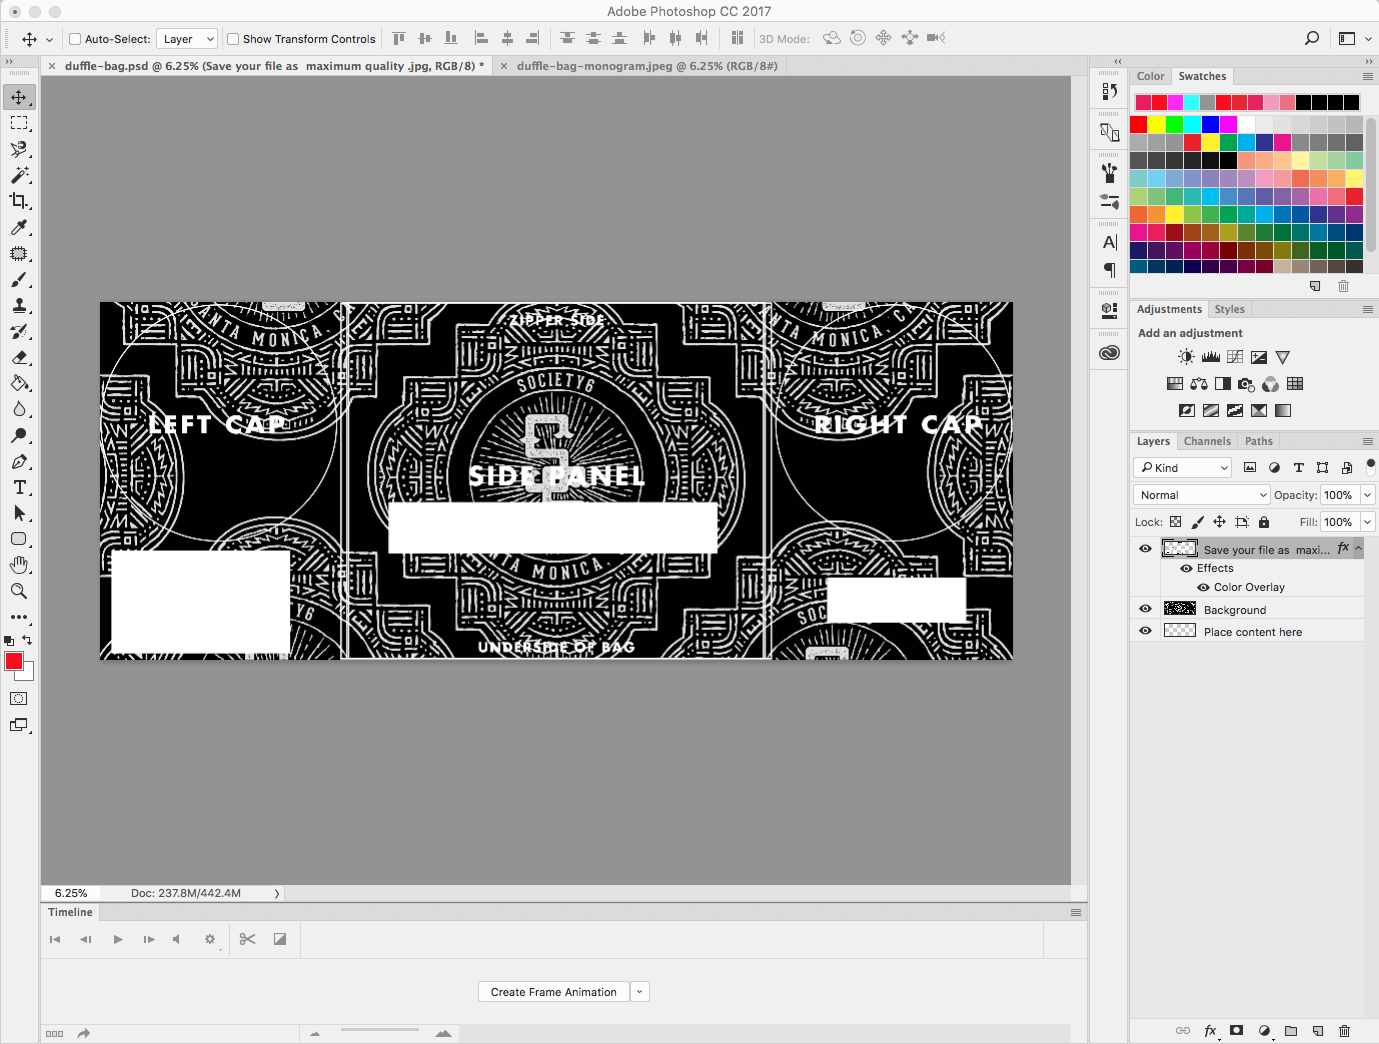
! Step 6: Adjust design on your Left Cap and Right Cap !
Take your time here. You want to make sure that your Left Cap and Right Cap designs do NOT overlap with the Side Panel. You can see it’s a pretty tight squeeze there so just be sure there’s no overlap.

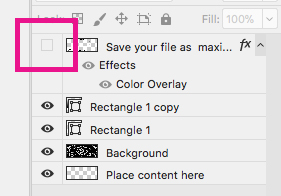
Step 7: Disable Template Overlay layer
Click on the little eye to the left of the layer to disable.
Step 8: Save as Maximum Quality JPG and upload!
Because the Duffle Bag template is already the exact size we need, you can simply drag n’ drop your newly saved JPG into the “Upload Custom Image” area.
This is an awesome product and we’re super excited to offer it to everyone. Can’t wait to see your designs!
Comments