If you’ve never created a pattern before, you’ll discover it’s a whole new way of displaying your art!
Knowing that patterns on home decor products are particularly popular, we asked Swedish designer and pattern-lover, Hanna Kastl-Lungberg, to put together a quick “how to” on designing a repeating pattern in Photoshop.
If you’ve never created a pattern before, you’ll discover it’s a whole new way of displaying your art! I enjoy designing patterns because I feel like I’m expressing myself and what’s in my head in a way that nothing else can. It’s a process that lets you explore your style further than just one art print. If you do cut-outs from a pattern you can make a thousand different images. Which I think is kind of cool!
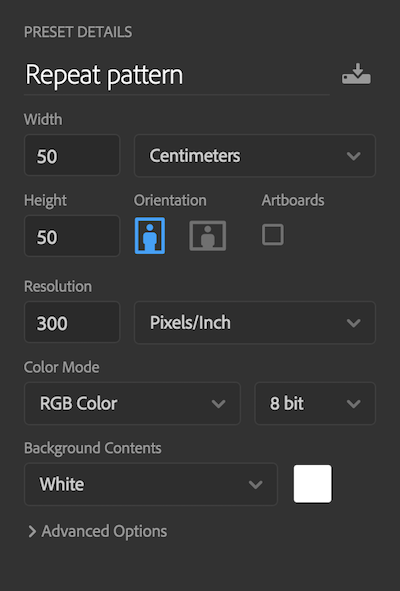
1: Pick the right canvas size
I always make my patterns 50x50cm (19.68”), which is neither too big nor too small for anything. Anything smaller might make it blurry on some of the larger textiles for Society6, depending on how you scale it of course.
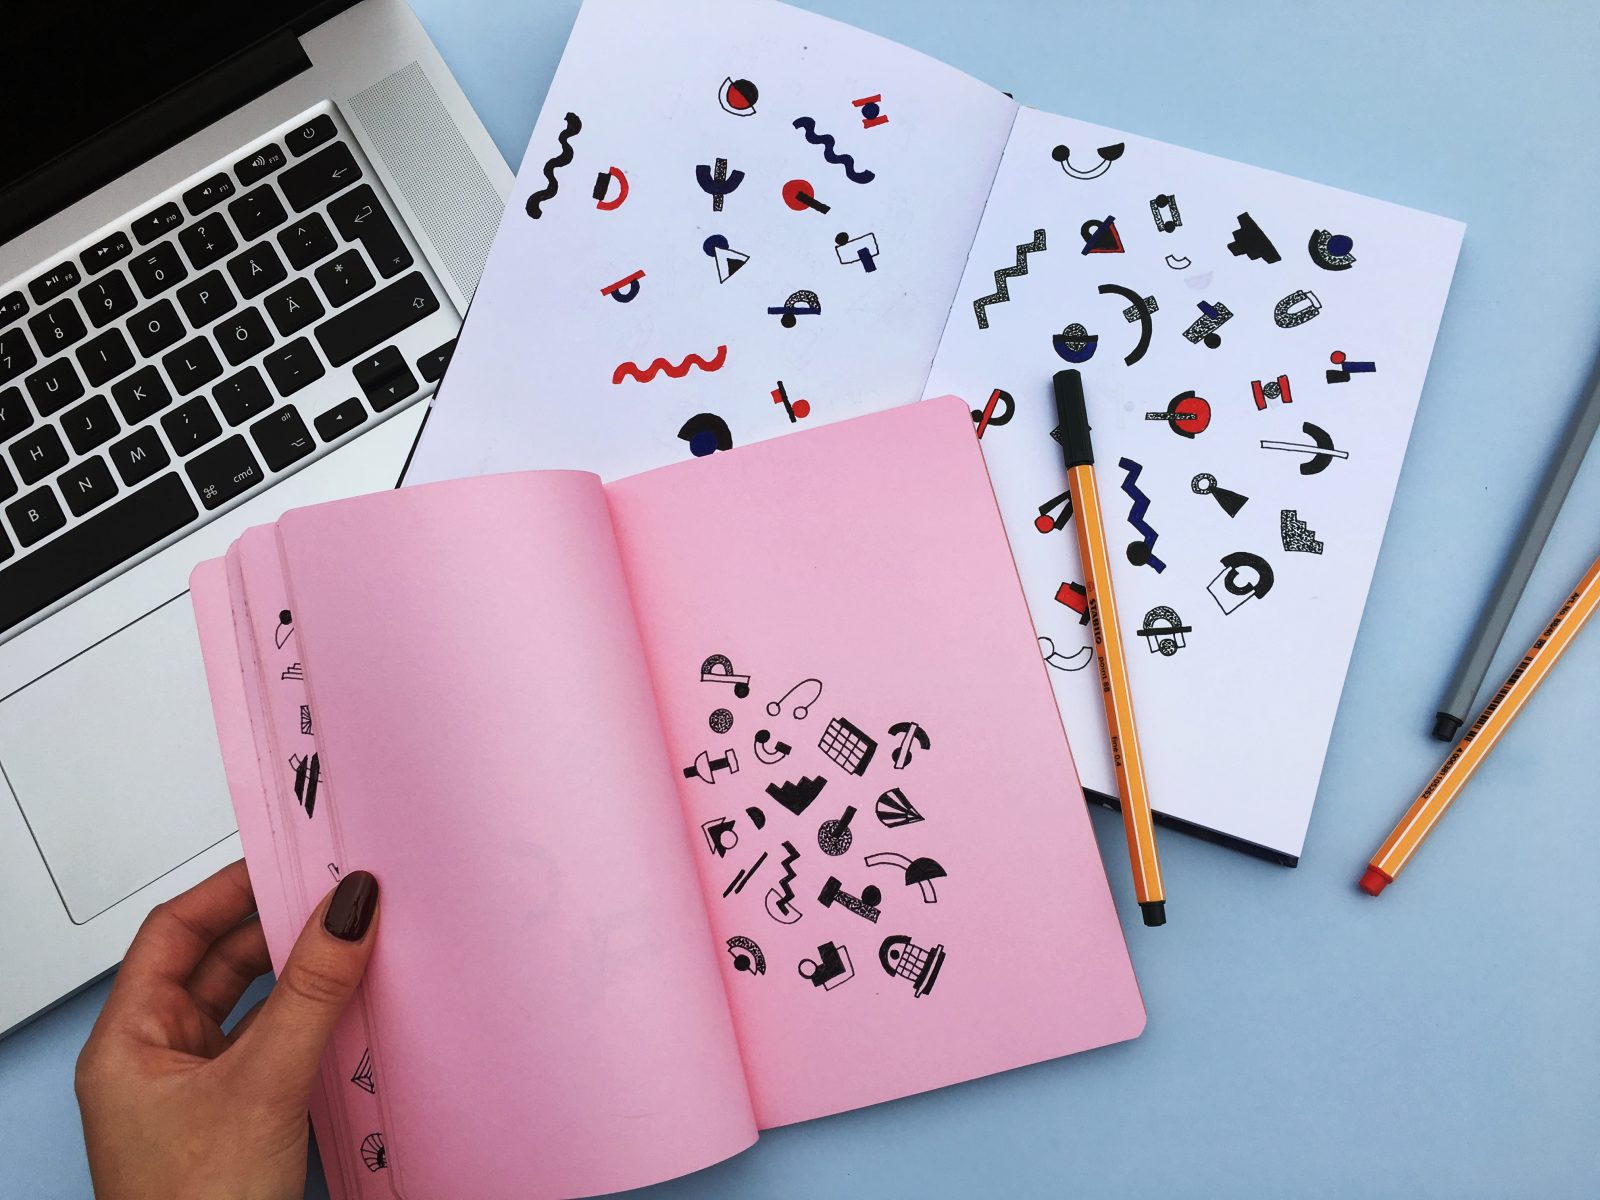
2: Create your elements
Next up are the elements that will allow you to create your actual pattern. I use pen and paper to sketch so I have an idea of what I want I move over to work digitally. Sometimes I use only Photoshop (Ps) for this, but I often create shapes in Illustrator (Ai) and then bring them to Ps. By now I have so many different documents with shapes that I can just open and pick, so remember to always save everything!
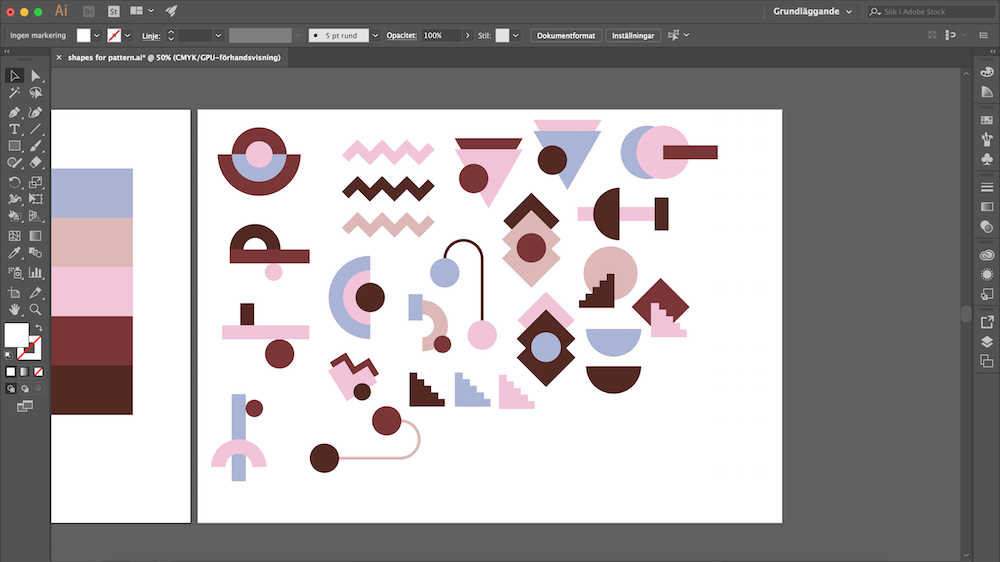
3: Choose a color palette
I always start out with a well thought through color palette–even if the final pattern is completely different. A teacher once told me that four different patterns in the same set of colors makes a collection, and so does the same pattern in four different color settings.
4: Now, let’s make the actual pattern
Moving objects from Ai (Adobe Illustrator) to Ps (Adobe Photoshop) is super easy – just drag it from one app to the other. Make sure to move one object at a time because each item creates a new layer in Ps. It will automatically become a vector shape. This is good as you can scale it without it getting blurry. You can then rasterize the layer and change colors with the paint bucket. That’s how I do it, but you have to make sure the edges doesn’t look ugly and blurry. If you want to change anything else you need to go back to the original object in Ai and then put it back into your Ps document.
Then just continue to add shapes one by one. Remember to zoom out to to keep an eye on the space between your elements. The white/empty space is just as important as the elements.
5: Split the canvas to make the pattern seamless
You can do this anytime, but I like to do it when most of my canvas is filled. You need to merge all layers into one (super inconvenient, I know). I always make a duplicate layer of them first. Also, make sure not to include the background layer, as you want to keep it transparent.
When you have your merged layer, select it, go to filter > other > offset. If you do an analogue repeating pattern, you need to cut the canvas into four and move the pieces around. That’s what I just did.
Next, lock your pattern layer because if you accidentally move it without realizing, the whole repeating of your pattern could fall out of order. If you have overlapping objects, it’s basically impossible to change them after you ”offset” it. I don’t do that so I can still move mine around. Then I continue to add shapes in between, and adjust the existing ones to fit accordingly. I do this by using the lasso tool and cut and paste, which will make it its own layer again.
Keyboard shortcuts: select > ctrl/cmd+X > ctrl/cmd+V > ctrl/cmd+T to resize and rotate.
6: Repeating the actual pattern
Click Edit > define pattern. Layer > new fill layer > pattern. I’d recommend doing this as many times as you can during the process–especially if you’re new to making patterns–to get an idea of what you’re actually creating. After I’ve done this, I change whatever I feel needs changing until I’m completely happy with the placement of everything.
When my pattern is done I decide a background color and I also change all other colors until it looks 100% right. I add textures etc and thats it – Done!

I take as much time as necessary. Sometimes I’ll go back and forth with this process for days (but some of you can probably work much quicker).
That’s all you need to know to be able to design your own pattern. This is the easiest way of pattern design I’ve learned and also a great way to get started. The process can be as complicated or simple as you prefer. I hope you start exploring a new challenge for yourself as an artist and find it to be a lot of fun! 🙂
To check out more of Hanna’s patterns, you can view them here.
Comments