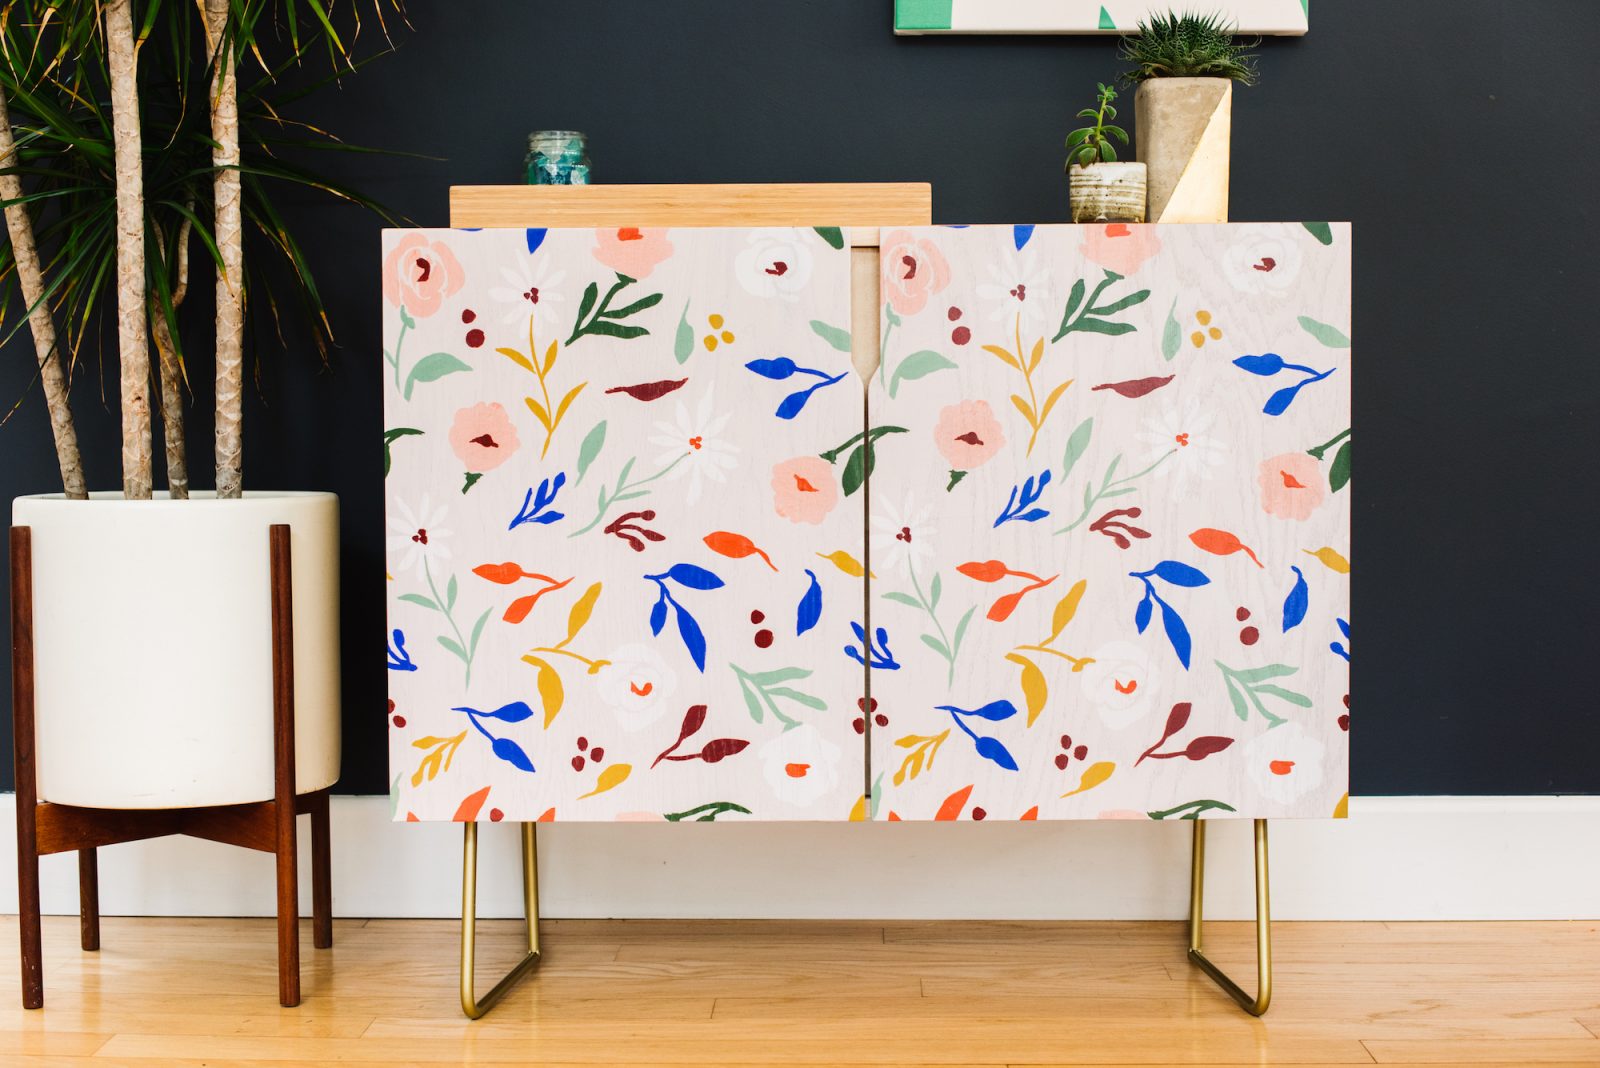
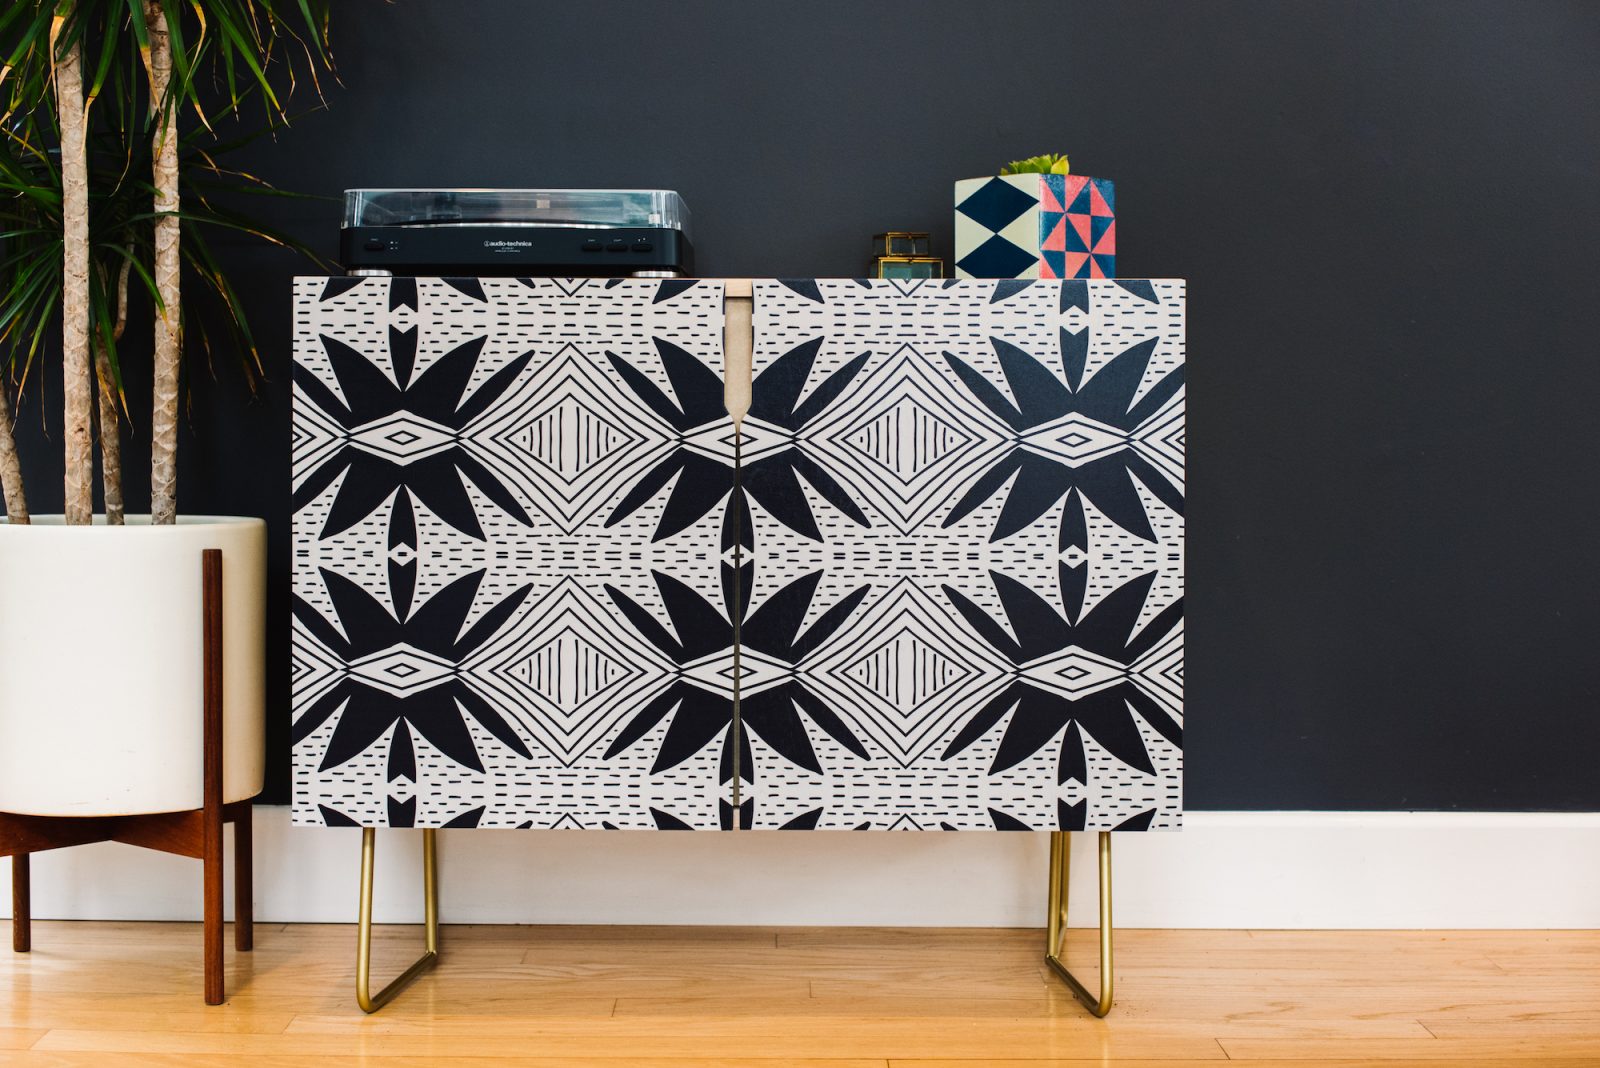
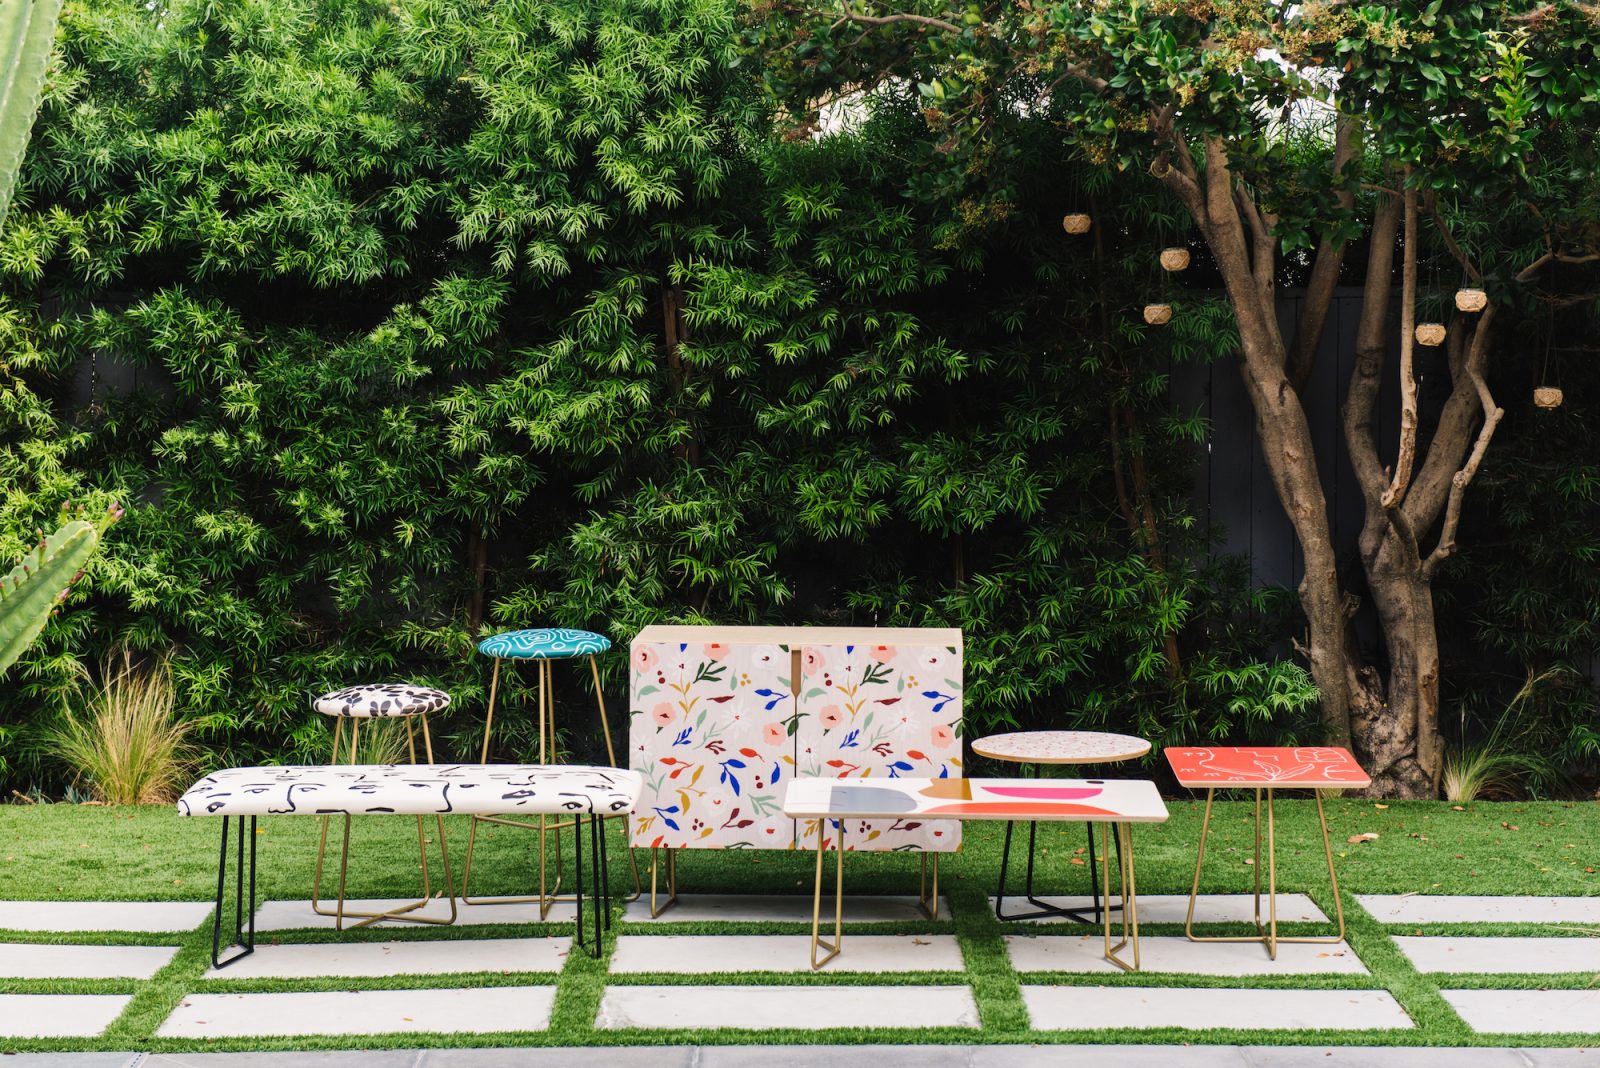
We couldn’t be more in love with our entire furniture line, but the credenza is becoming a fast favorite.
A credenza is a multi-purpose cabinet that adds functional style to almost any room in your house. It’s perfect as a TV stand, mid-century inspired record station or last-minute spot to put down a glass of wine when your song comes on and the spirit of dance moves you. If you’re as sold on these beauties as we are, here’s some more information and a quick video that shows you how to put one together in a snap:
What you’ll need:
- Scissors
- Phillips Screwdriver
- Another Helper/Person
Pro Tip: To protect the wood, assemble on top of the cardboard sheets included in your packaging.
Step 1
Insert wood dowels into the holes on the bottom of each side panel. Then line up the dowels with the matching holes in the top panel and push down to secure together.
Step 2
Attach L brackets to the top and side panels, using two short screws per bracket.
Pro Tip: Make sure the panels are flush together by first tightening each screw halfway. Then gradually tighten each screw for an even fit.

Step 3
Slide the back panels into the groove along the back of the top panel.
Step 4
Insert wood dowels into the holes on the bottom of the divider. Then line up the dowels with the matching holes in the top panel and push down to secure together.
Step 5
Insert wood dowels into the holes along the top of each side panel and the divider. Then line up the dowels with the matching holes in the top panel and push down.
Step 6
Secure the bottom panel using four long screws.
Step 7
Align each leg with the holes in the bottom panel. Then use the wrench to secure each with one bolt and washer per hole.
Step 8
Align each hinge with the holes in the door panels. Then secure each with two short screws.

Step 9
Attach door panels to the side panels using two short screws per hinge.
Pro Tip: Make sure the doors are level with the top panel by first tightening each screw halfway. Then gradually tighten each screw for an even fit.
Step 10
Insert shelf pegs into the holes in the side panels at the desired height. Then slide the shelf in and lift to rest on the pegs.
And you’re done! Enjoy your beautiful and bold new credenza.

Photos by Cara Robbins
Comments