You did the hard part–you picked out which art prints to proudly display in your space (for now, at least).
So, we thought we’d make the rest of the process easy for you. Here, DIY pro Maya Marin shows us how to make a magnetic art print hanger in just a few simple steps. Check it out below and then get to work!
Show of hands. Who among you can’t make long-term commitments to artwork? Who’s living with meh art prints your ex roommates picked ‘cause it’s easier to leave them up than to reframe new ones? Who loves an impressive DIY decor project that’s instantly gratifying and way easier than it looks? Yup, I see you — and I totally get it. That’s why I want to share a project that’ll make it easy for you to switch up your art prints whenever your fickle heart desires, plus give you the pleasure of saying, “hey, I made that!” DIY-ing doesn’t get any better than that.
Materials for one magnetic wooden art print hanger:
- Four (4) plywood slats, 1” wide x .25” thick and approximately 1” longer than the width of your art print. These are usually available at craft supply stores or online craft retailers. I found 36” ones at Joann.com that I cut to size. You don’t have to use plywood (regular wood is fine) but it might be easier to find plywood slats in smaller, thinner sizes.
- Wood stain in your desired finish (optional)
- Polyurethane wood sealer (spray or brush-on)
- Wood saw (if you need to cut your wood to size)
- Miter box (optional, but preferred for cleaner cuts)
- Ruler or other straight-edge measuring tool
- Thin but strong magnetic discs or strips, no wider than 1”, with or without adhesive. I used magnetic discs, ⅝” diameter x 1/32″ thickness I found on Amazon.
- Super strength glue
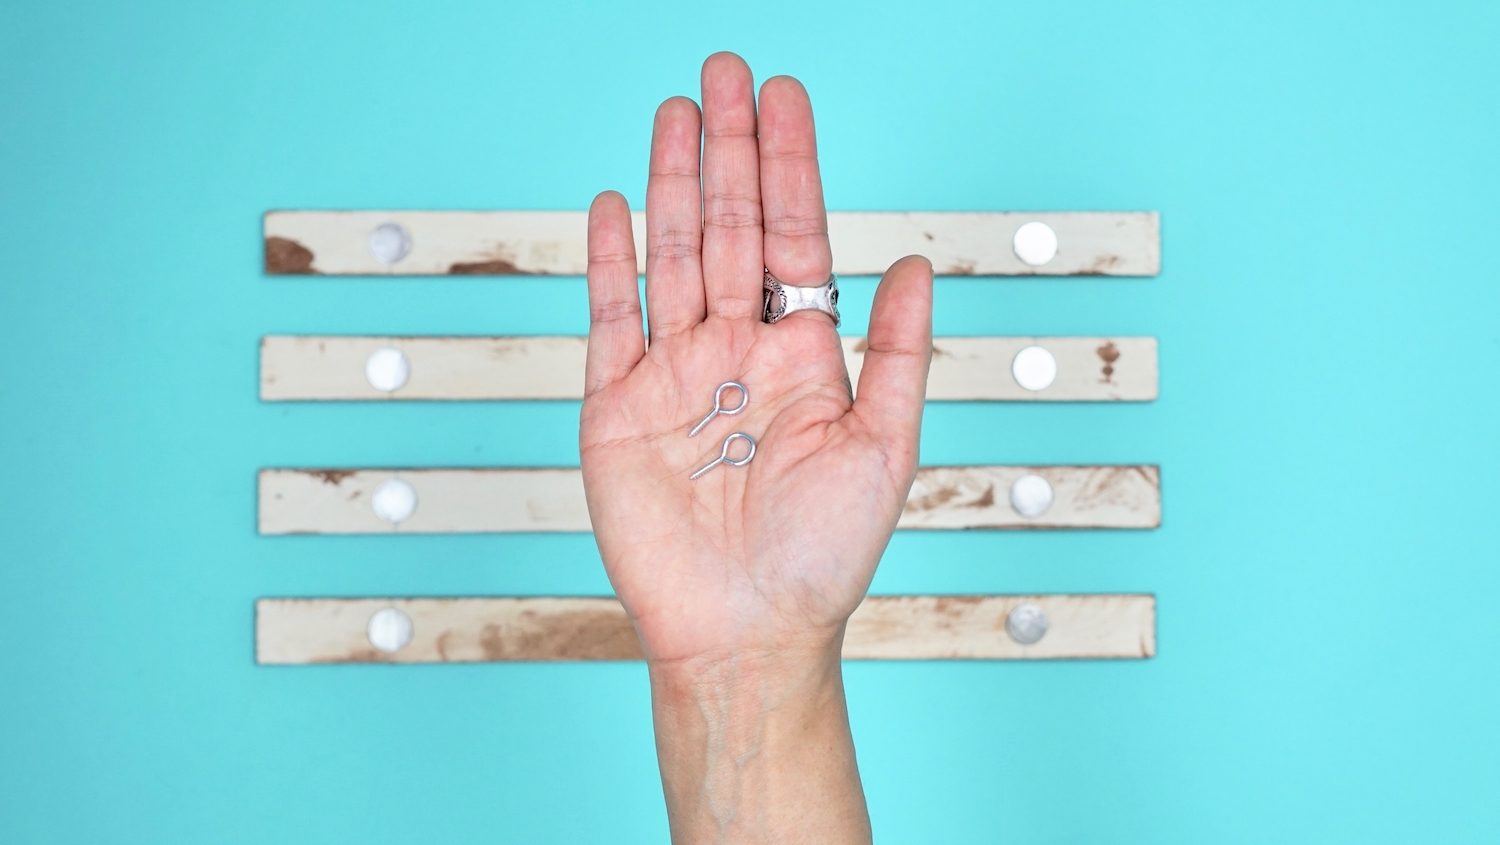
- Two (2) screw eyes, 1/2 “ – 1” in total length
- Plant hanging chain or any type of thinner gauge chain with pliable links
- Long nose pliers with wire cutters
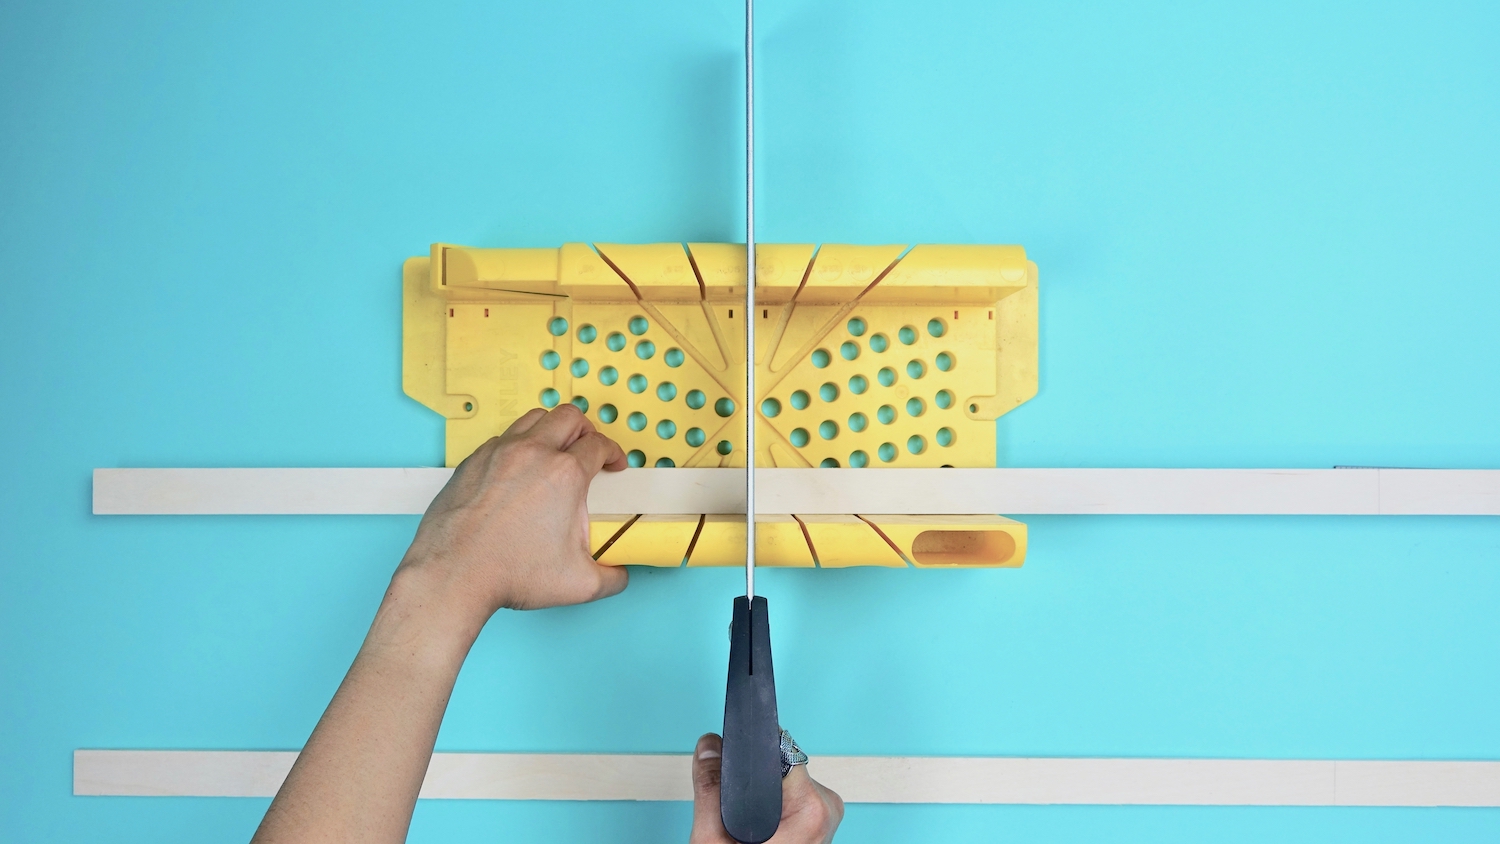
Step 1
First, you’re going to prepare your slats by cutting and sanding. Cut four plywood slats about 1″ longer than the width of your print using your saw and miter box (if you’ve got one). Since I’ve got several 13″ wide art prints I’d like to display on rotation, I cut four 14″ long slats. I’ve also got a couple 8″ wide prints, so for those, I cut 9″ slats.
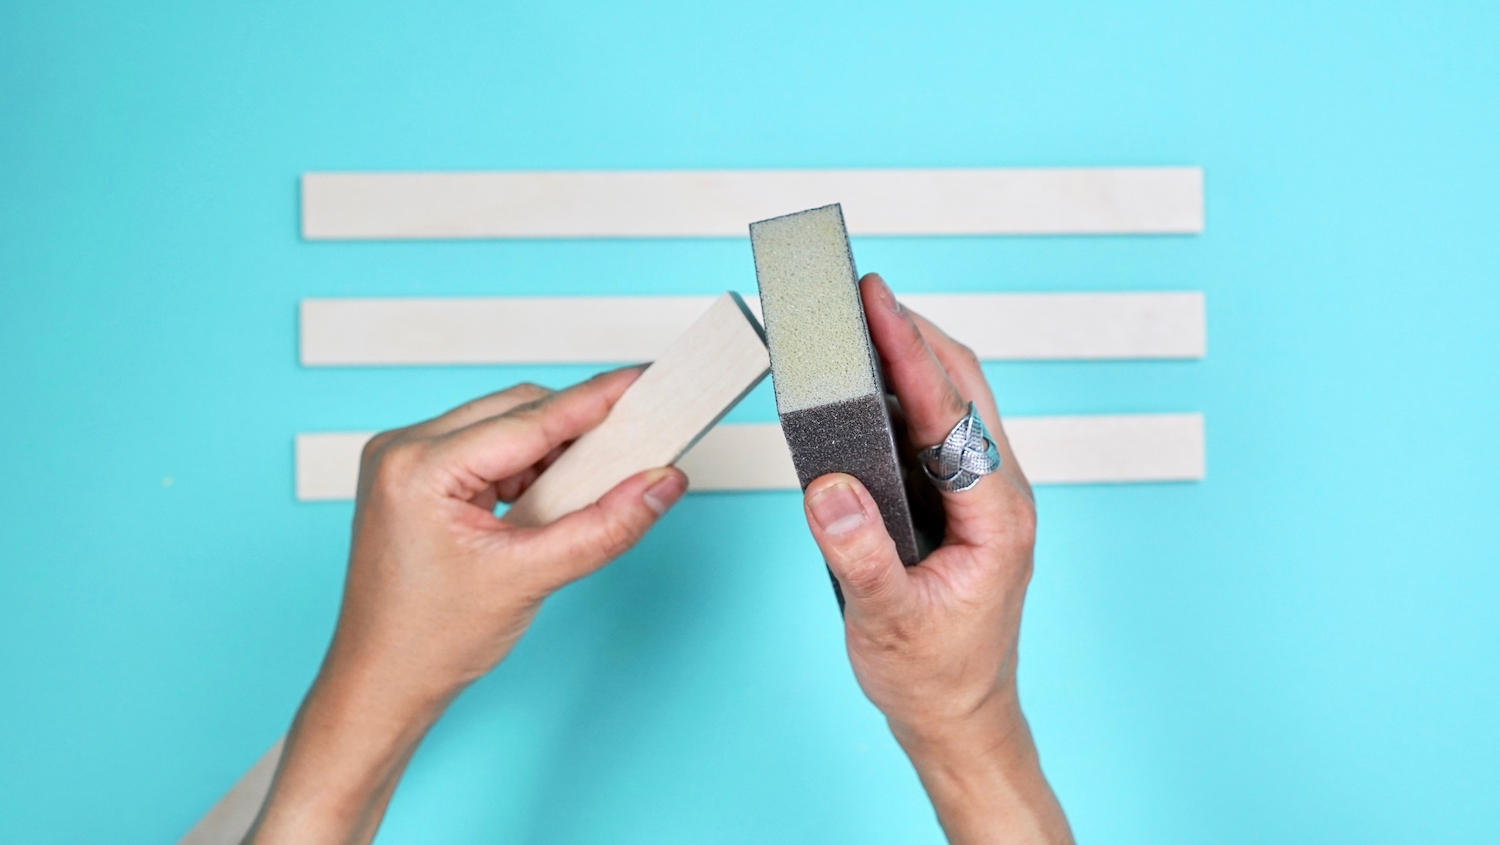
Now sand down any ragged, splintered edges.
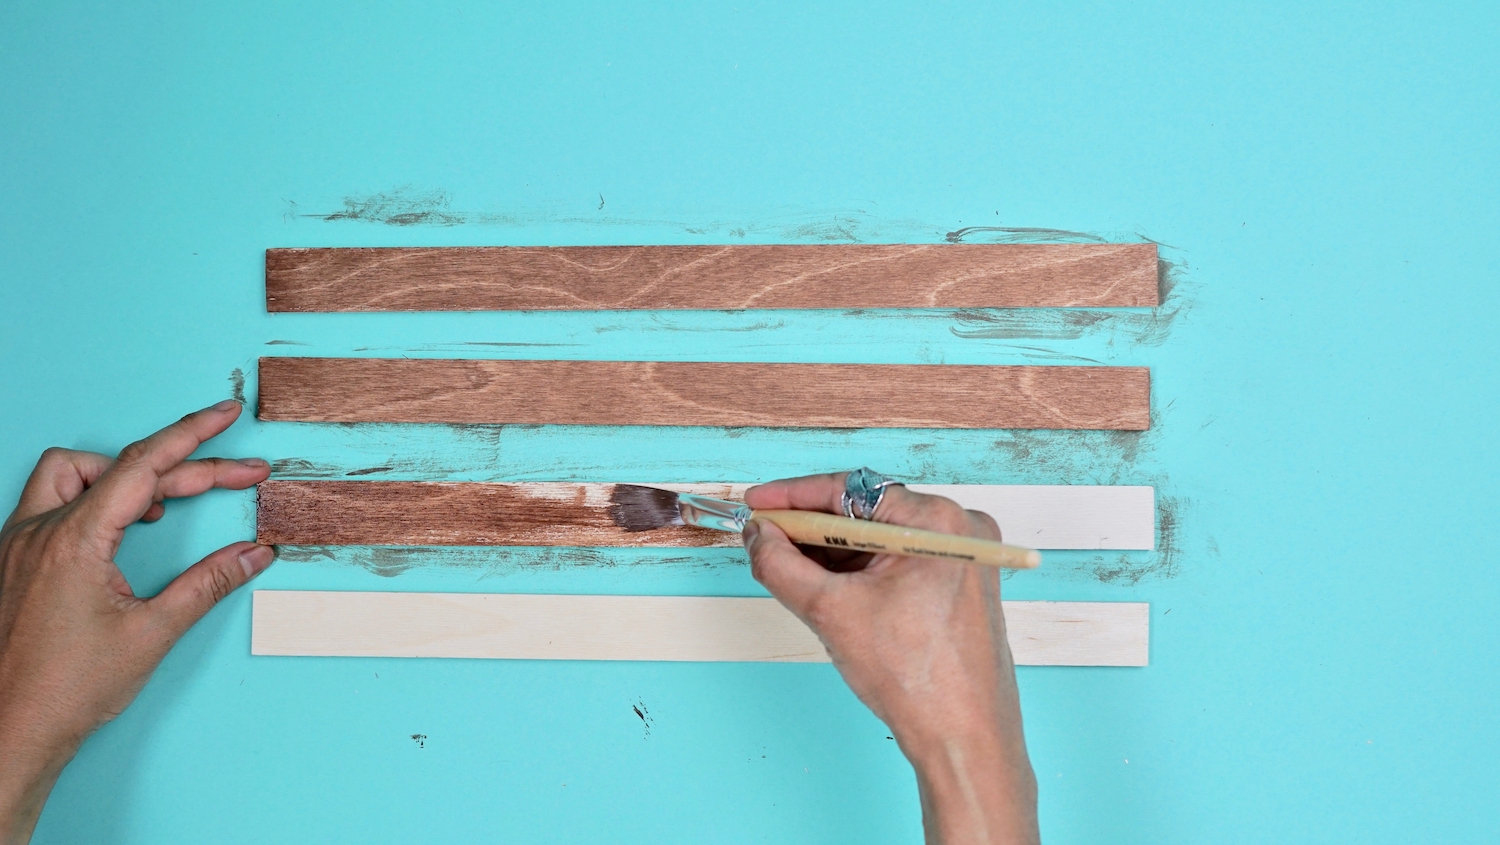
Step 2
If you want to stain the wood, now’s the time to do it. Follow the instructions provided by the product manufacturer. I picked a gel stain in walnut for my larger print hanger and left my smaller hanger au naturale. If you choose to stain your slats, make sure that the stain is completely dry before moving on to the next step.
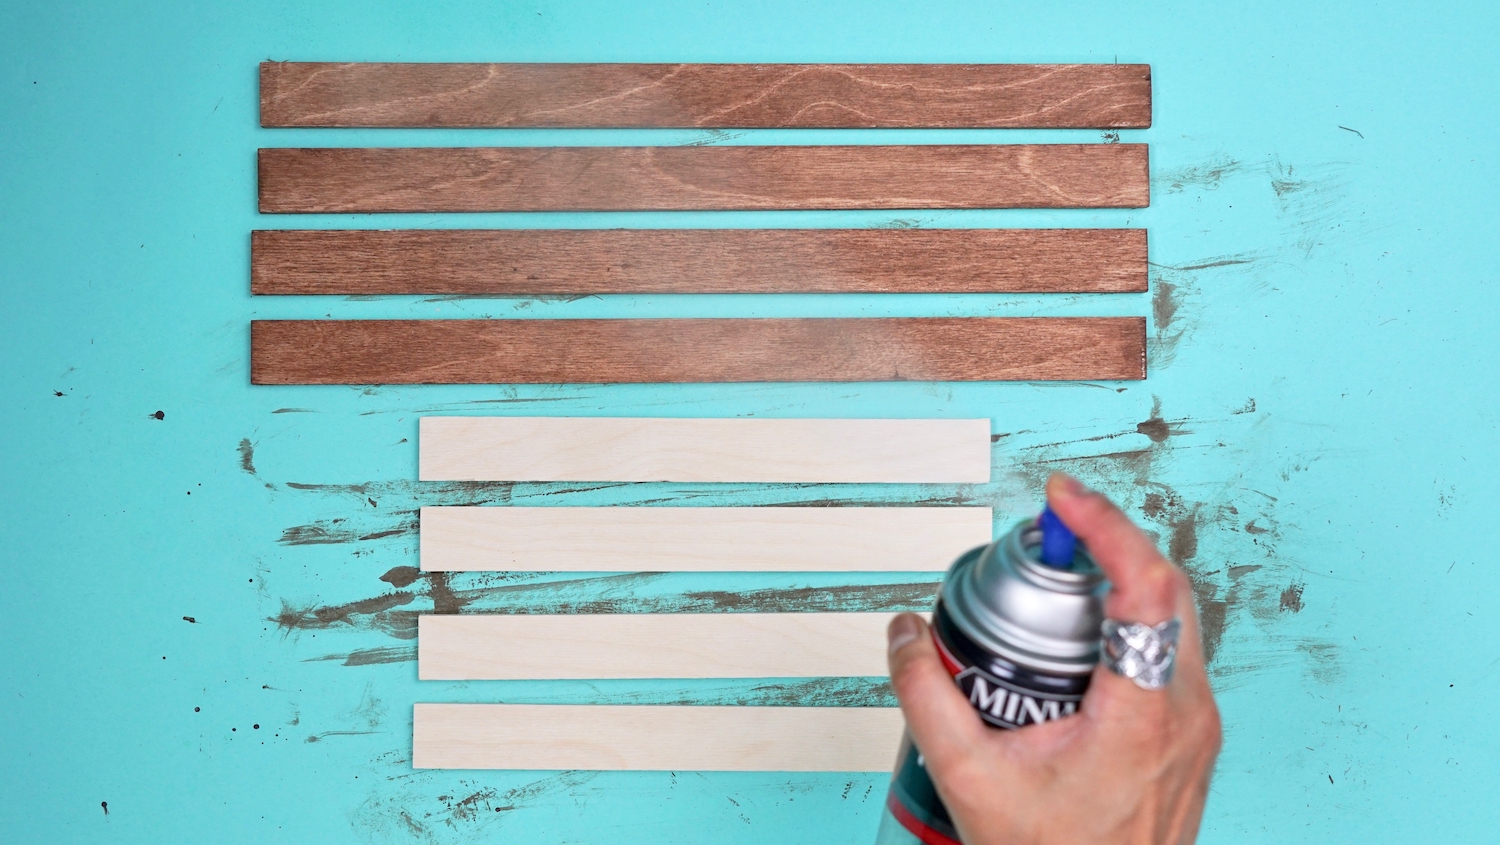
Step 3
Apply two or three coats of polyurethane sealer according to the manufacturer directions, and of course, pay heed to their safe-usage warnings. I chose a quick-dry polyurethane spray because it’s easy to apply, sets fast, and I’m impatient! When your sealer is completely dry, go on to the next step.
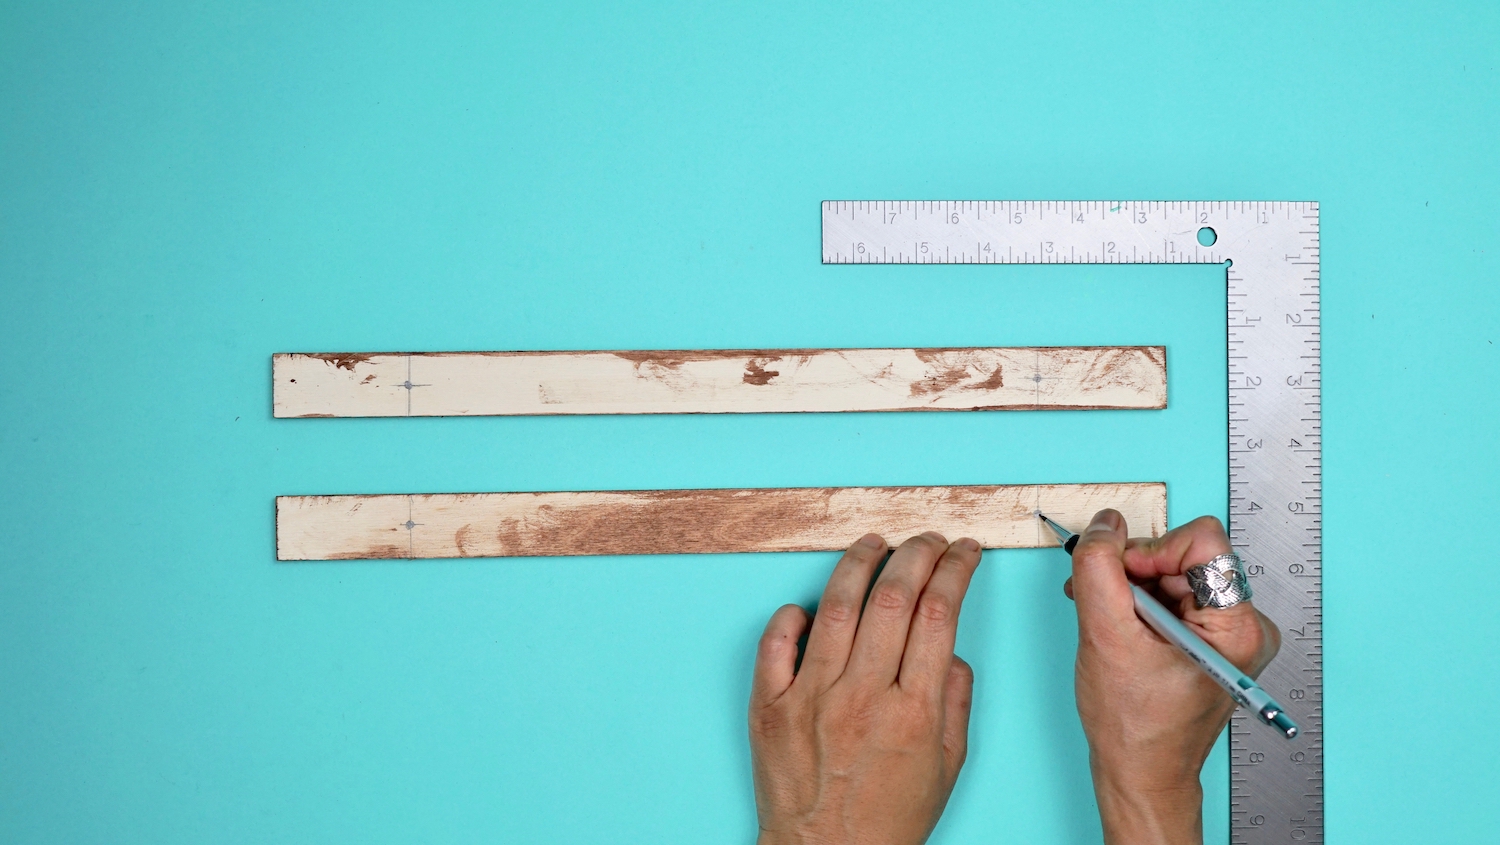
Step 4
Start out with two slats — these will be your art hanger’s upper pair. Flip them over and draw dots or x marks (or whatever you want) on the underside, 2″ from each edge on each slat, as shown below. That’s where you’ll be attaching your magnetic discs using super strength glue. Also, make sure that the marks match up perfectly between the slats so that the magnets align perfectly when they meet. In other words, measure the marks — don’t eyeball!
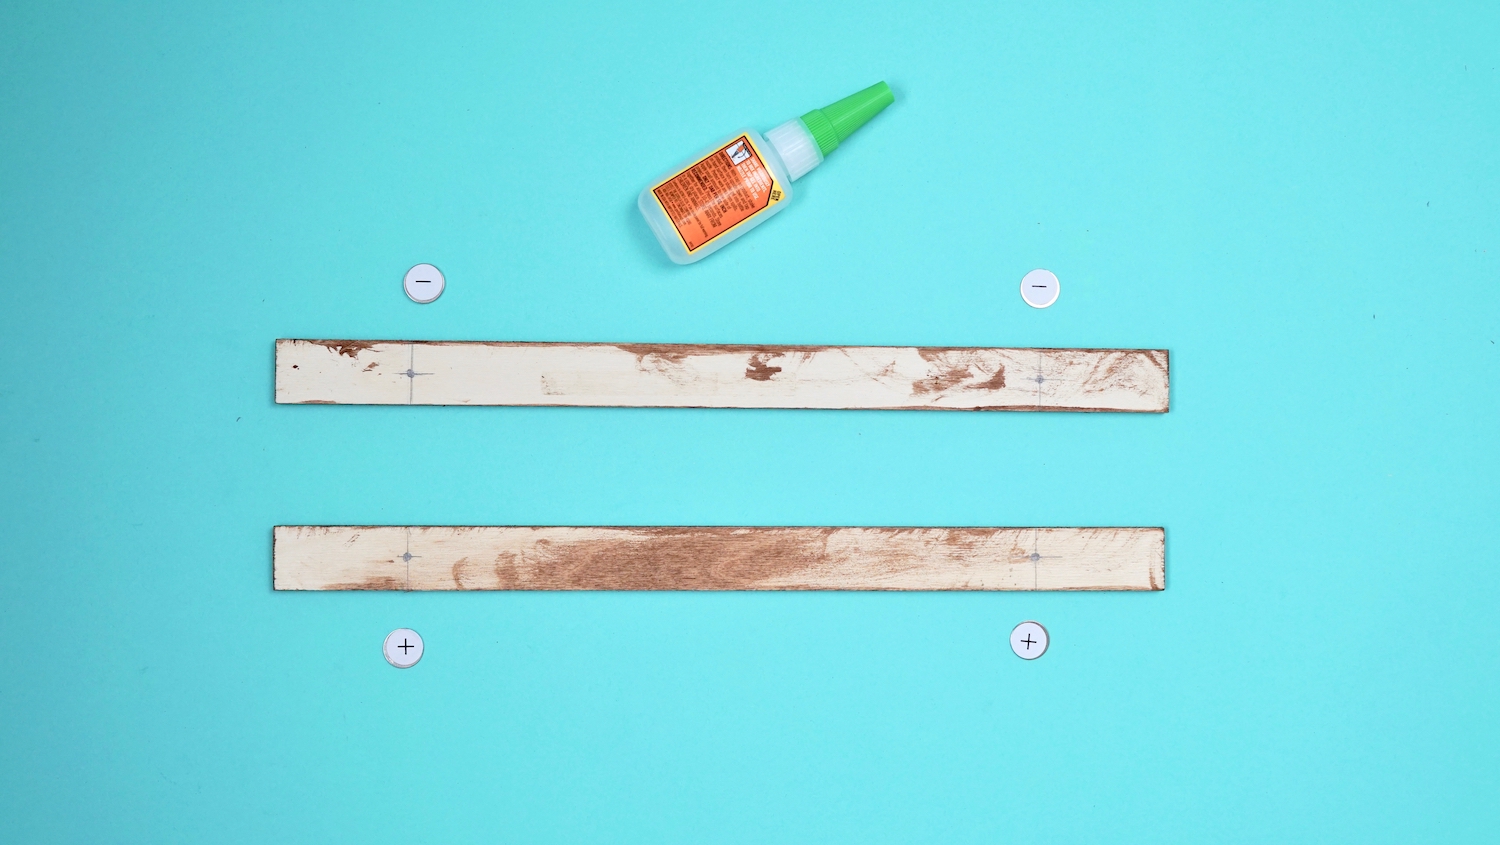
Before gluing on your magnets, make absolutely certain that one slat has the positive sides facing outward and the other slat has the negative sides facing outward so that the two slats will snap together rather than repel each other. If you make a mistake, you probably won’t be able to pry them off your wood without doing some damage, so double check those magnets beforehand!
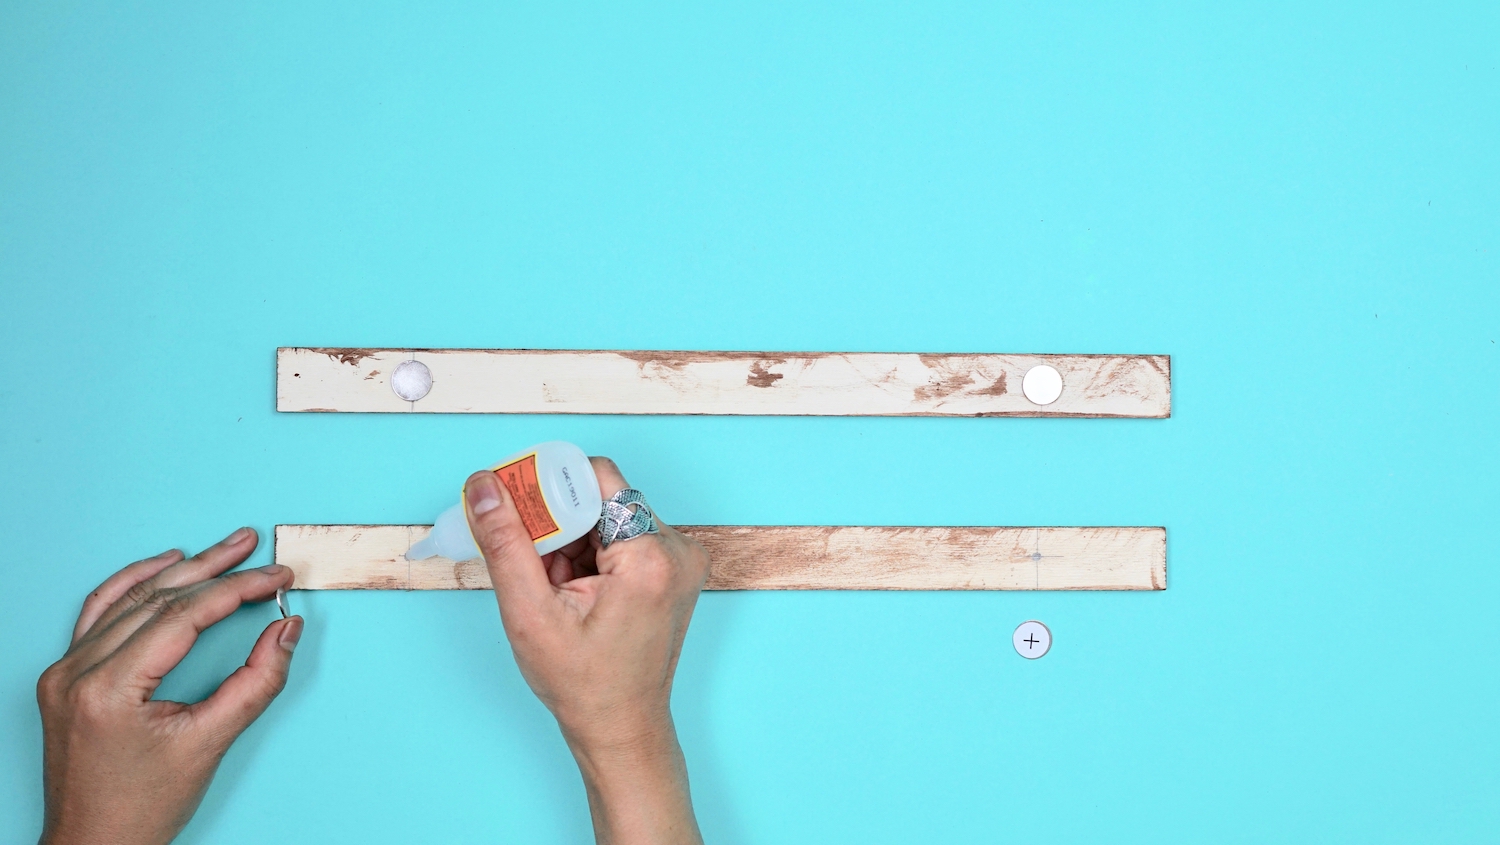
Even if you’ve got self-adhesive magnets, like the ones I used, I highly advise that you secure them with super strength glue. Place a dot of glue on the areas you’ve marked on your slats and attach the magnets.
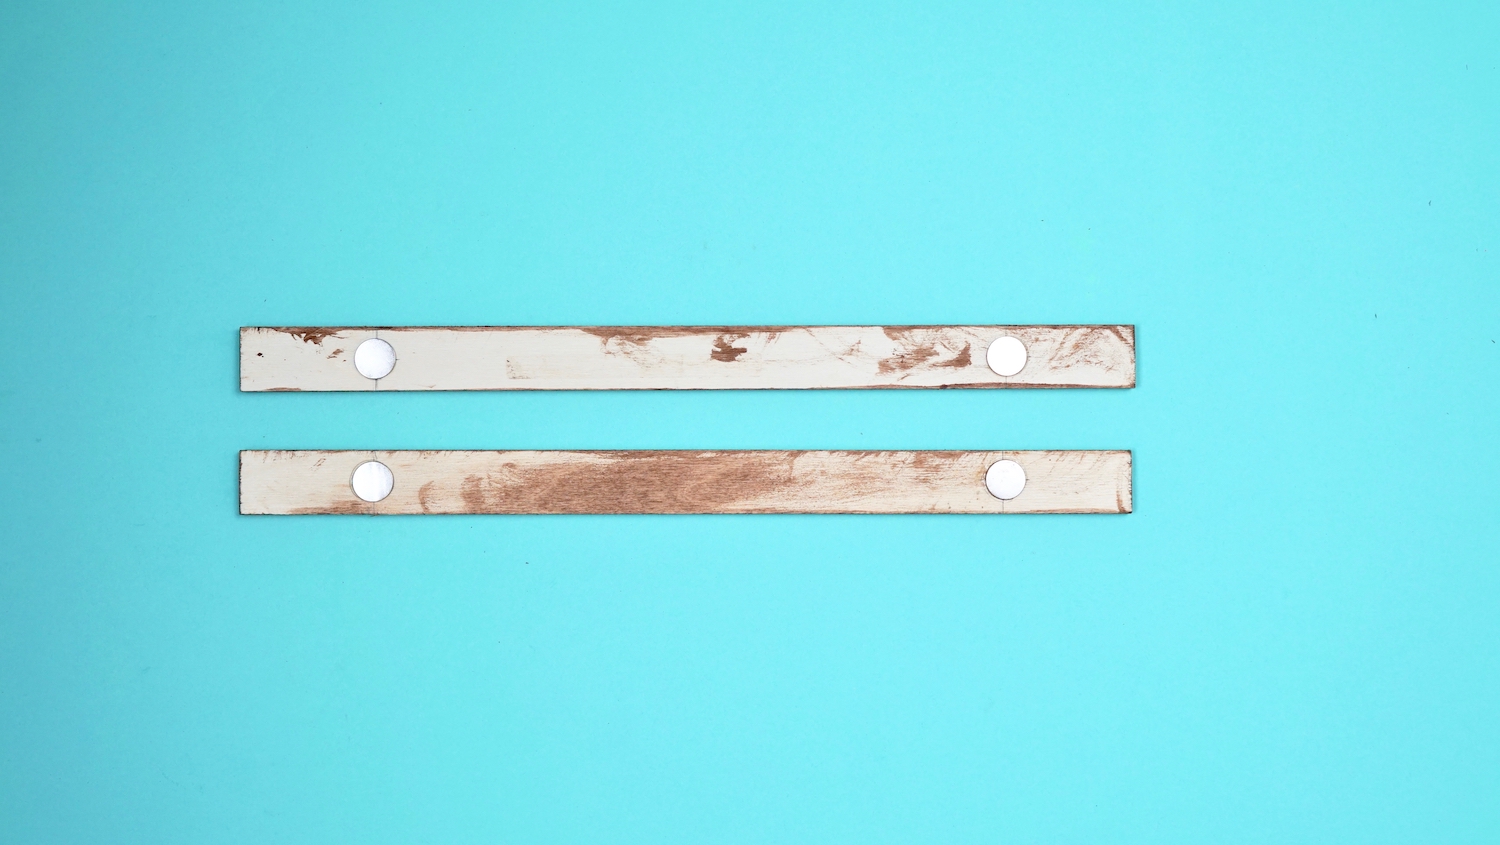
There’s the upper pair of slats done for one hanger. Repeat for the other two slats to make the lower pair.
Step 5
Now attach your ½” screw eyes to the back slat of your upper slat pair by screwing one on each side of the slat, 1” in from each edge. This should be easy enough to do by hand. If you’re having trouble, use a thumbtack or (if you have one) a super small drill bit to create a pilot hole to make it easier to screw it in.
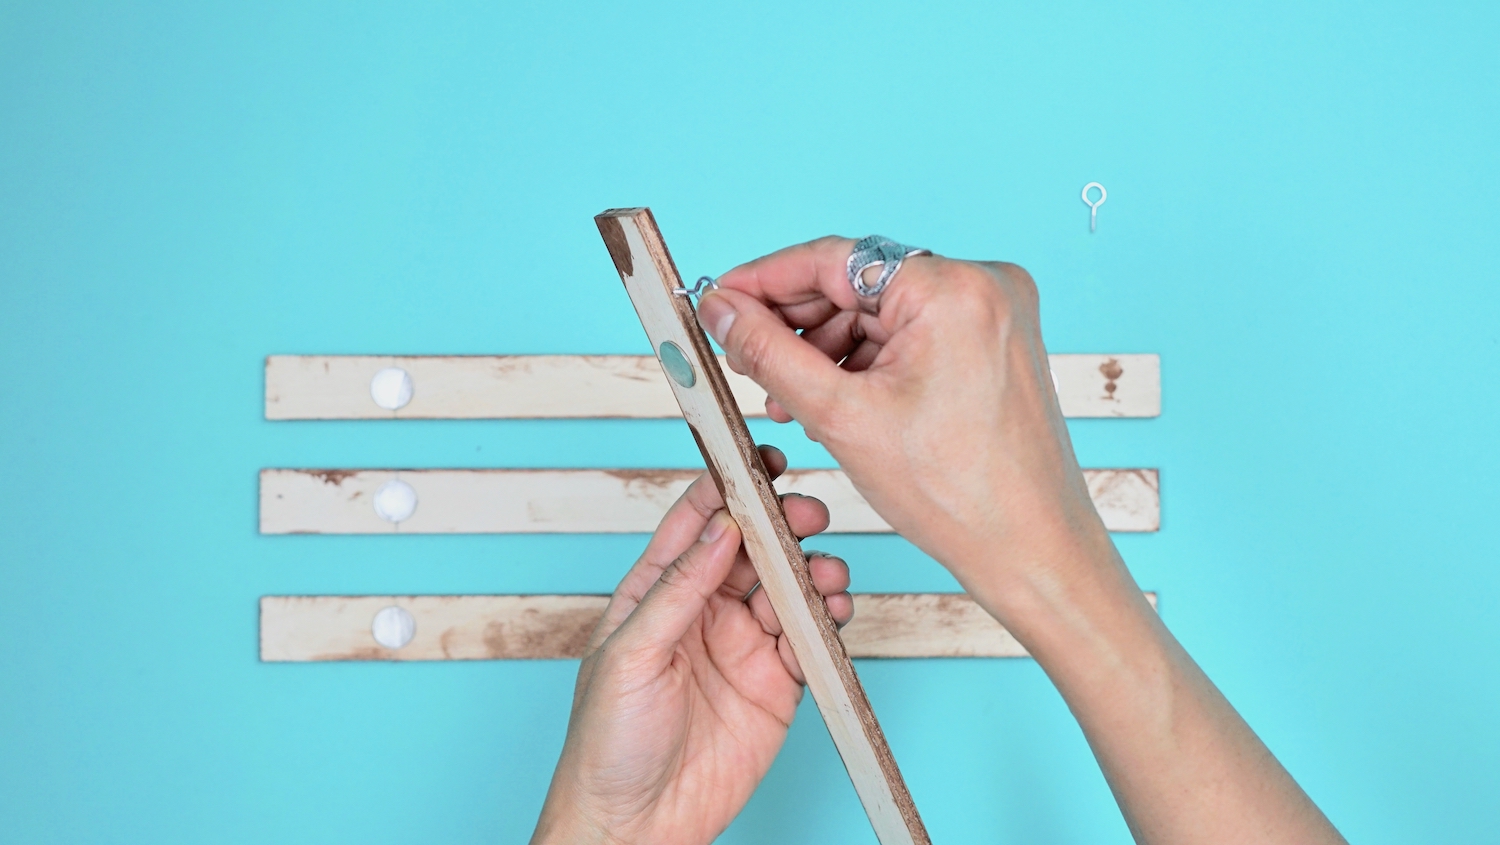
I had no problem screwing it into the plywood without a pilot hole. If you’re using hard wood slats, though, a pilot hole using a super small drill bit may be necessary.

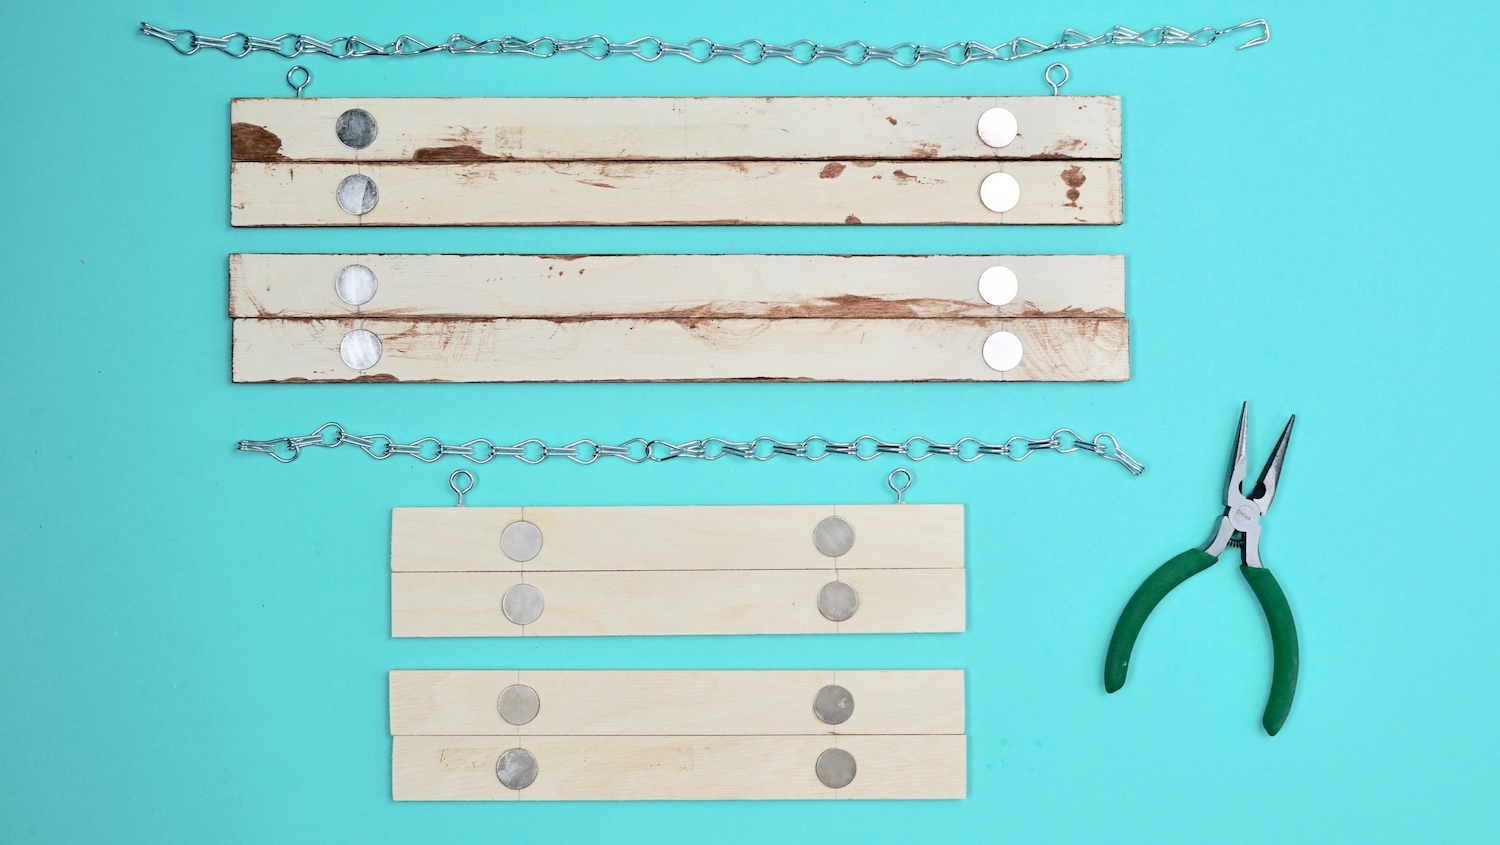
Step 6
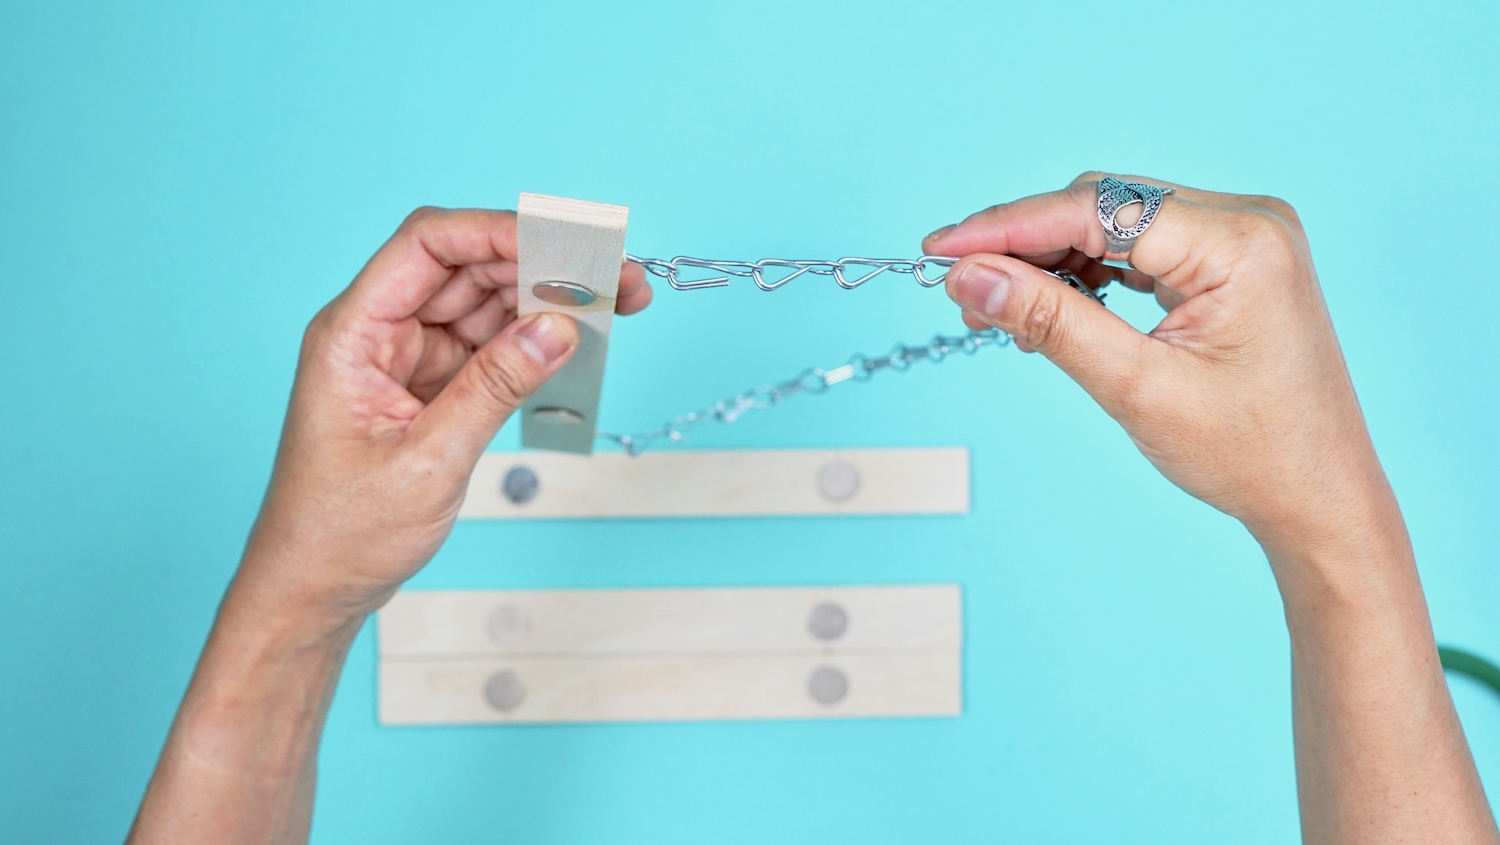
Time to attach your hanging chain to the screw eyes. Before doing so, use your pliers to cut the length of your chain according to preference. I chose to make the chain just a few inches longer than the length of the slats.
Pry open the link at each end of the chain, hook one link onto the left screw eye and the other link onto the right screw eye, then squeeze the links shut.


Step 7
Time to insert your art print! Simply lay your print on top of the back slats as shown.
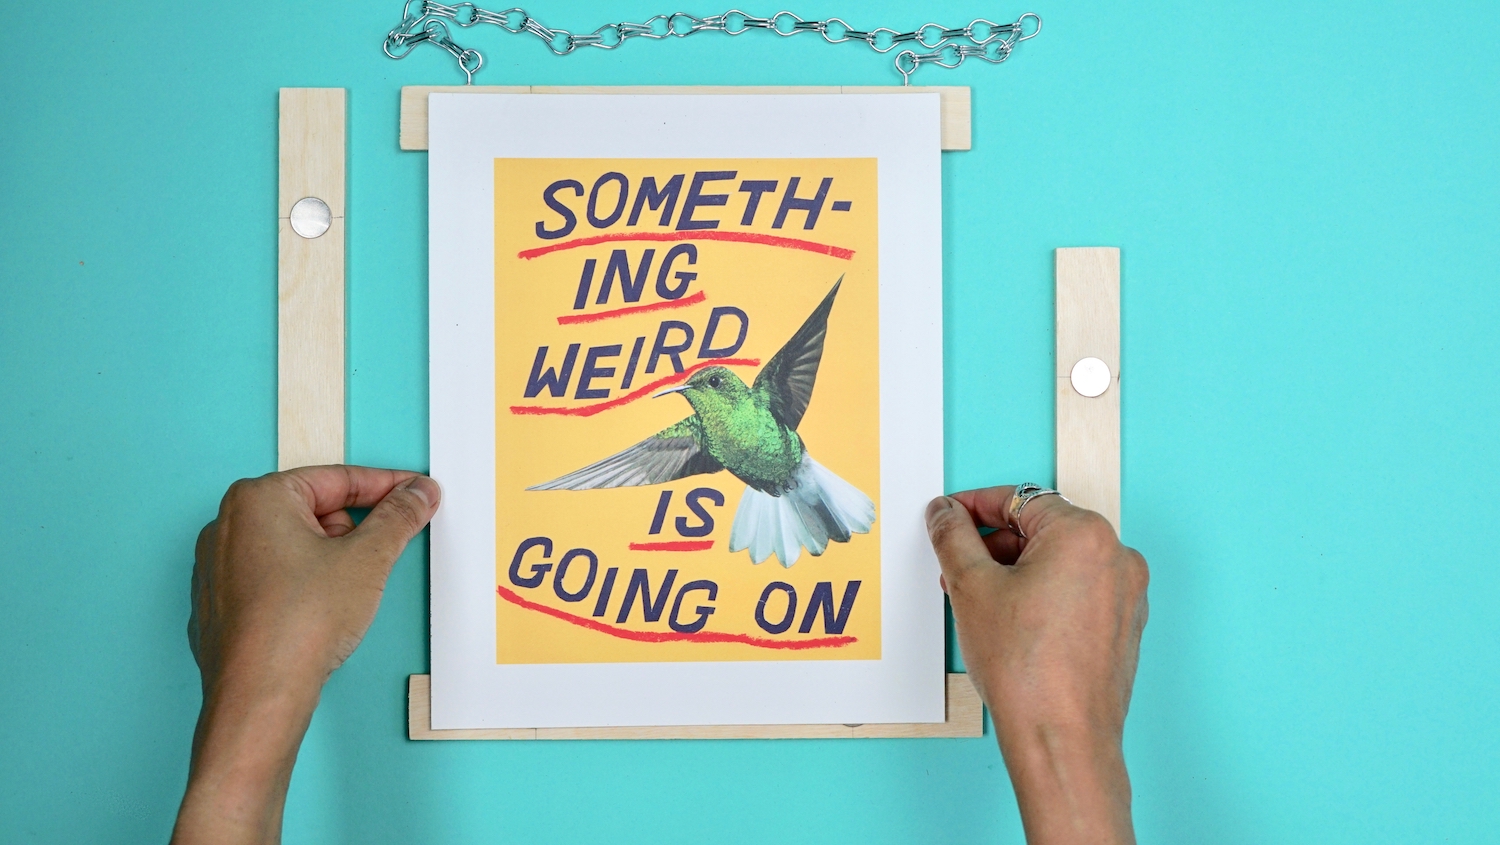
Snap the front slats onto the back ones to secure your print between the magnets.
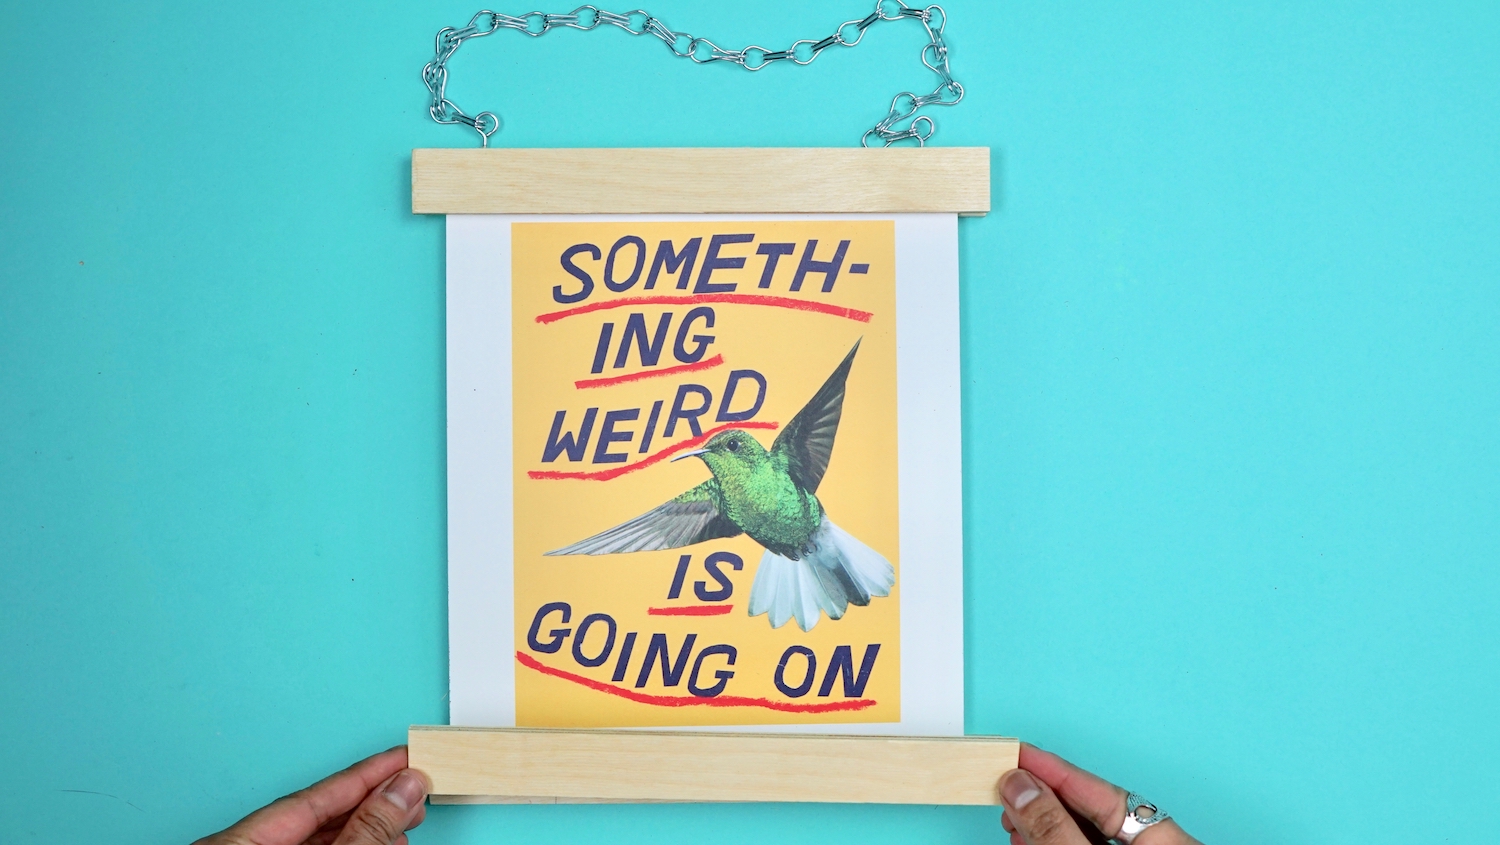
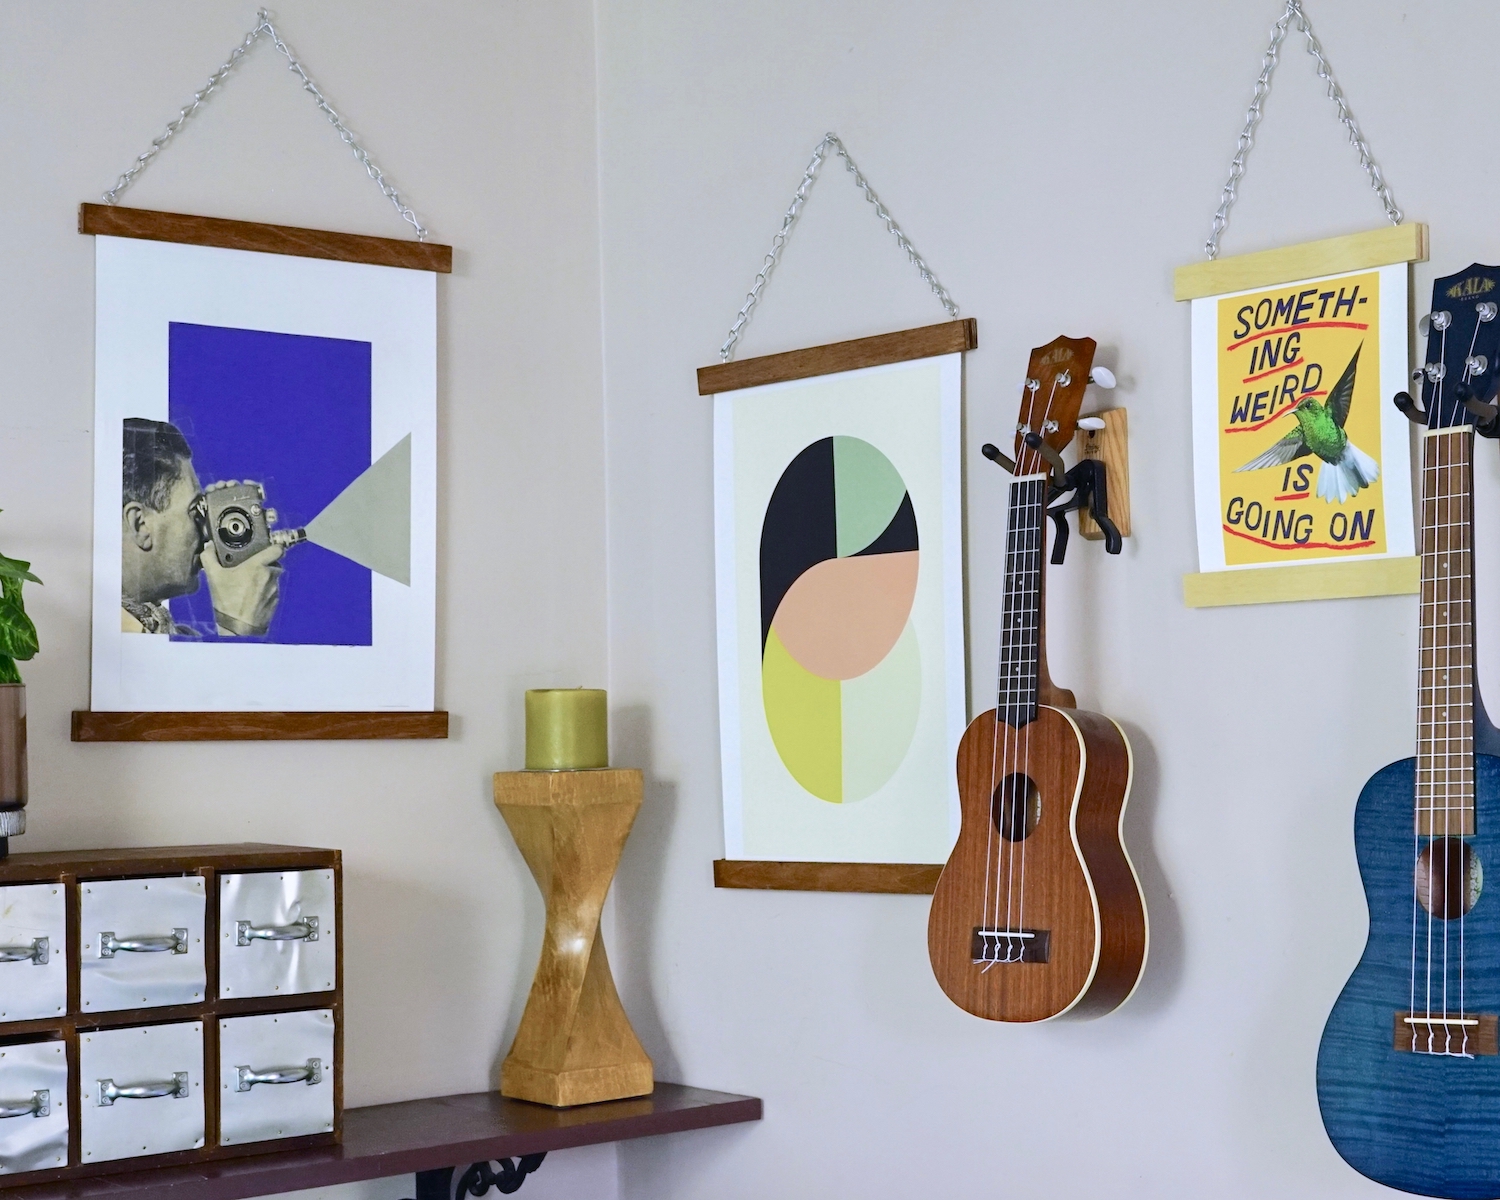
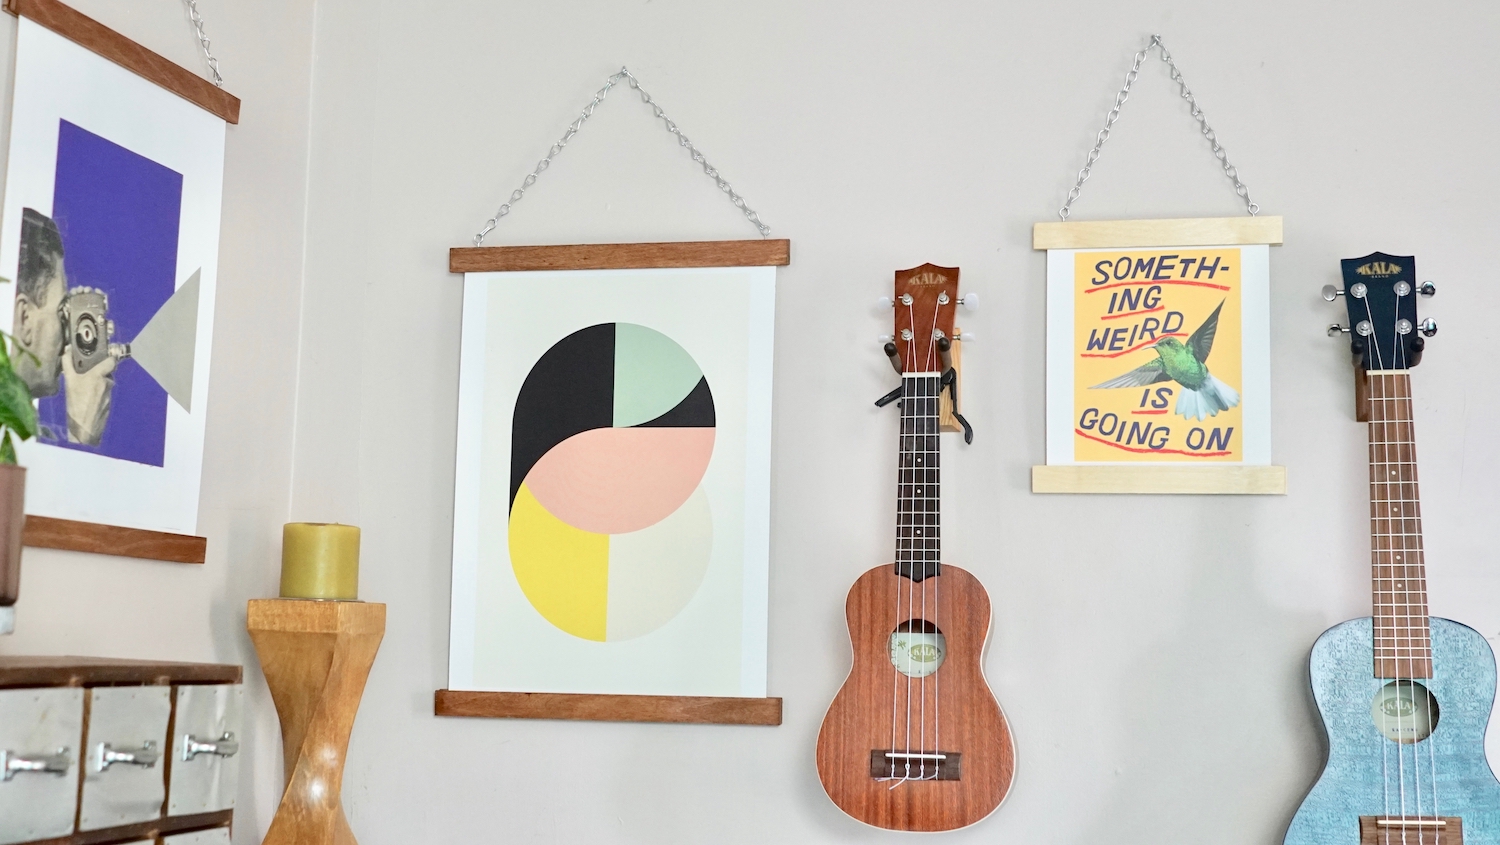
And you’re ready to hang ‘em up!
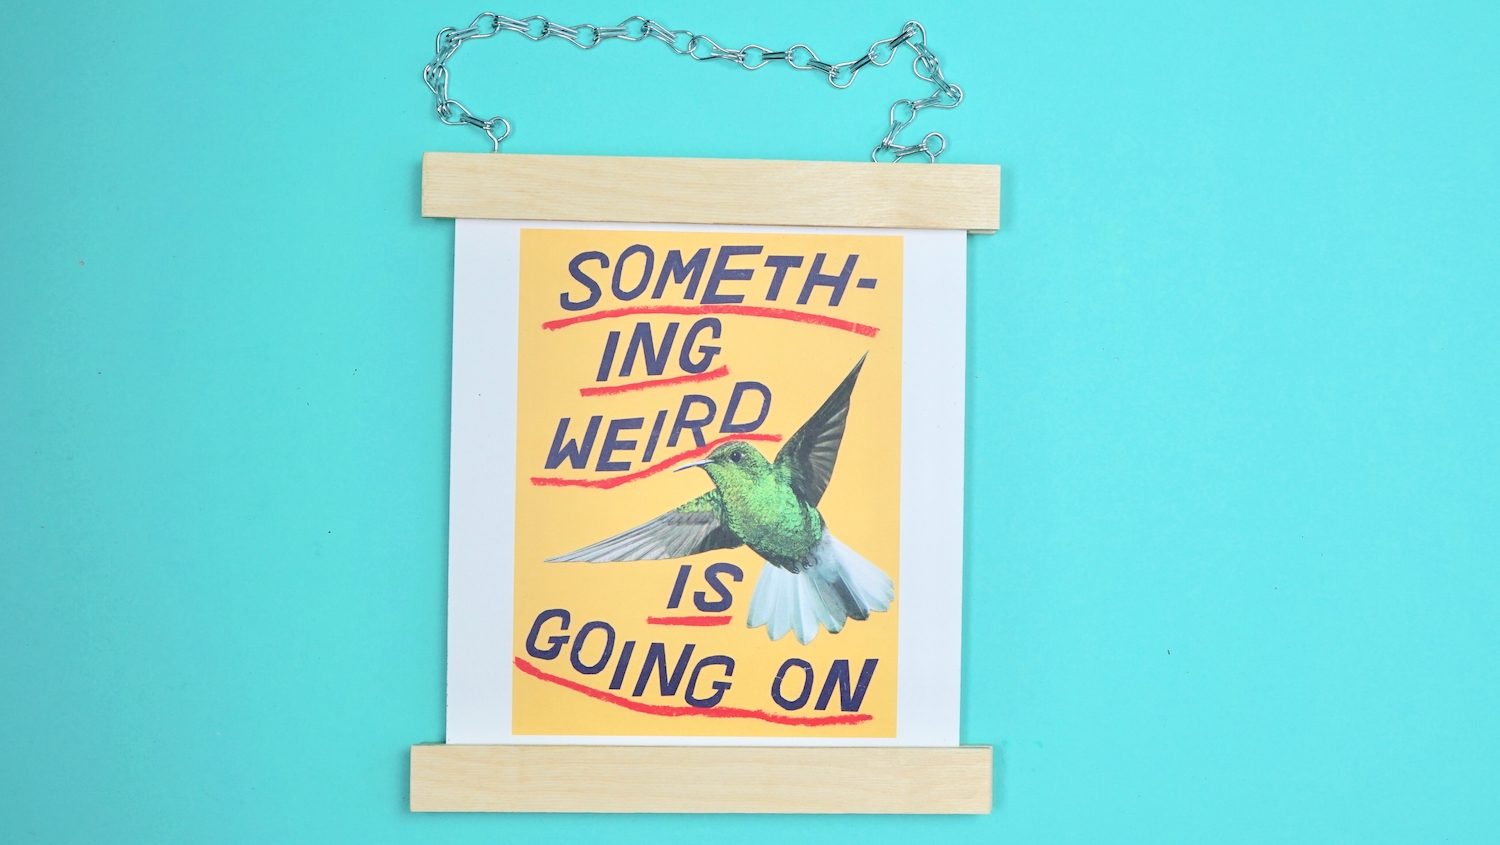
Stand back and admire your quick-change artwork hangers. Now there’s no excuse for not switching up your art every once in a while.
Copy and photos by Maya Marin
Comments