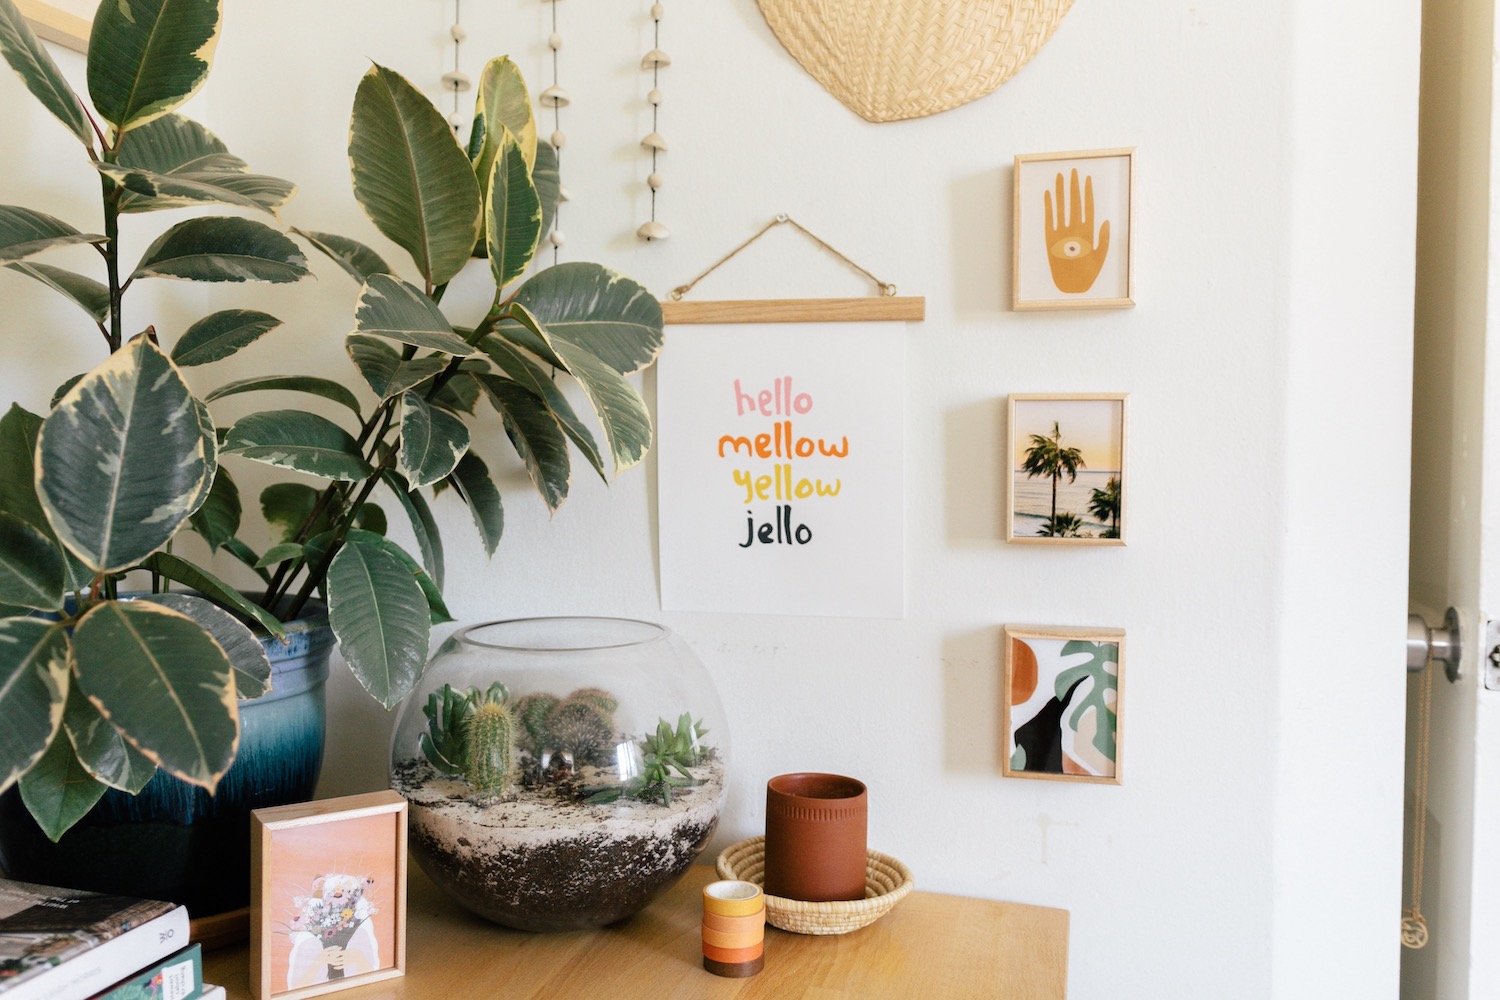
Gallery walls are a surefire way to add some major personality to your space.
Plus, they’re a nice excuse for us commitment phobes to not have to settle on just one favorite art print. The caveat? With so many moving parts, it’s easy to either run out of space or money before you know it. Here, decor expert Sara Toufali of Black and Blooms shares her five simple steps to making a super cute gallery wall on a super small budget.
1. Choose Your Art
When creating a gallery wall, first think of the space you’re designing it for. The wall next to my desk was begging for art, and I wanted to fill it with fun quotes, cute illustrations and beautiful places to inspire me while I’m working. Once you have an idea of the type of art you want, start your search! Pick prints in a variety of sizes that work together color-wise. They don’t have to match completely, but choosing art that follows a theme in terms of color palette makes for a cohesive, eye-pleasing design.
2. Incorporate Different Decor
Who says a gallery wall is for prints only? Have fun incorporating other decor into your design! These can be things you already own, such as a banner, flag, pennant, raffia fan or ceramic/macrame wall hangings. Anything that sparks joy for you is fair game.

3. Plan Your Placement
If you’re overwhelmed on where to start, divide the wall up into sections – top, middle and bottom. Planning pieces for each section can make the design process much easier. While it’s a good idea to get a sense of where you’d like to hang everything, don’t get too wrapped up in the spacing and dimensions. I mostly eyeball it! Hold your prints up to the wall to get a feel for how they might look – you can even lay them out on your floor to see how everything vibes together before hanging.
4. Hang It!
Forgo the usual large, expensive framing and instead incorporate things like magnetic wooden hangers and washi tape. Keep things low maintenance by using clear push pins instead of a hammer and nails for hanging decor. A simple string of jute twine creates the perf place to display polaroid pics, instax film, postcards or mini prints – all held up by cute mini clothespins. For your larger prints, apply tape to the back of each corner and stick them to your wall. If placement looks a bit off, just adjust as you see fit.
Once everything has been hung, apply your washi tape to the edges of the prints. Have fun with it! Use colors that complement the art, and create your own little design with the tape to give it a frame-like illusion.
5. Admire Your Work
You did it! Give yourself a pat on the back and enjoy your newly refreshed space!
Comments