Hanging a wall mural can seem daunting, from choosing a design you *love* to getting the sizing just right.
So, we asked creative studio and DIY experts Poppytalk to walk us through the process, which, believe us, can be totally pain-free! Check out their easy how-to below.
Murals have been around for centuries, with examples dating back to even Paleolithic times, and although the figurative paintings have been around for all of these years, it’s only in recent times have we seen them appearing in domestic interiors. Usually commissioning an artist to paint a mural was an activity exclusively for interiors of public buildings or the likes of castles or mansions, but with the introduction of wallpaper, murals have been appearing more and more in today’s homes.
What’s even more exciting is the newest technology, removable papers, making the approach to having an actual mural (or wallpaper design), available in any space, including rentals, more of a reality. So when Society6 asked us to create a few vignettes in our home studio using one of their latest products, self-adhesive wallpapers and murals, we were super excited to try them out and bring some real art into our space on a giant scale!

Permanent wallpaper can be a huge commitment, so we were keen to try out something that was easy to remove, making the task a little less daunting, and what we found out, super easy to do also! In fact, so easy, I was able to actually install the murals all by myself! We’re going to show you how easy it is to make it all happen, from measuring to installing.
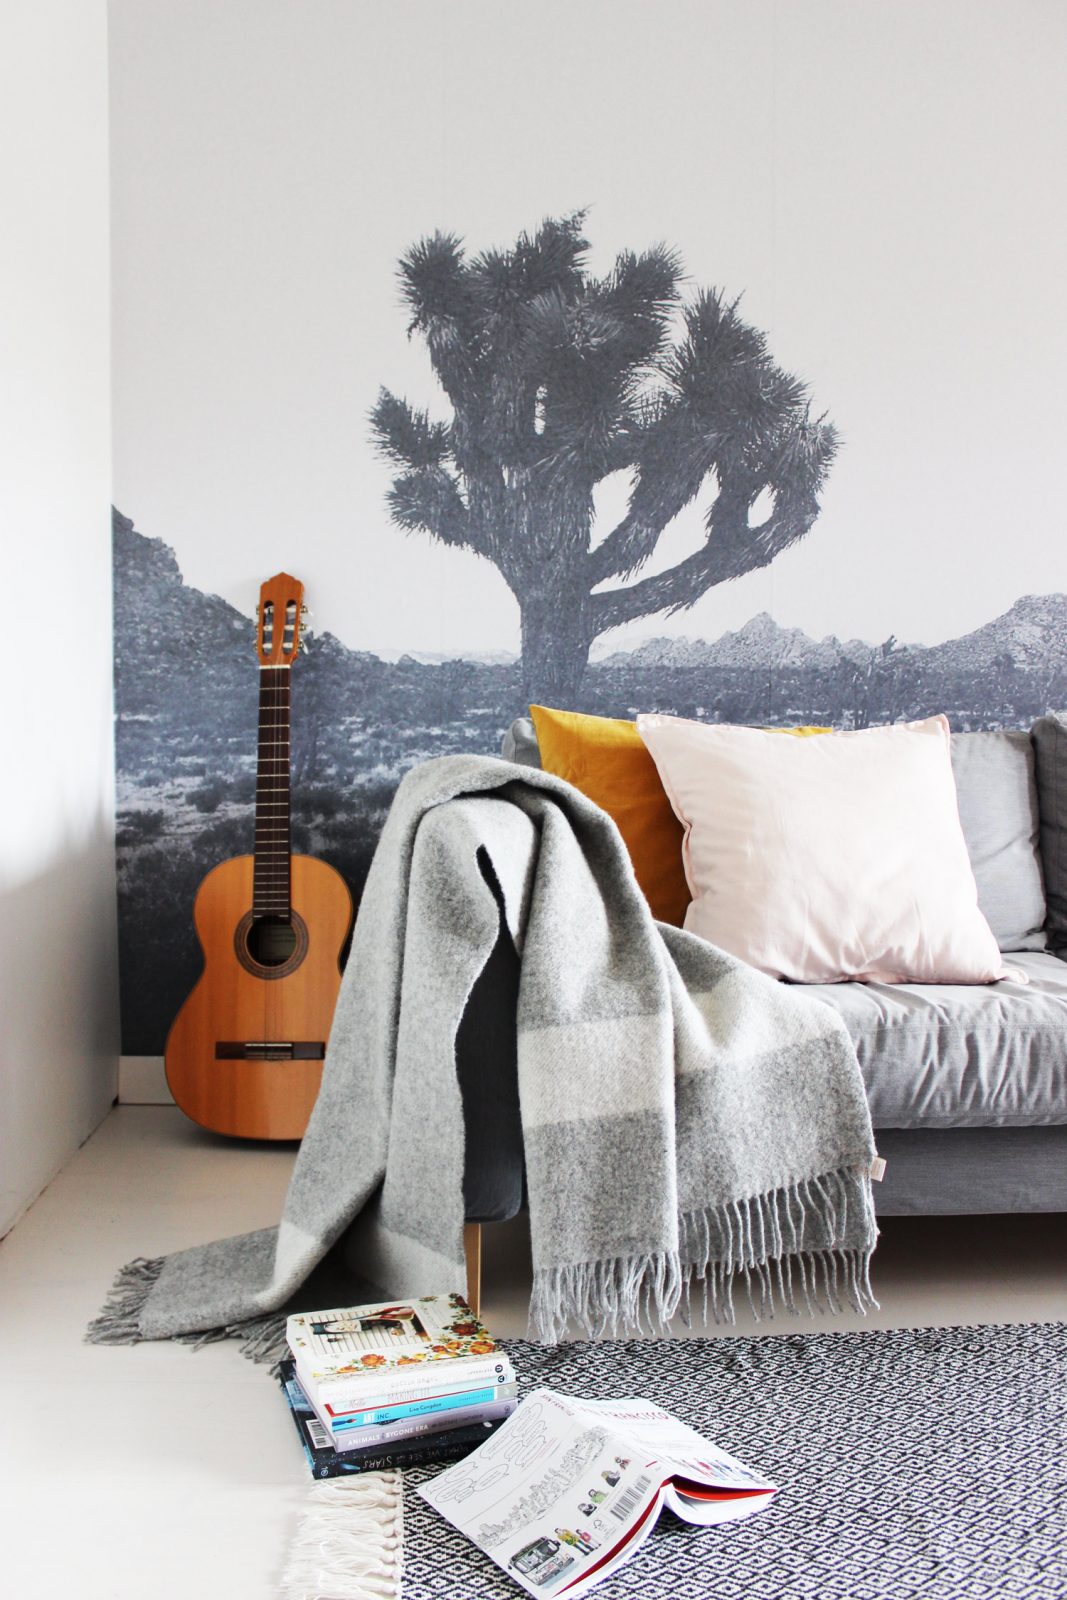
We chose a mural which makes us feel like we’re right in the middle of a spaghetti western. Joshua Tree / California Desert by Adventure Awaits was an obvious choice for us, since Joshua Tree is on our must-see list of places to go. And, pssst! I think this one just might be my favorite.
Before we show you the other vignettes, first the installation.
Installation
You Will Need
– a ladder or chair
– a scissors and/or xacto knife for finishing
– a spatula for flattening out bubbles
Step 1 – Measure
Before we ordered, we measured out the spaces we wanted to cover. Although not always the case, many of the murals on Society6 are four panels in width (each measuring 2 feet wide x 8 feet high) or 8’x8′. Luckily we had a wall that is almost exactly that, so this measurement worked out perfectly. If your wall is not perfectly that specific size, measure any angles or areas out, and cut the mural to fit accordingly. Measure twice!
Step 2 – Prepare the Walls
Before applying, make sure your walls and floors are clean of any dust, debris or grease. Remove any light or power switch covers.
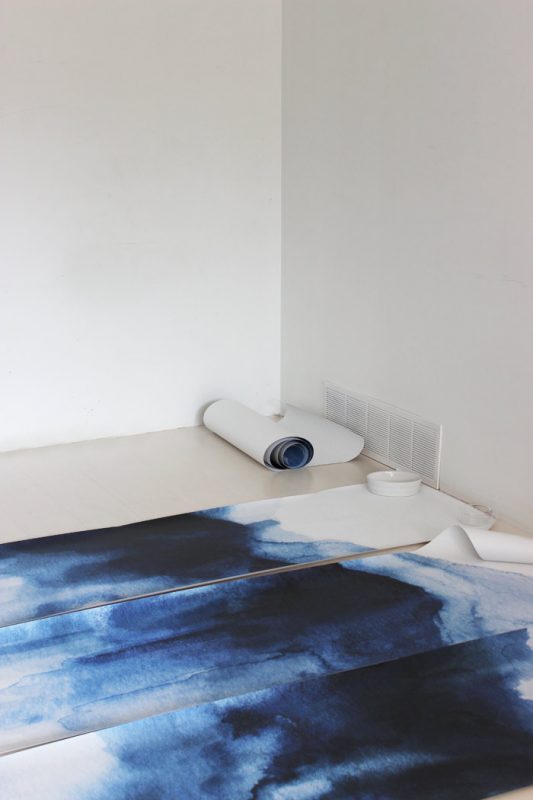
Step 3 – Lay Out the Panels
To begin we rolled out each of the panels to ensure the order to which they would be applied. This can be a little tricky if there is a lot of repetition, so again, measure twice. Let the panels lay out for about an hour or so to straighten out a bit and to keep from rolling up when you do start applying to the wall. Keep them flat by placing a clean heavy item on each end (I just used a few bowls).
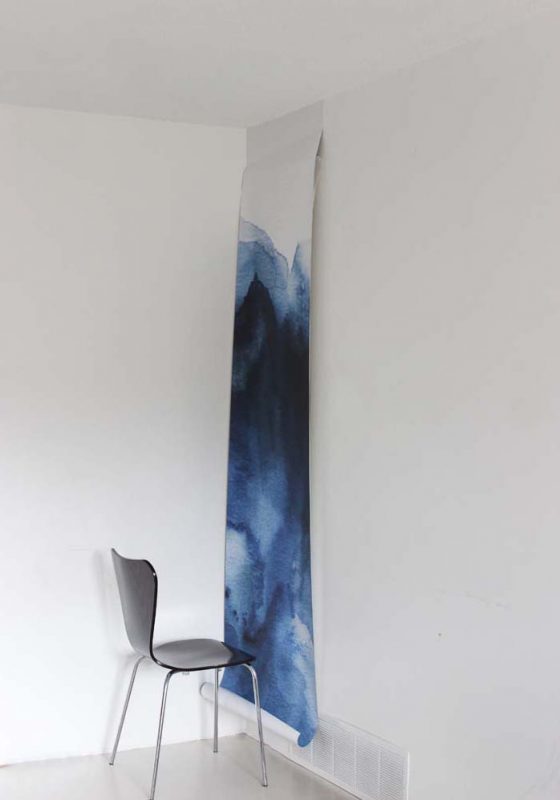
Step 4 – Start to Apply
Begin to peel the top of the self-adhesive backing on the first panel. Carefully begin to apply the panel to the wall, starting from the top, slowly pulling down the backing behind the paper, and then using a spatula to push away any bubbles that might appear. Don’t panic if it doesn’t go on straight, the paper is strong enough and sticky enough to be pulled away from the wall and re-applied if needed.
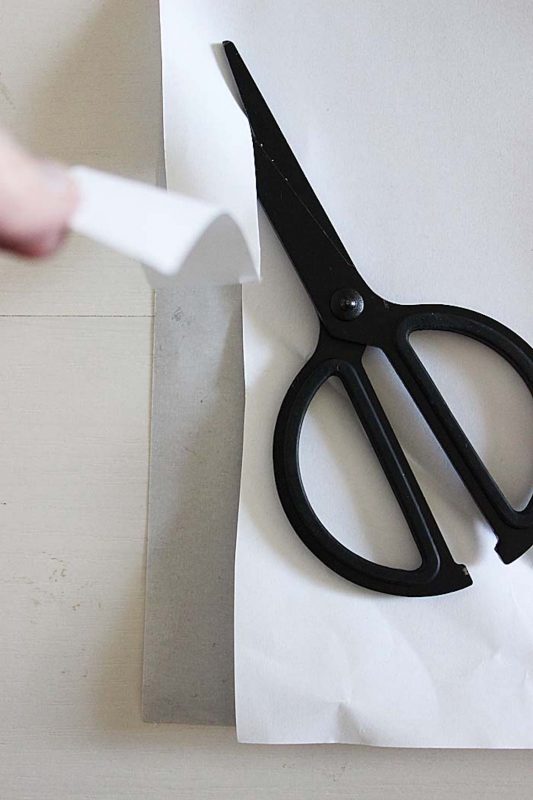
Pro-tip: When matching the design from one panel to another, you might want to snip a little of the backing off the matching panel on the left hand side, making it easier to match up the corresponding design, from one panel to another. (See diagram below).
Step 5 – Finishing
To finish the installation, use the xacto knife to trim around any barriers such as plug-ins, light switches, etc. Then finish off with their applicable covers.
Like I said before, I found the installation to be rather easy, it just takes a bit of getting used to at first, but installing shouldn’t take more than an hour to install a four panel mural.
See below for how we styled different spaces using the Joshua Tree / California Desert Mural.
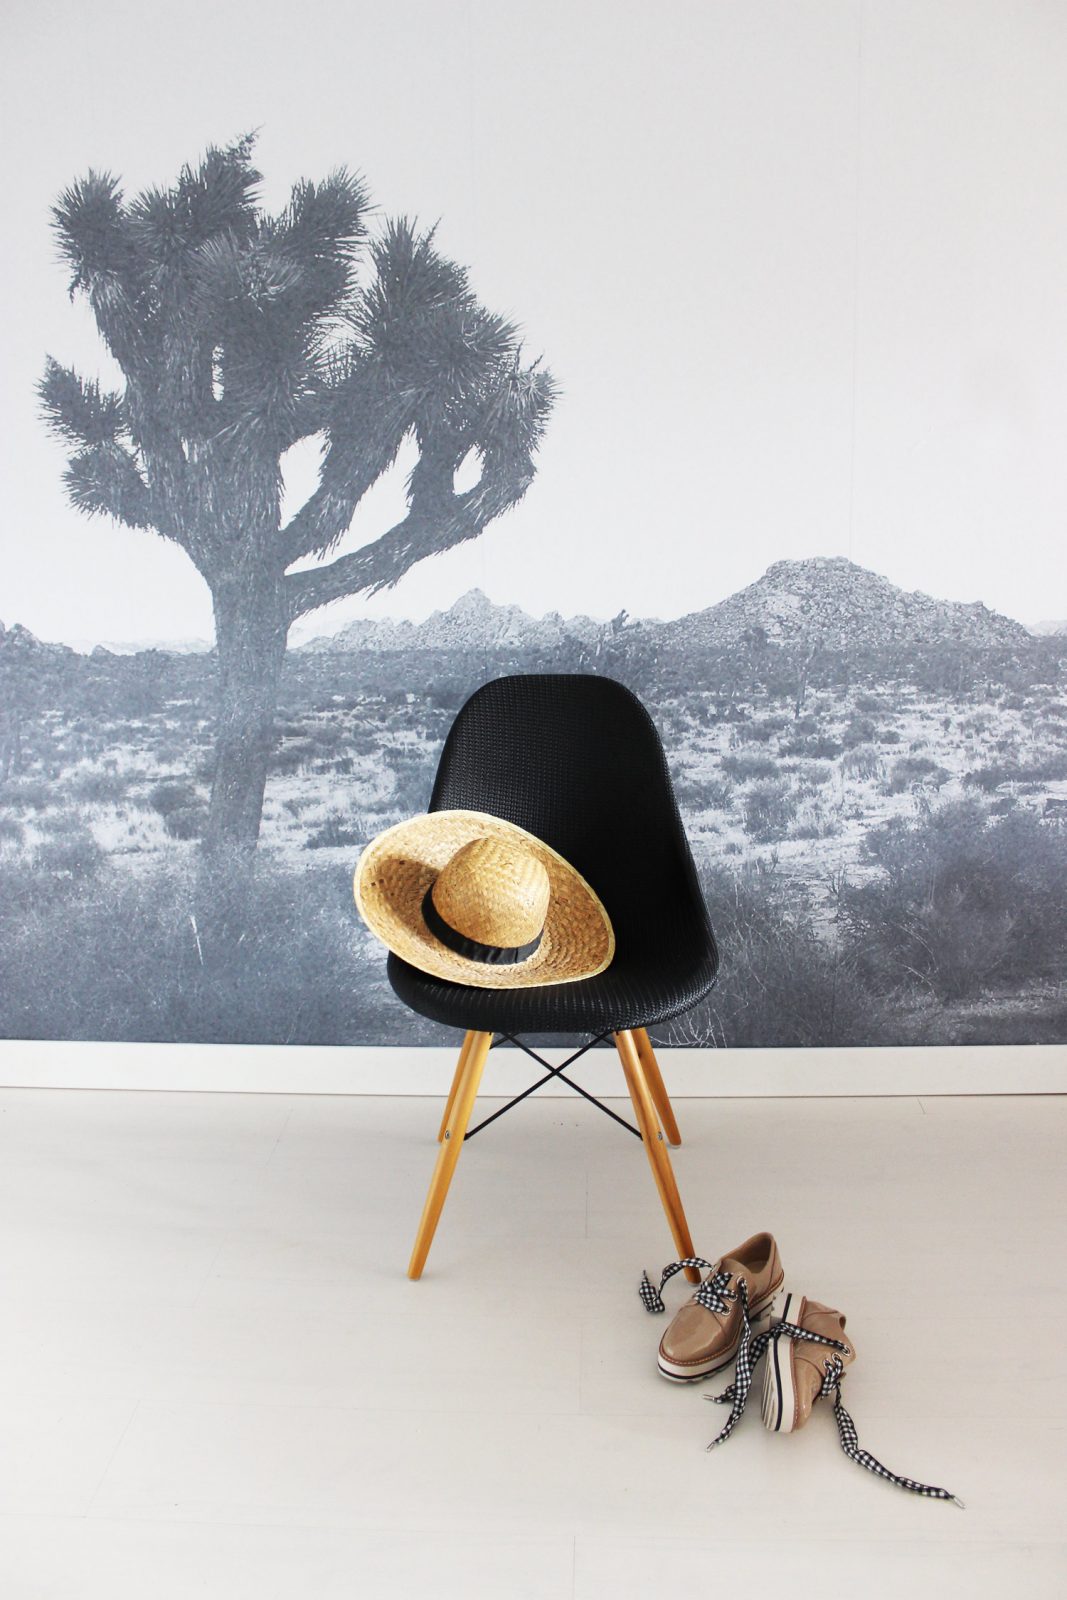
The Entryway
I love this mural for an entryway. It makes you feel like you’re on some sort of movie set or something. It think it would also make a fun photobooth backdrop. Can’t wait to dig up some western gear and maybe host a party soon!
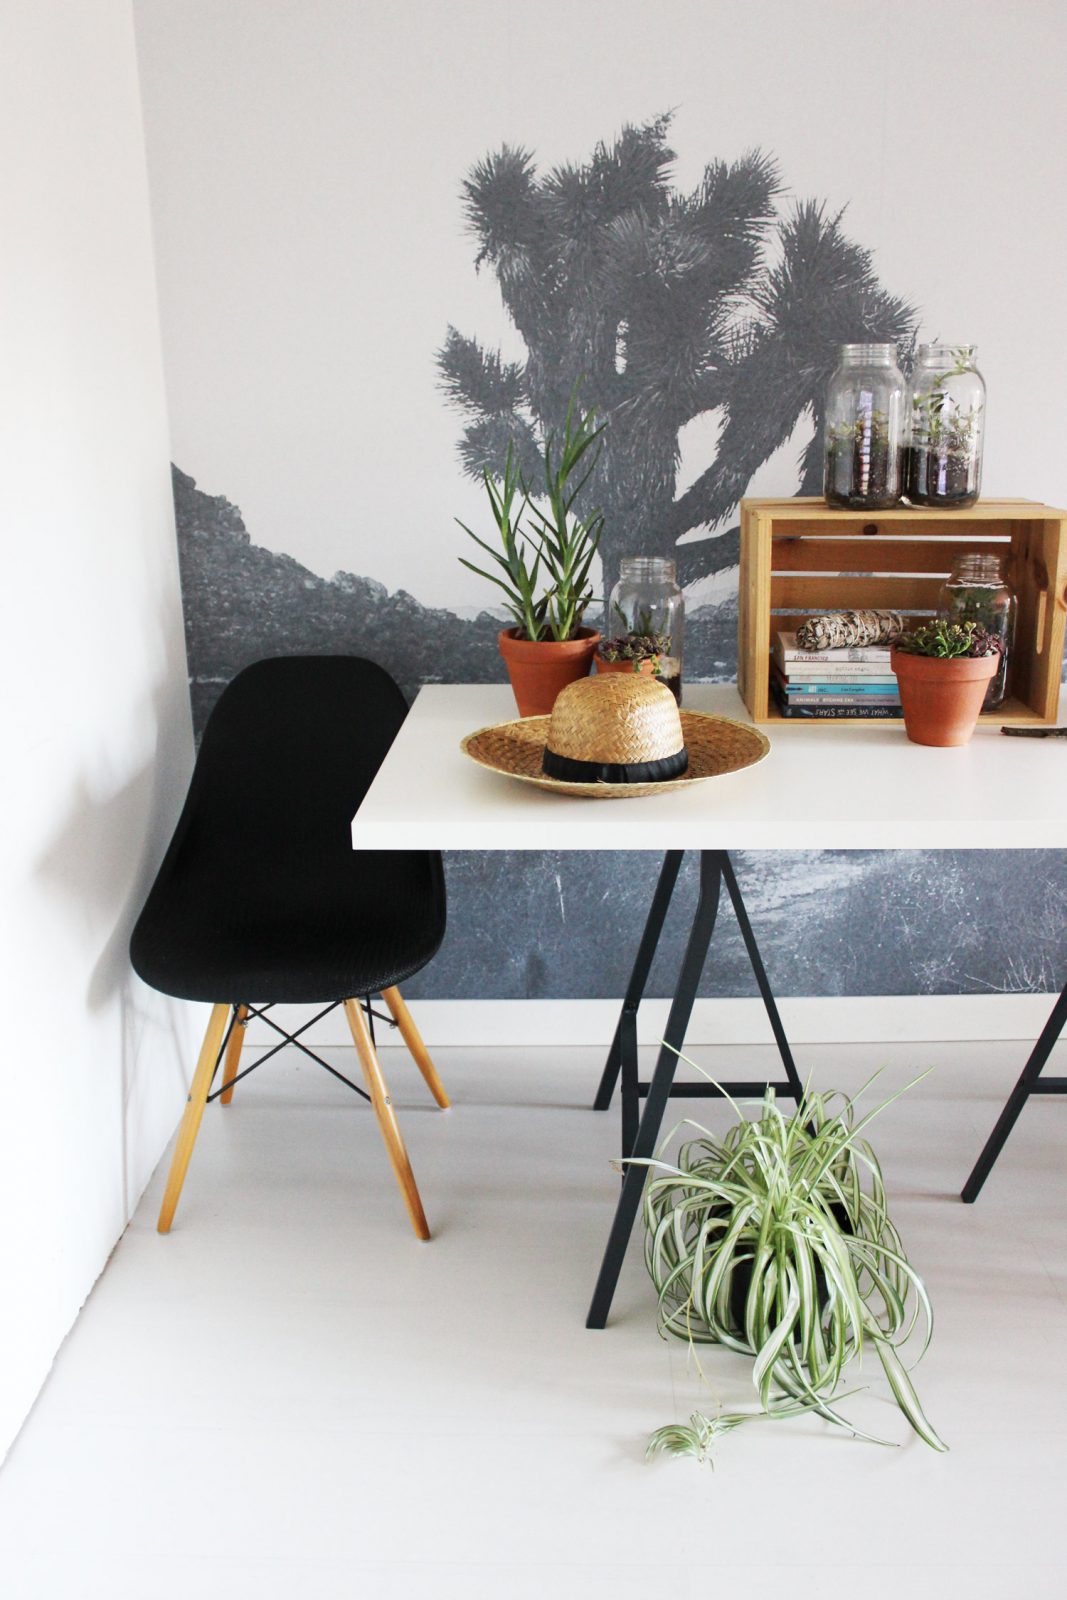
The Workspace
This paper could be fun to style into a workspace also. I totally would love this in my work area. It feels like you’re working outdoors (and in a warm spot)!
To be honest, there are so many beautiful wallpapers and murals at Society6 it was hard to even just pick these three. As I was installing and hanging them, I thought what fun they would be in a dorm setting too. And no problem to remove once you finish the year (just remember to save the backing papers to store again)!
Comments