Learn how to utilize the Product Editor page!
We launched our all-new artist studio at the end of 2019 to make the uploading process easier than ever for our artist community. One of the new features included is the ability to easily apply the same crop and positioning to additional products with the same or similar aspect ratio.
Here’s a quick video and a step-by-step guide on how to take advantage of the new editing page.
Step 1
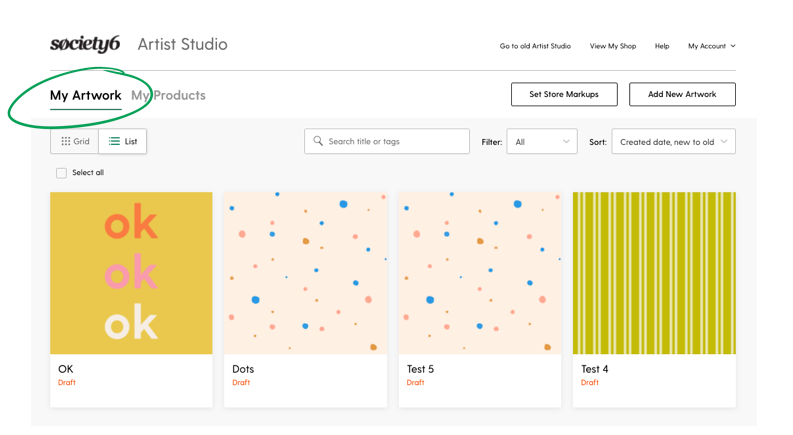
In Artist Studio, select “My Artwork” in the top left.
Step 2
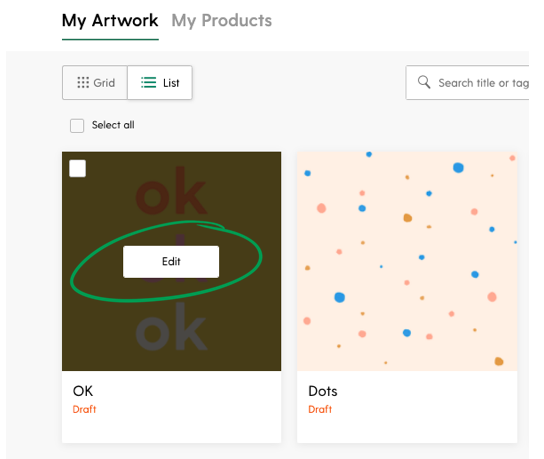
Select the artwork you want to edit.
Step 3
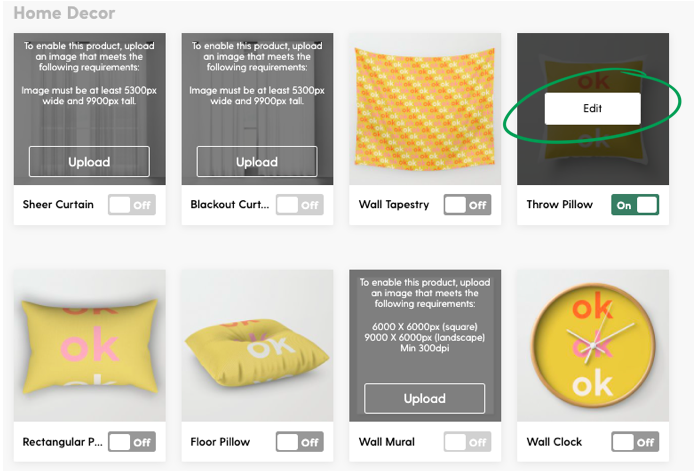
Select the product you want to edit.
Step 4
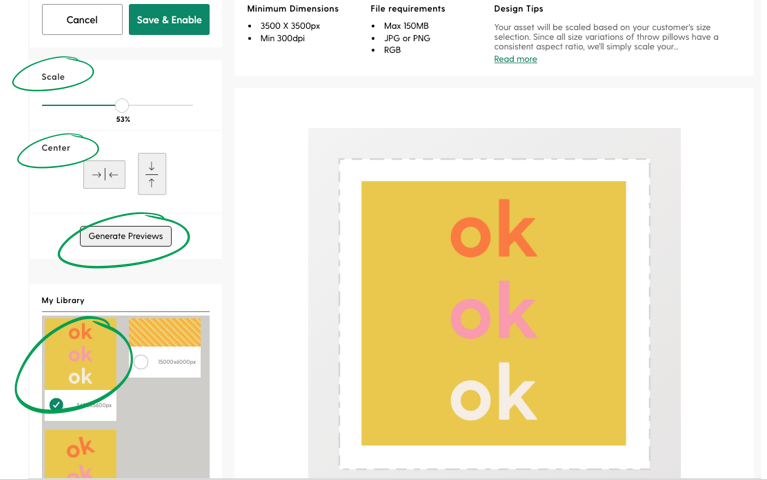
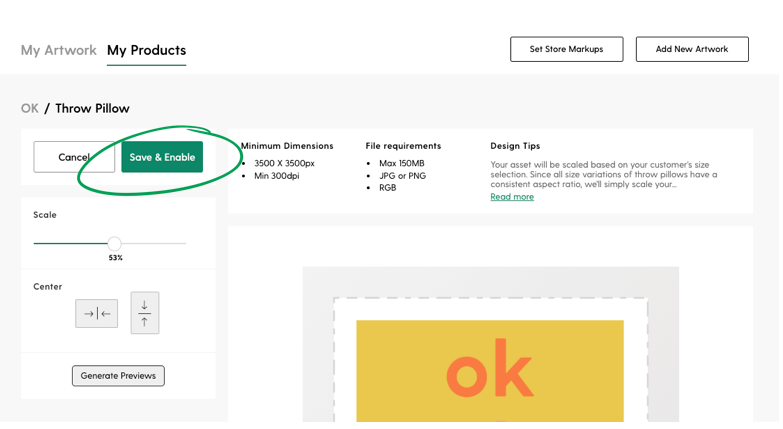
On the Product Editor page, you can see which asset was applied to this product, and if you want to make any edits you can do so. You can scale the asset up or down, move it in the print template, and find the horizontal and vertical center. You can also click to see previews of how the asset will look once it’s rendered on a product.
Step 5
Once you’re happy with the asset and the placement, click Save & Enable to save.
Step 6
At this point, if the product you’re editing is the same or similar aspect ratio as other Society6 products, you may see the following prompt.
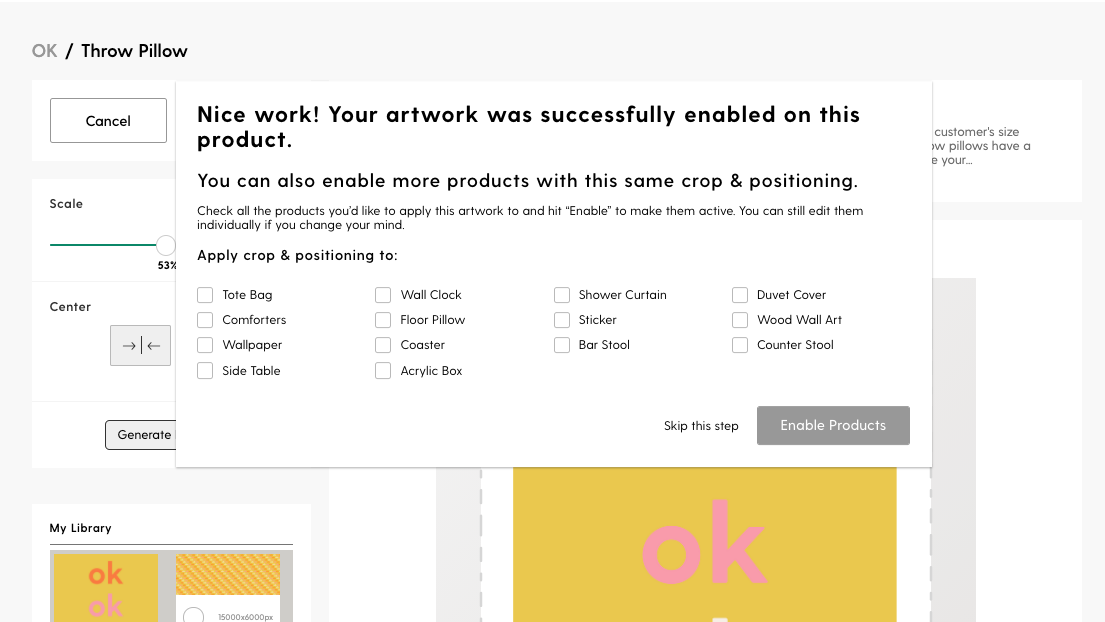
When selecting additional products from the pop up, you will both enable those products and apply the exact same crop and positioning as the product you were just editing. This makes it easy to enable and apply the same formatting to multiple products at a time – but don’t worry, you can still edit each product individually after the fact and edits you make to one product won’t be applied to another product unless you select for them to. You can also simply skip this step if you only want to enable the product you were editing.
Step 7
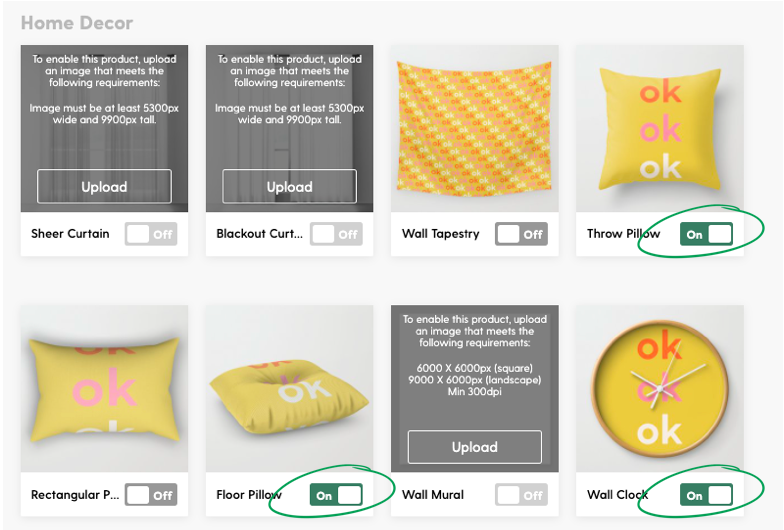
Done! Now your products are enabled.
Comments