Want to make your bedroom a bit more luxe without the price tag?
Look no further than this helpful hack from DIY blogger Seeking Alexi, who showed us how to make a plush upholstered headboard on a dime. Follow these steps and you’ll add some serious style to your digs in a snap.
Have you ever wanted a custom-looking room without the expensive price tag? Well today I’ll show you how to make this EASY, custom DIY headboard to help you achieve the bedroom of your dreams! This headboard is easier than any I’ve seen online, it cuts out one whole tricky step from most headboards (which also helps save on time!), AND it’s stinkin’ adorable! So, it’s a win, win, win!
The best part about this headboard? I used this stunning comforter, but you could select ANY comforter you want and it will immediately create that custom-look. The only tricky part? Selecting from Society6’s thousands of amazing comforter designs. If it helps, I almost chose this one, OR this one because I loved them both, too! Tough decisions.

How to create an EASY, custom DIY fabric headboard:
Step 1: Cut your wood to size.
Mine is a full size bed/headboard, so I cut a piece of 3/4” plywood to 55”x32” using a circular saw (but your local Home Depot can cut your wood, too!)
Step 2: Drill Kreg drill holes.
Drill about 6 holes equally spaced out on each of the side edges. What is a Kreg drill, you ask? It’s a really easy & beginner woodworking tool and you can snag one for as little as $20. For this project, you really do need this tool to create this headboard.
TIP: If you’re feeling timid about using this new tool, let me reassure you it’s very easy. For some extra assurance, head over on my Instagram where I have an in-depth story highlight of this DIY headboard to teach you how to use a Kreg Jig and you can also see other tips!
Step 3: Spray glue 2 pieces of 3” foam together.
I purchased two 3” x 72” foam sheets from Home Depot because it was dramatically cheaper than anywhere else. To get them to stick together, I used a multi purpose spray adhesive that works on foam.
Step 4: Prep your foam.
Using a simple large, serrated bread knife from your kitchen, slice your foam about 1.5” larger than your wood on all sides. Then, using the same spray adhesive, spray the foam and attach it to the top side (the side without Kreg holes).
Step 5: Cut your comforter.
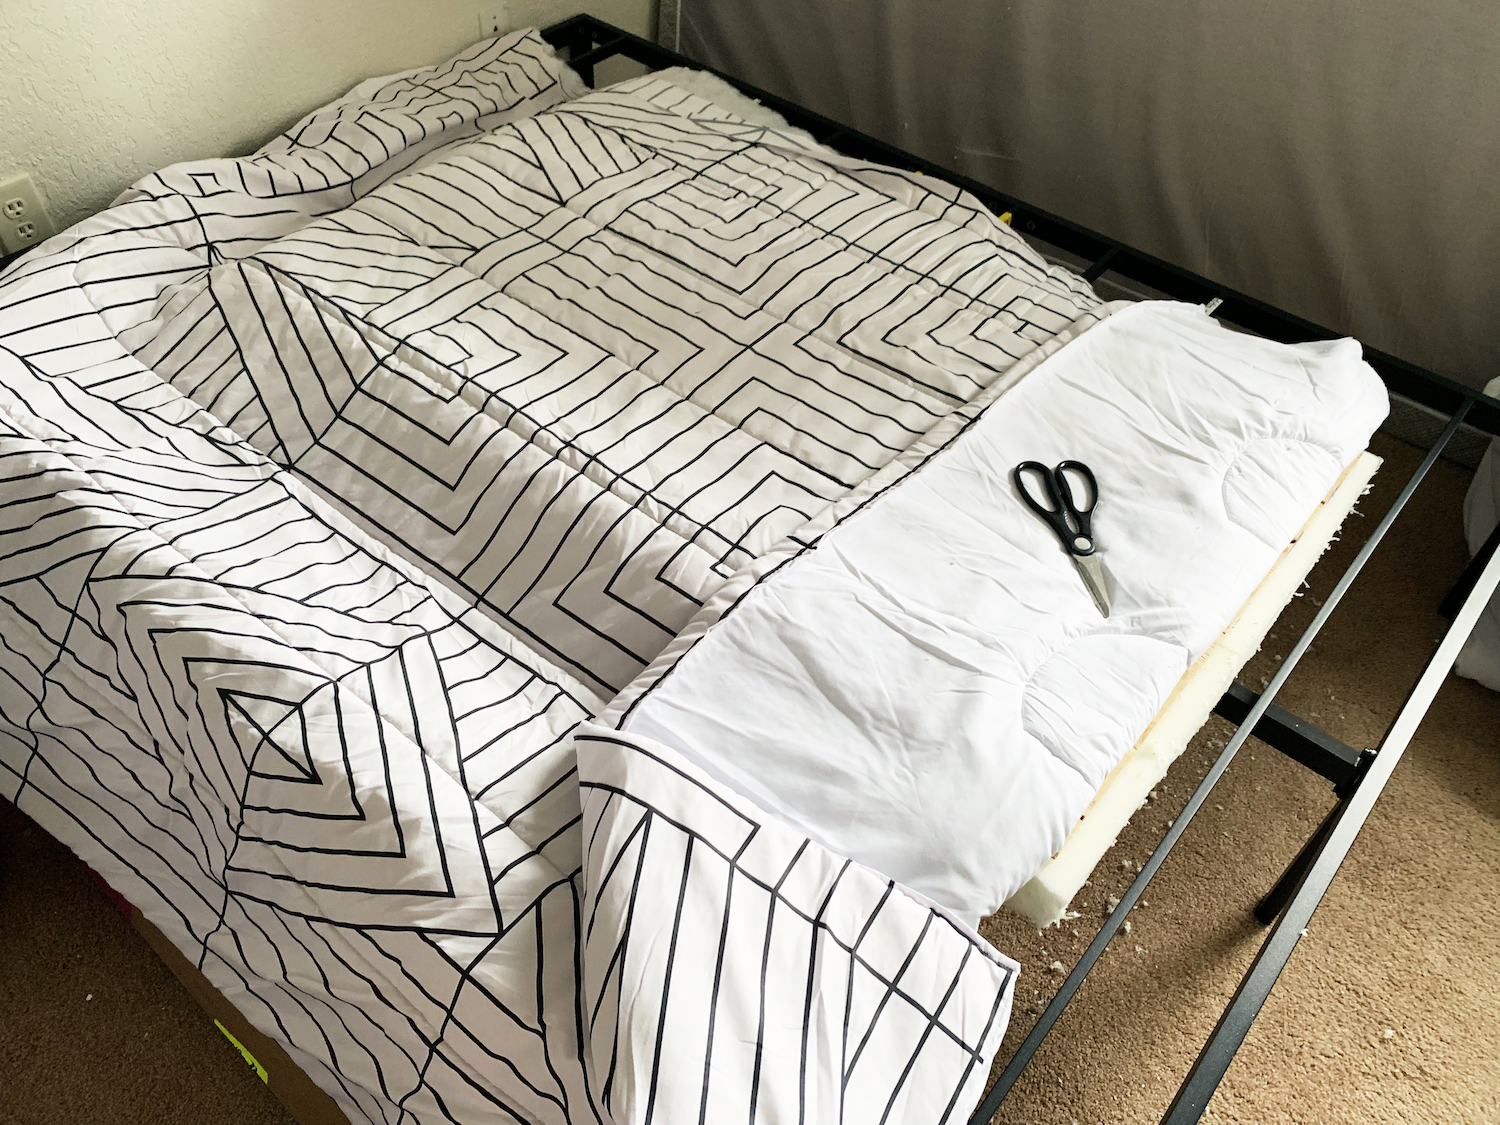
Line up your comforter to the desired position, and cut it long enough that it will wrap all the way around the wood and foam with enough space to staple gun it.

Step 6: Staple gun your comforter to the wood.
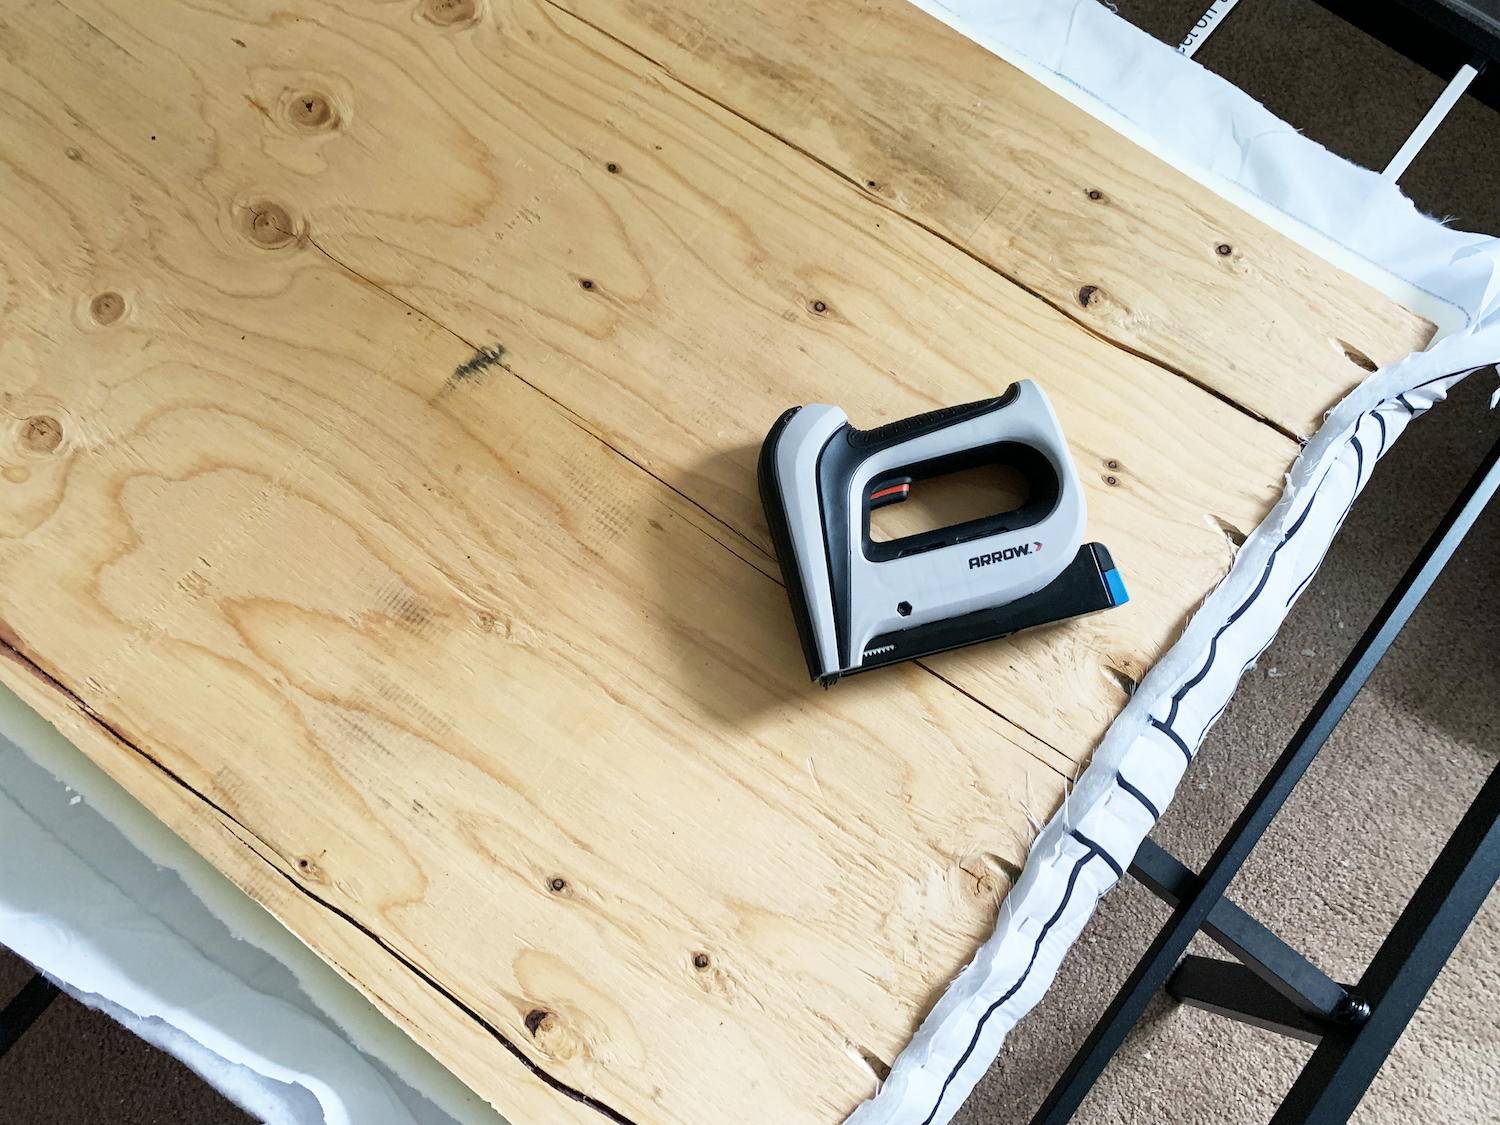
Using any standard staple gun, tightly wrap your comforter around the foam and securely staple your comforter to the wood. Do all edges, first, then go back and staple the corners down flat, like you would when wrapping a present.

Step 7: Prep & attach beams.
For the bed posts, I used a 2”x2”x96” dowel cut in half and painted black. Once the paint is sufficiently dry, hold tightly in your desired place and attach the bed posts to the headboard using 1 1/2” Kreg softwood screws.
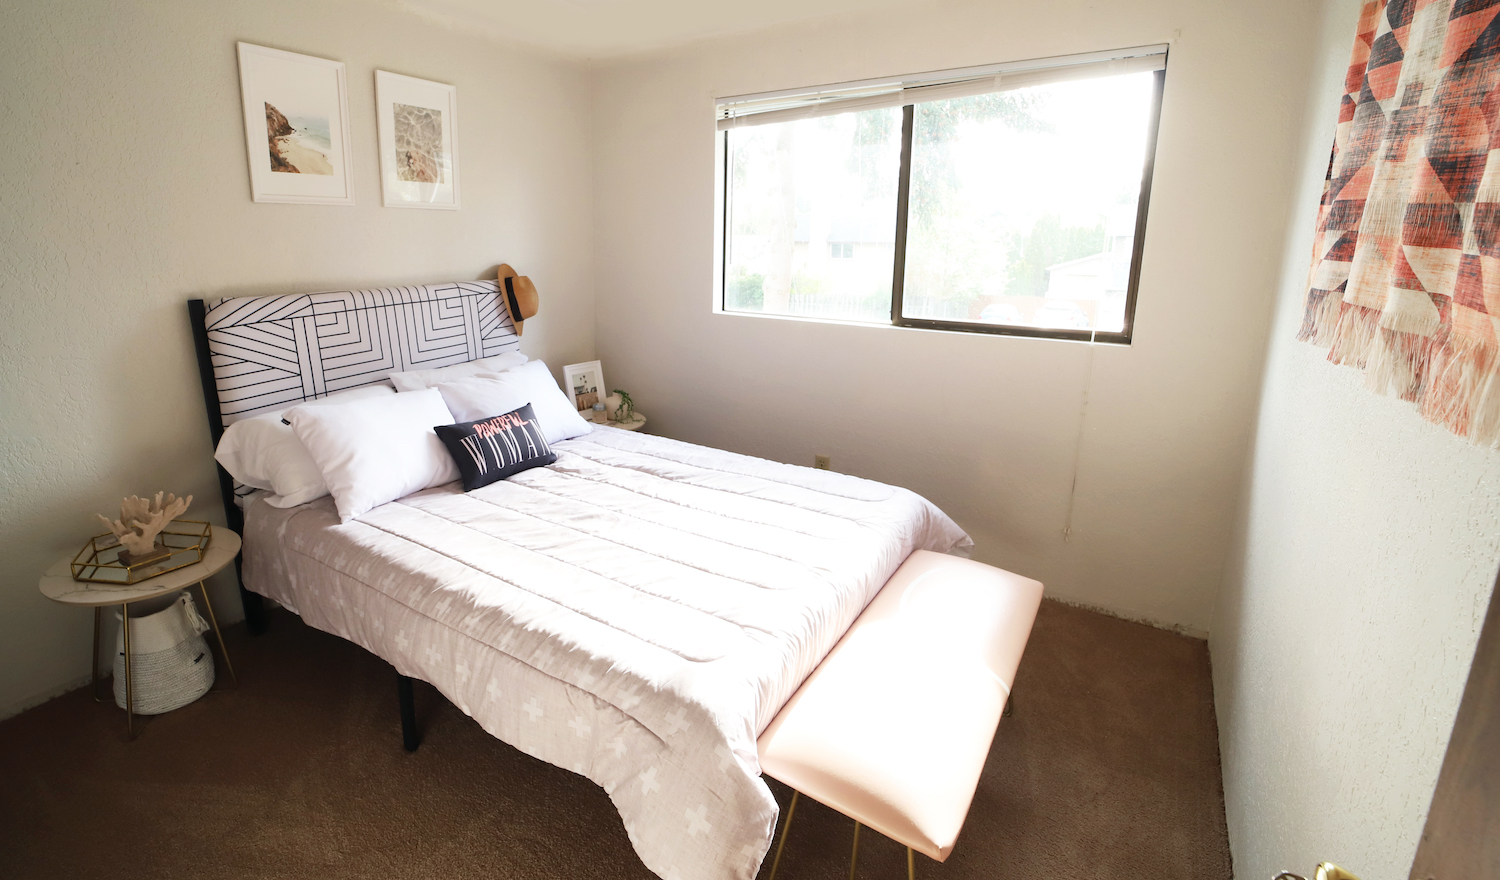
That’s all!!! Can you believe how amazing it turned out?! I love that I can hang a hat on the bedposts AND have a comfortable, fabric-wrapped headboard. It’s the best of both worlds!
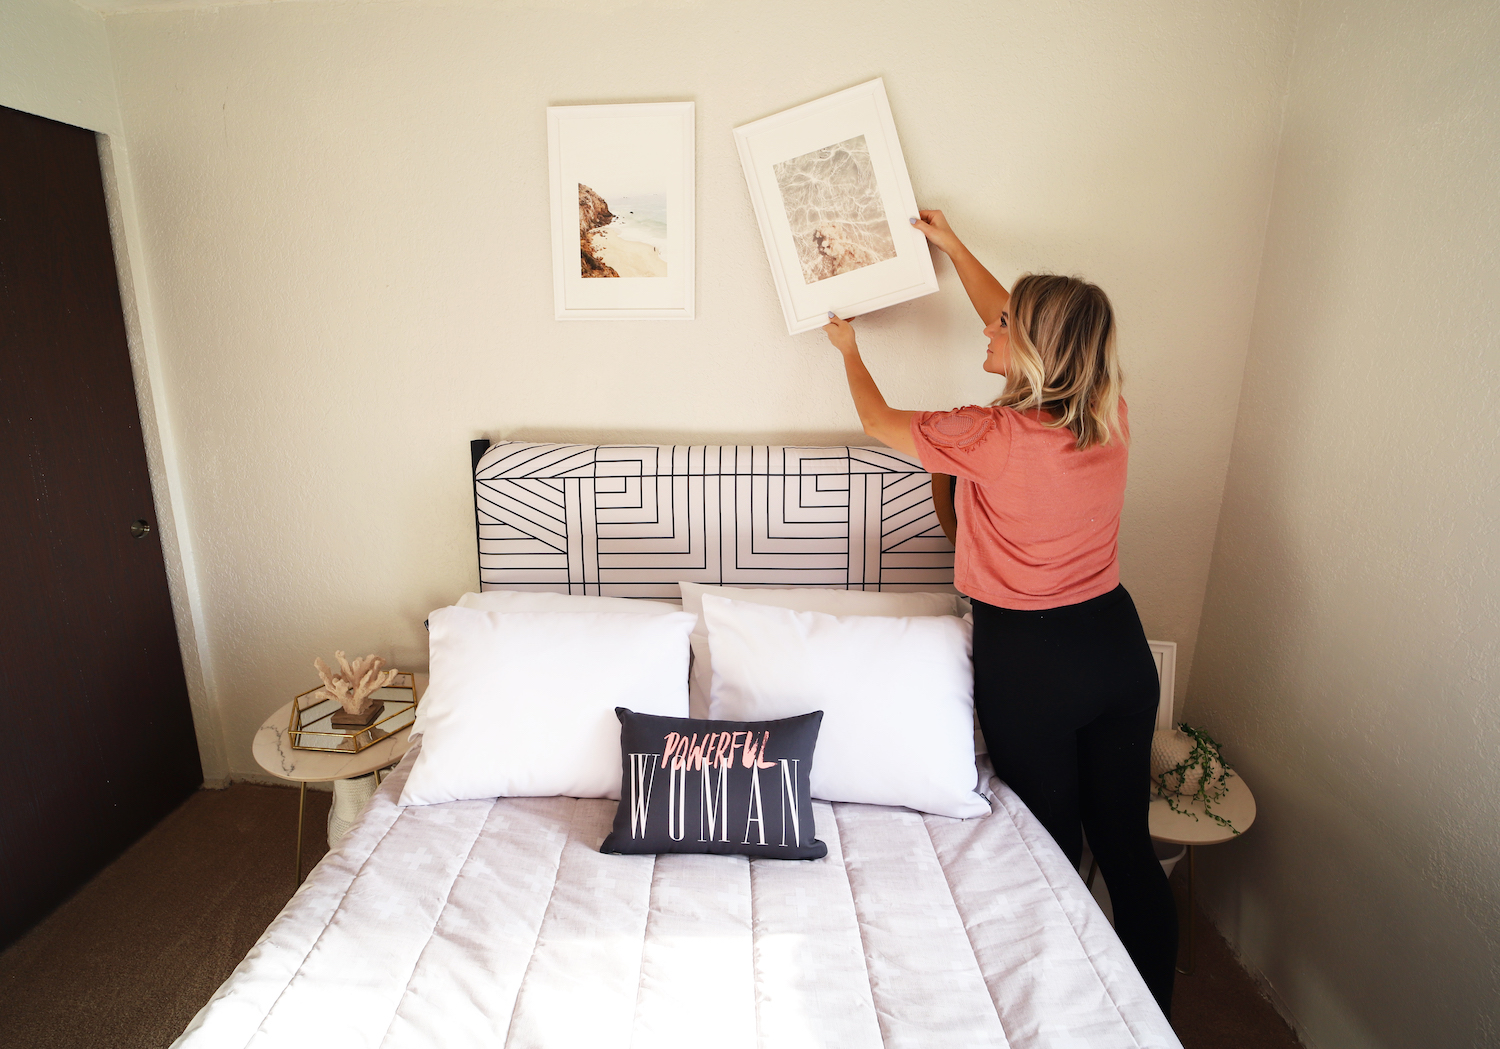
Be sure to complete the rest of your bedroom with a few more pieces to elevate the design of your space. I selected framed artwork, like this, this and this, the CUTEST light pink bench I’ve ever seen, this “powerful woman” accent pillow, these gold legged marble side tables, and my most favorite tribal tapestry I’ve ever seen!
If you make your own headboard, be sure to tag me and DM me a photo on my Instagram so I can see your amazing creation! I love reposting your projects! And if you’re looking for a little more in-depth instructions, watch me make the whole headboard with the Society6 comforter over on my YouTube channel!
Good luck!!!

Comments