If you’re pining for a productive way to spend these warmer days, look no further. We asked BFF babes and fun experts Jen and Court of A Whimsy Wonderland to show us some new and improved ways to make your S6 tee even more unique.
Summer is HERE, y’all! We live for summertime — I mean, helloooo, we do live in Los Angeles! Being in the blogosphere, we’re constantly inspired to bring new ideas to old trends. So, like, remember in 2004 when everyone was cutting and tying up the sides of their t-shirts (and you best believe we were too!)? We’re gonna bring you guys some new and improved t-shirt DIYs that don’t look like you accidentally ran into your shirt with a pair of scissors.
If you’re a craft kween (or trying to become one…*Cort raises hand), then these are for you. It’s an easy way to put your personality into your outfit. And it’s a fun BFFL activity— so grab some La Croix, put on your jams (*cue Destiny’s Child Pandora), and get to DIYin’!
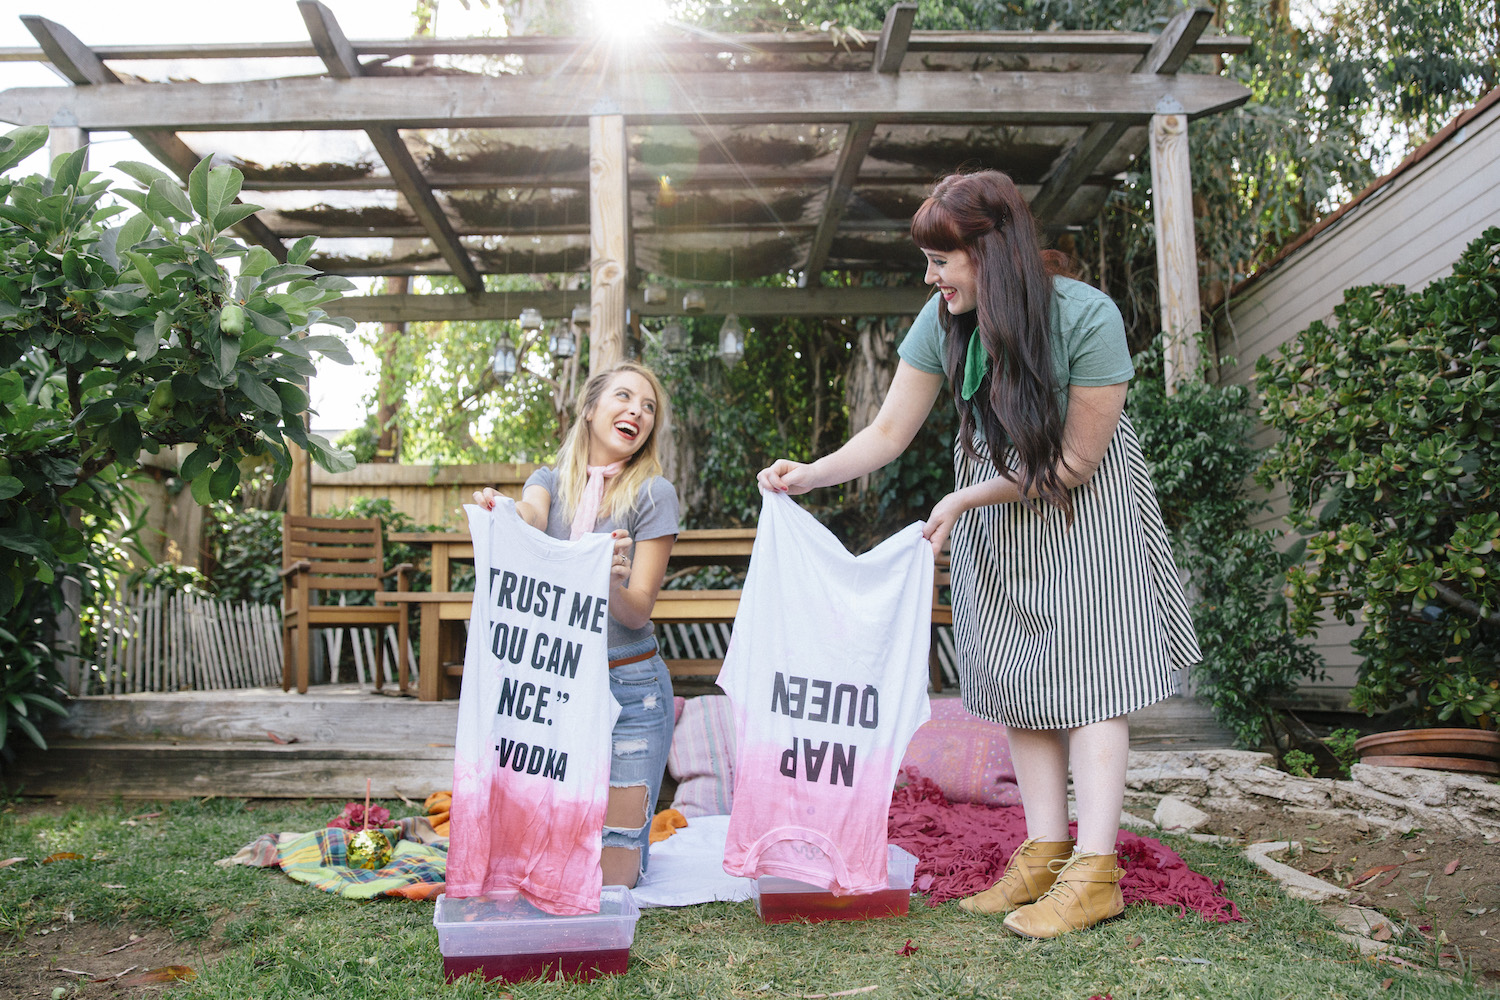
1. Ombre’ Dip Dye
You’ll need:
-RIT Fabric Dye (we got ours here)
-Plastic tub(s)
-White Tees
1. Follow instructions on the box to mix dye. (We split the box in half to create a lighter color).
2. For an ombre’ effect, dip your shirt halfway in and hold it in the dye for 30 seconds. Lift the shirt out a little more and hold for 45 seconds. Lift a little more for the final section and hold for a minute. This creates a light to dark fade. Jen chose to ombre’ the top of her shirt, Cort did the bottom!

2. Crop Top
You’ll need:
-Fabric Scissors
-T-shirts, obvi
How Cort did it:
1. Lay shirt out flat.
2. To create a looser cap sleeve, use fabric scissors to cut in a curved, downward, diagonal towards armpit of shirt. Repeat on other side.
3. For a wider, looser neck, simply cut around the collar of the shirt, directly outside the collar seam.
4. For the bottom of the shirt, match up the side seams of the shirt (or match up the sleeves if there are no side seams). Cut at a curve, from front to back, to make a high-low hemline.
How Jen did it:
1. Lay shirt flat.
2. For an even wider neckline, cut all the way around the shirt, at about an inch outside the collar seam.
3. For a straight across hemline on the bottom of the shirt, cut that baby straight across!
4. After you’re finished, put your hands inside your shirt and stretch it out all the way around. We both prefer loose fitting crop tops!
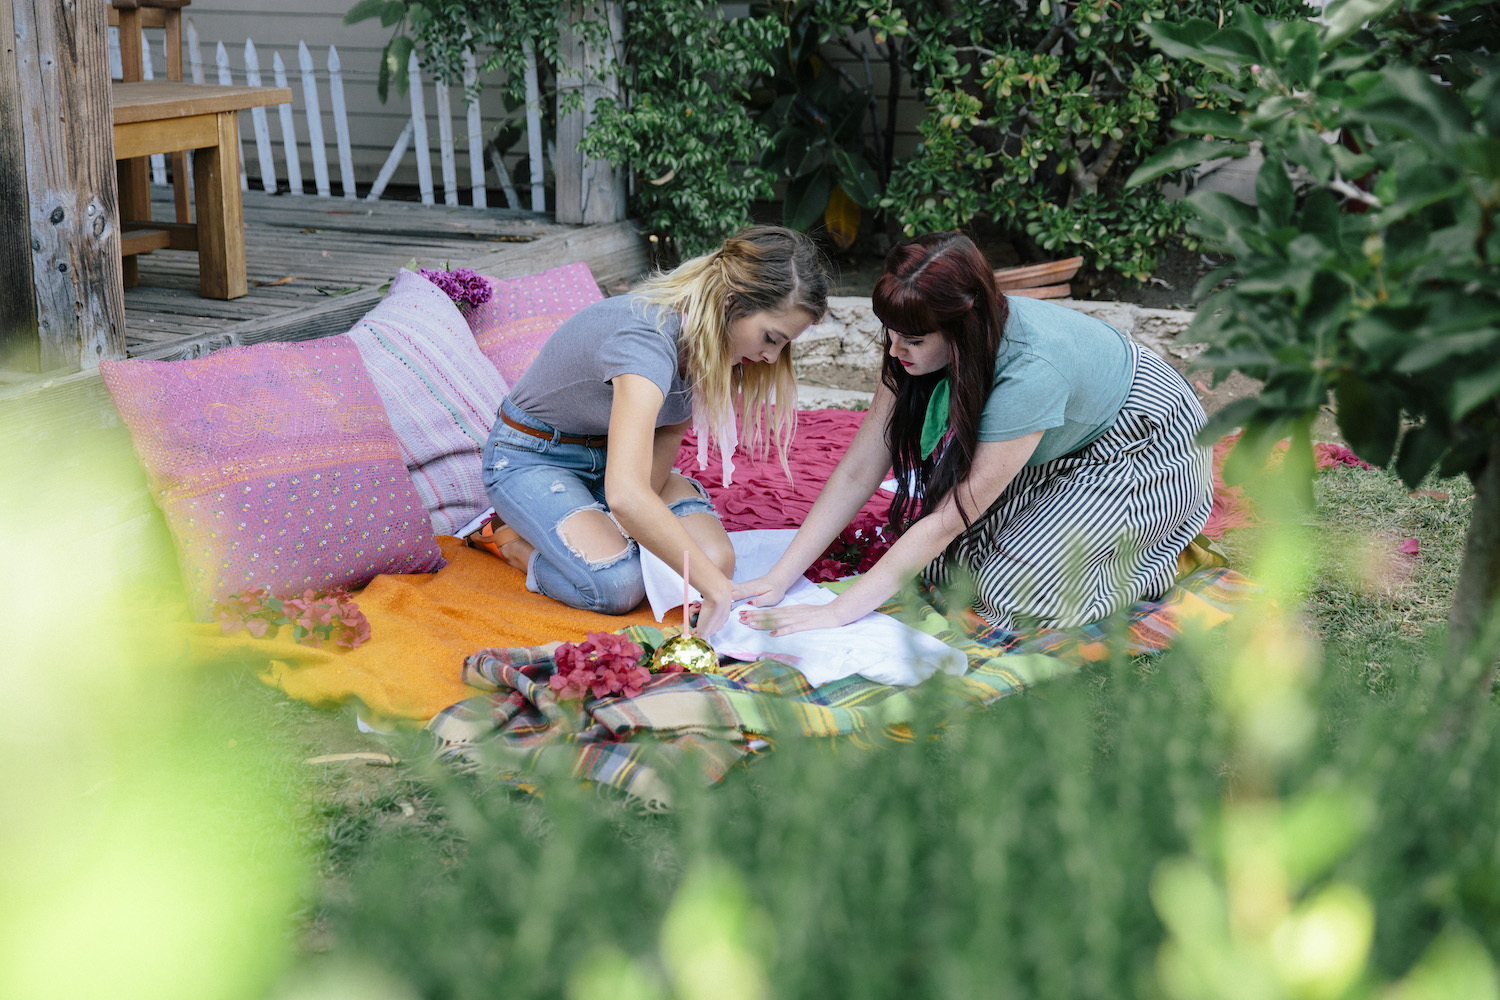
This DIY is so much easier if you have a friend with you to hold your shirt tight as you’re cutting!

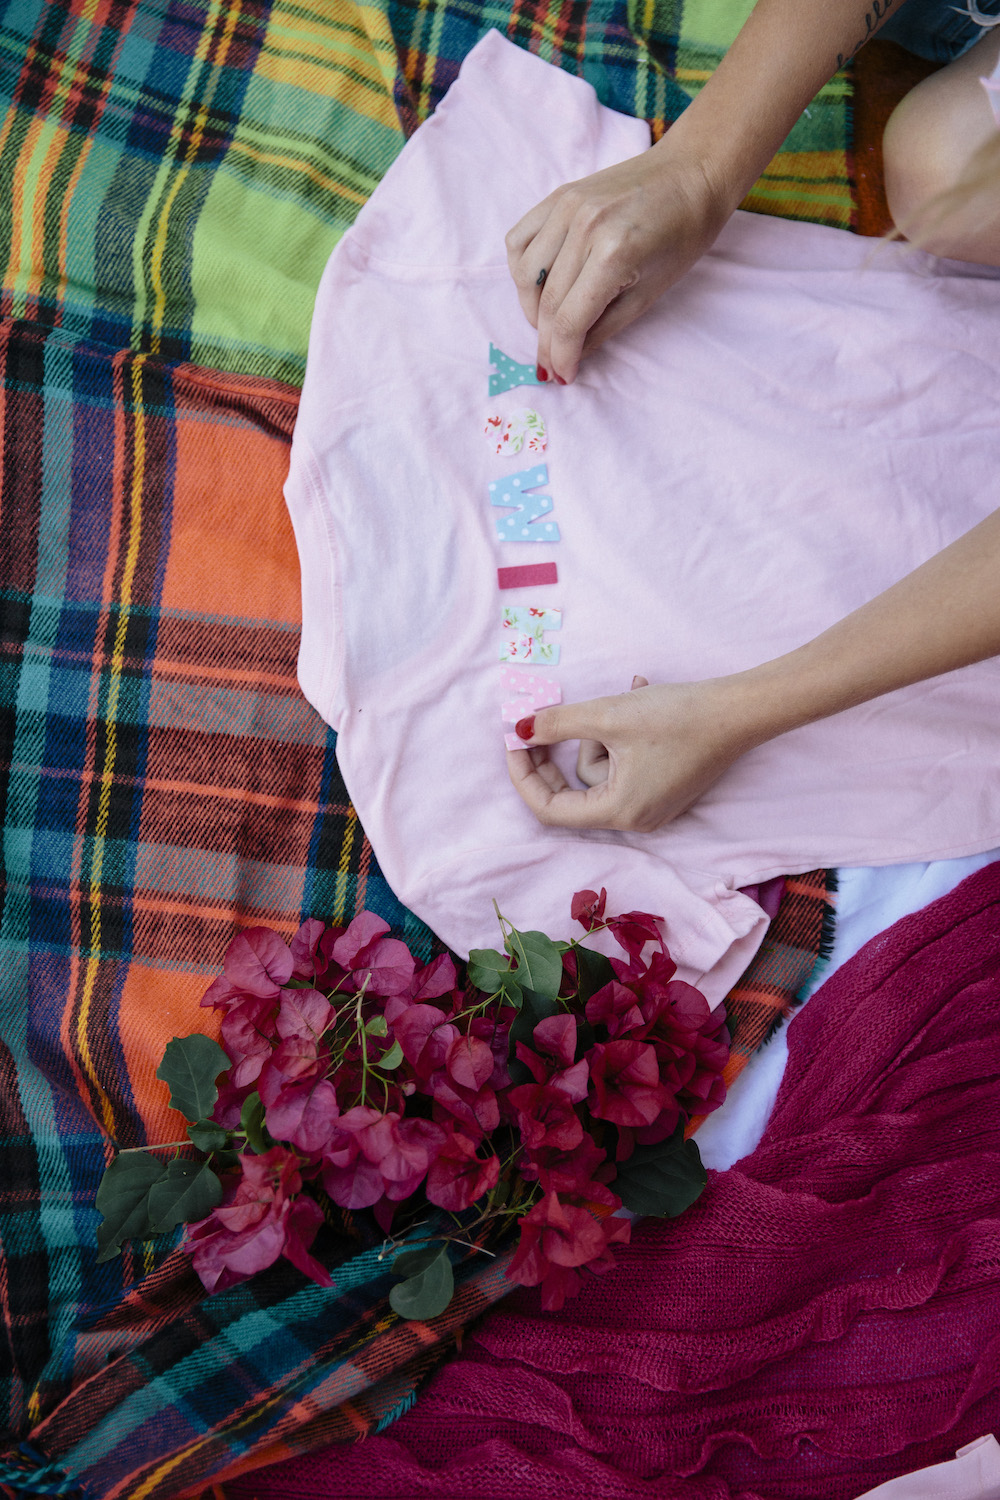
3. Personalize Your Tee!
Since we started our blog, we’ve been given the nickname “Whimsy gals.” It’s probably easier than everyone remembering our real names, and we’re not complaining! So, we decided to fully embrace it and put it on matching tees, cause tbh we love matching. It’s cheesy and awesome.
You’ll need:
-Iron on letters
-Iron (duh)
-Tees
We recommend placing your letters with double-sided tape to plan the placement! Just to be clear, always remove the tape before ironing or sewing anything on your shirt!

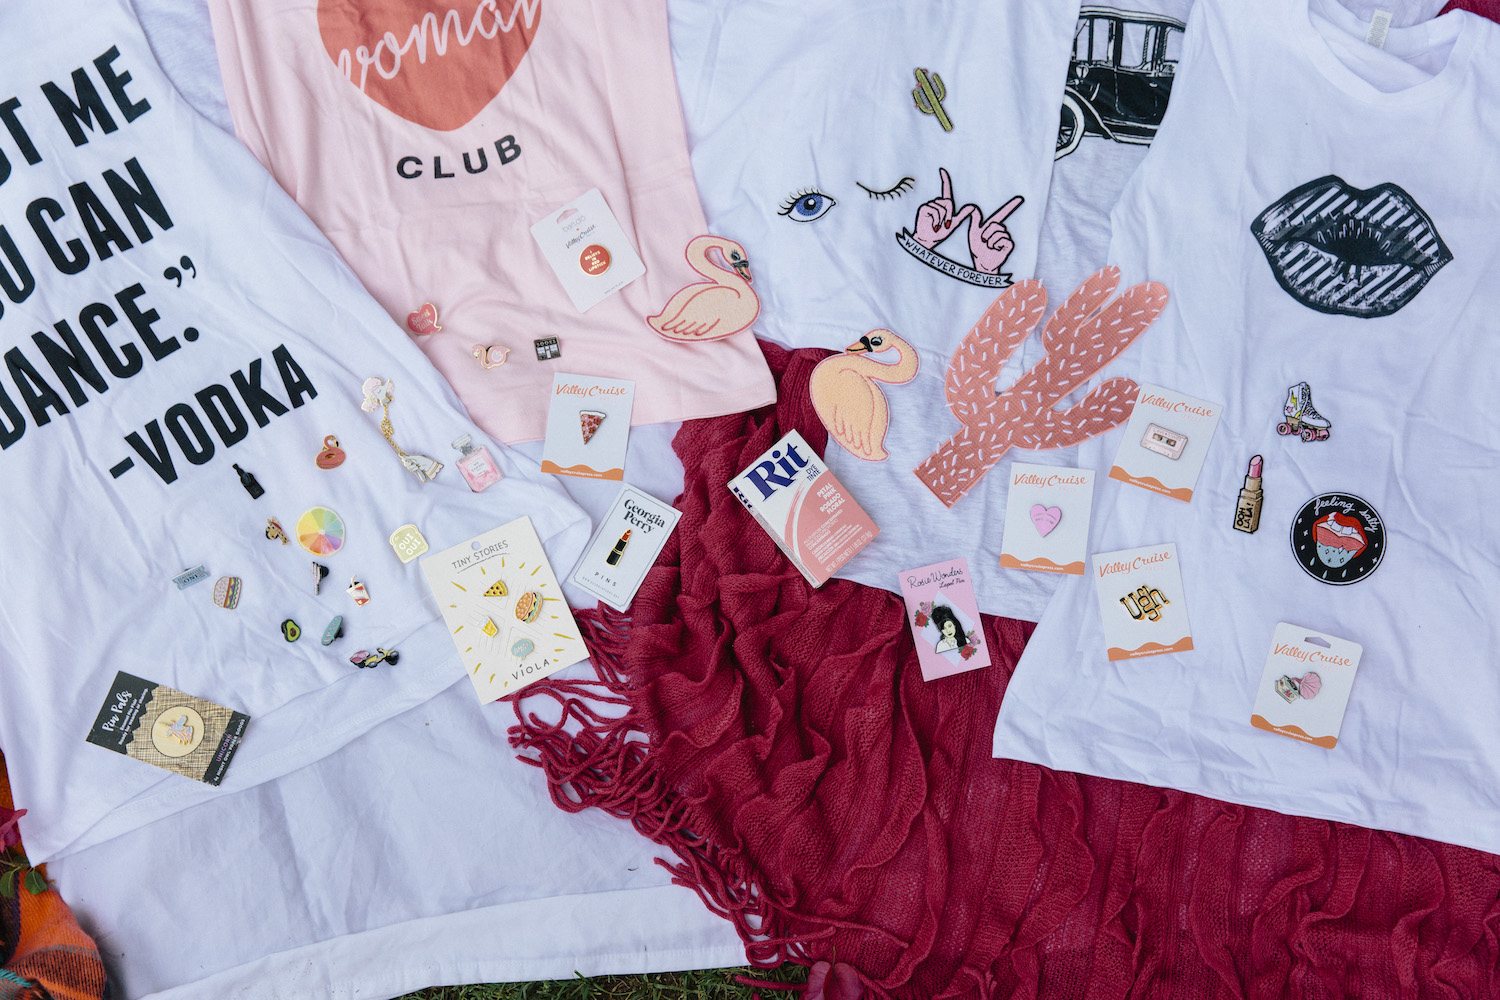
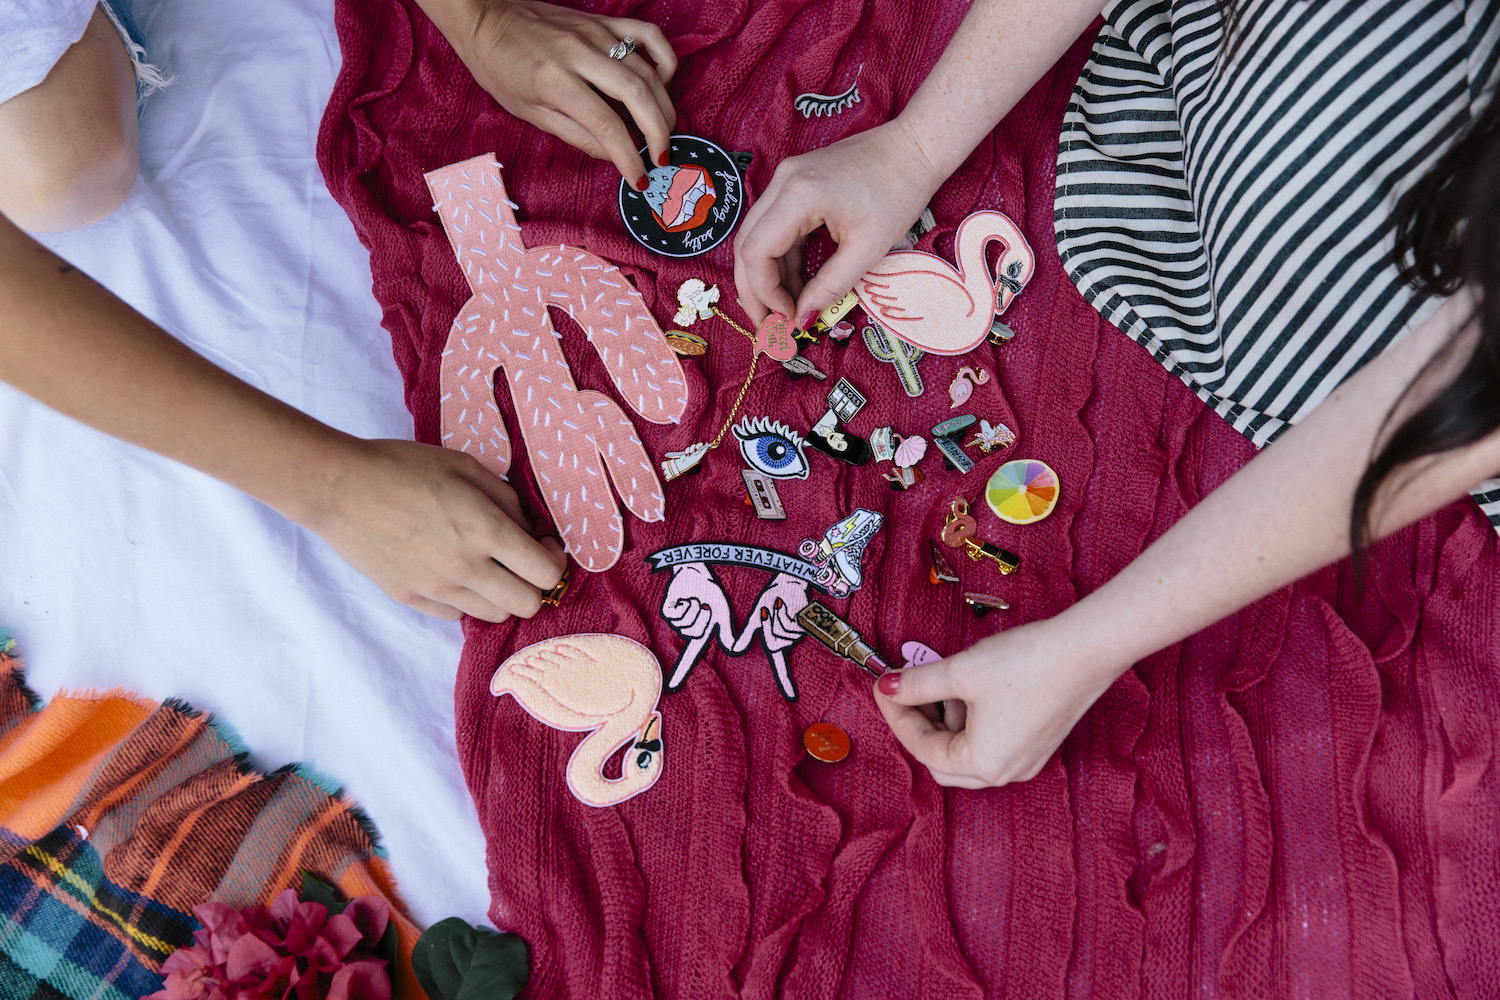
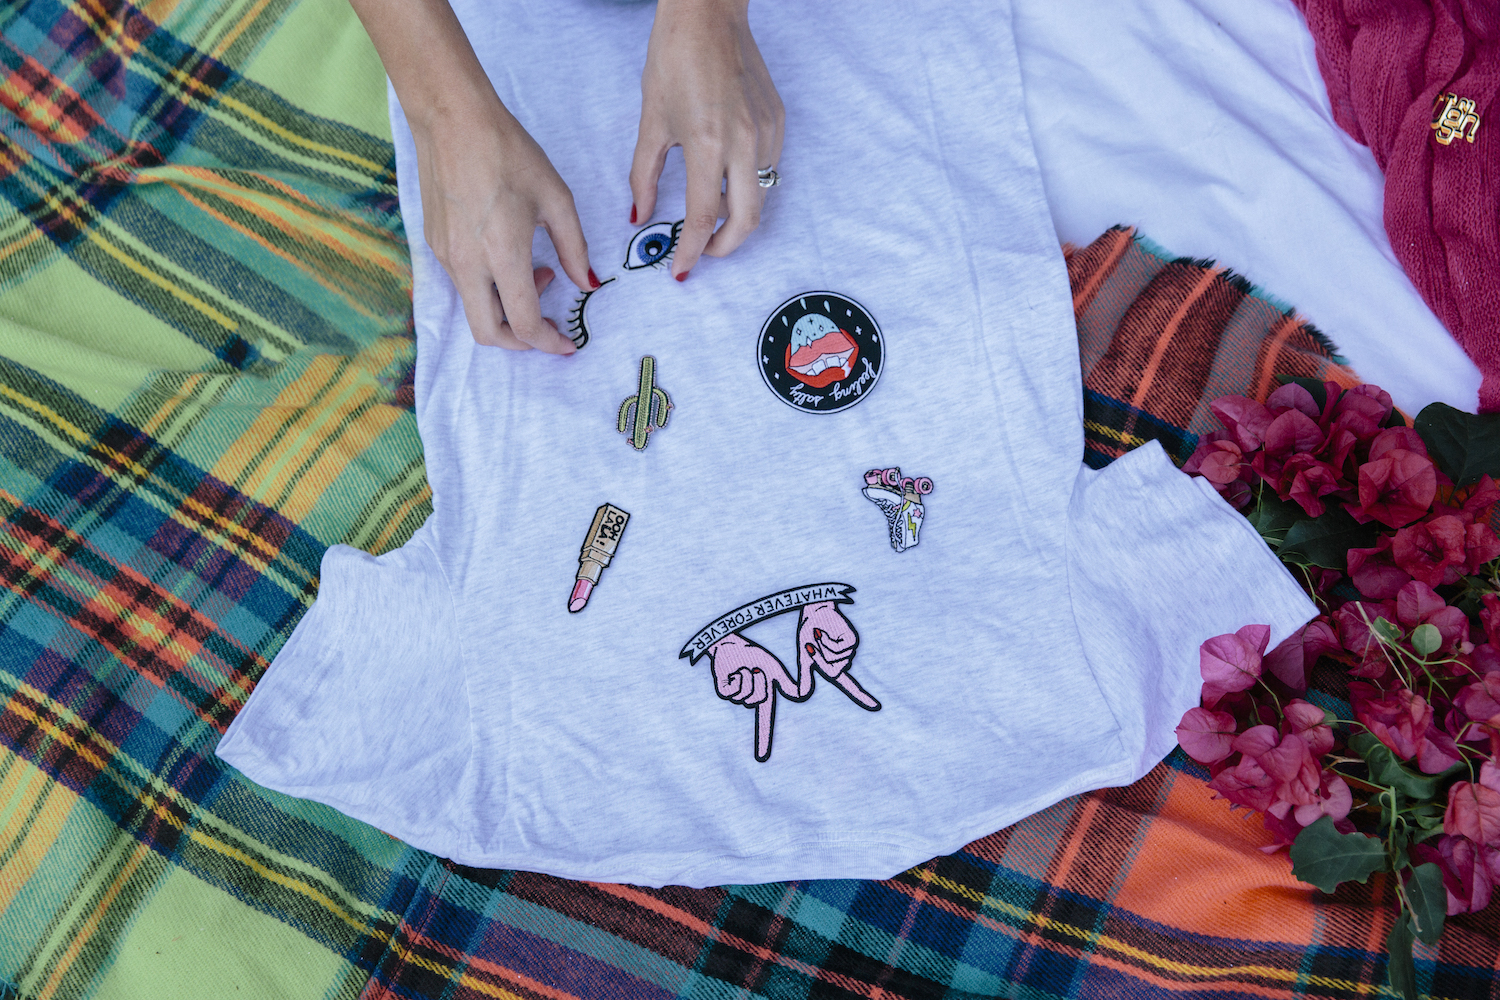
4. Pins & Patches
Tryna’ be on trend? Here ya go! We’re sure you’ve seen these on all things denim, BUT you can totally spice up your tees with ‘em too!
You’ll need:
-Enamel pins
-Iron or sew on patches
-Your choice of tees
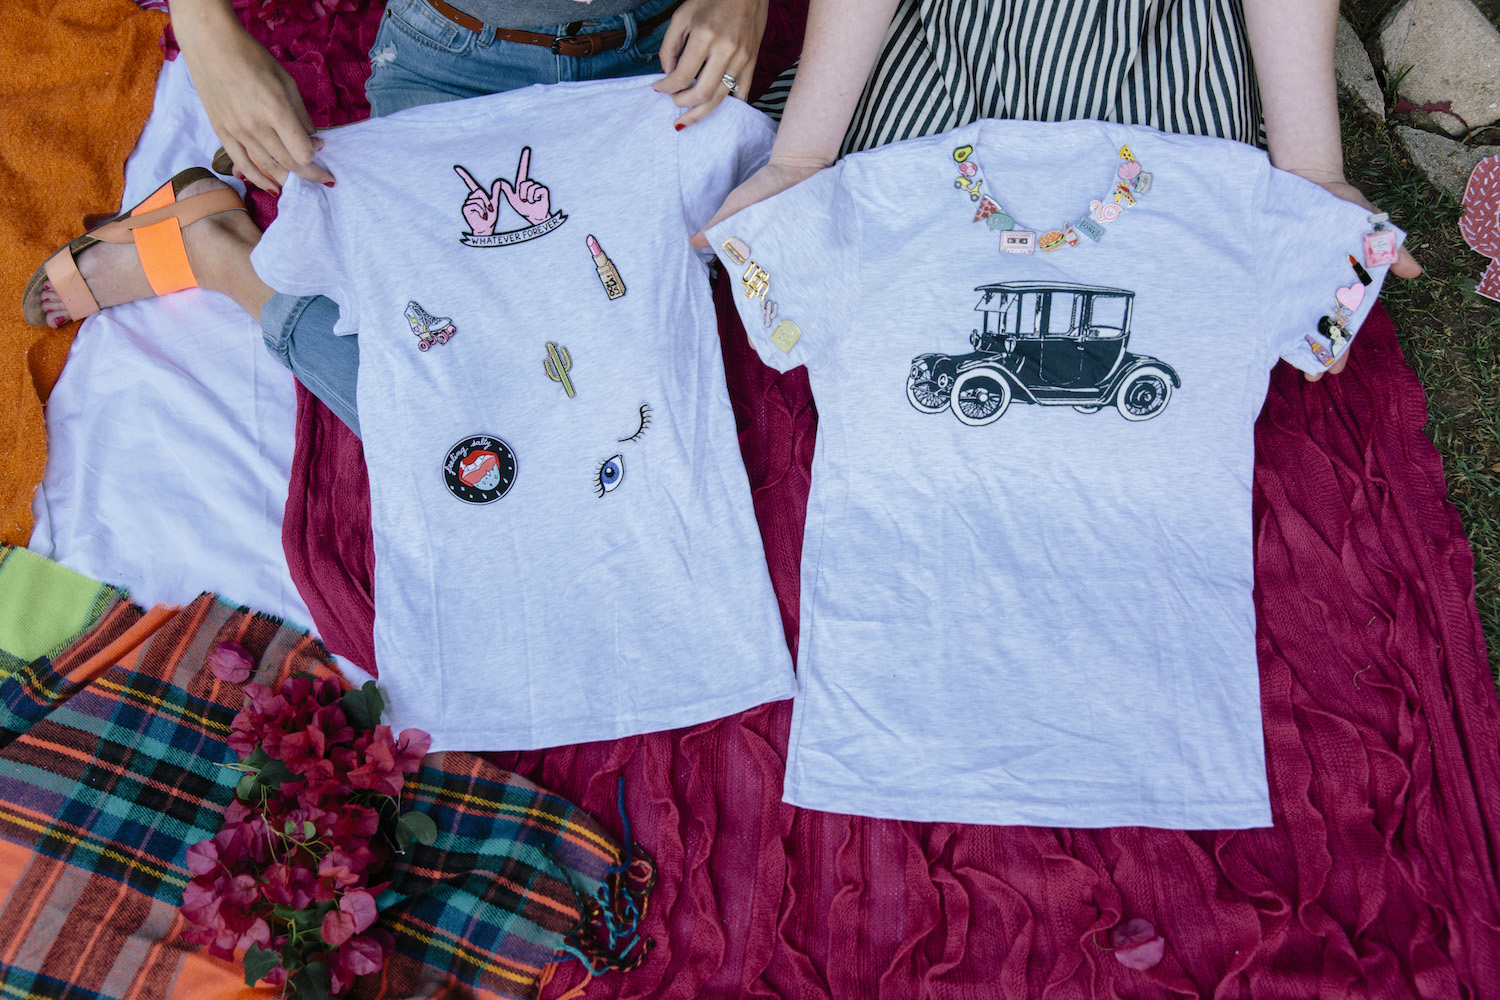
For patches, once again we recommend using double-sided tape to plan the placement of them on your t-shirt before you iron/sew them on permanently, like Cort did! Jenna chose to create a kind of statement necklace with her pins by attaching them around the collar of her tee! Bonus points if you add them to the sleeves too.
Photos by Kate Rentz.
Comments