Create something your customers will love!
In this article, we’ll provide all the necessary design steps and info so your customers can start buying something they love. This product does require a little attention to detail, but it’s not at all difficult.
Right off the bat, you’ll notice a few things: 1) Stickers are not automatically activated in your shop; 2) Every design can be purchased as a White or Transparent sticker; and 3) Your stickers are cut to the shape of your artwork.
This tutorial covers:
- Important sticker asset information
- Things you should know about Stickers before designing
- How to convert a JPG to PNG in Photoshop
- How to upload your newly designed sticker to Society6
- Get your product URL to start selling
Sticker asset information
Minimum Sticker Asset Specs:
- Asset Ratio: 1:1 (square)
- Asset Size: 1800px x 1800px (minimum)
- Recommended DPI: 300
- Recommended File Type: PNG
Important note before designing
Any pixels with a transparency of 50% or higher, will be printed. That means you do not want to leave any unintentional pixels floating outside your preferred print area. Make sure you follow the below steps. This will make more sense as you work through the tutorial.
Converting your JPG to PNG in Photoshop
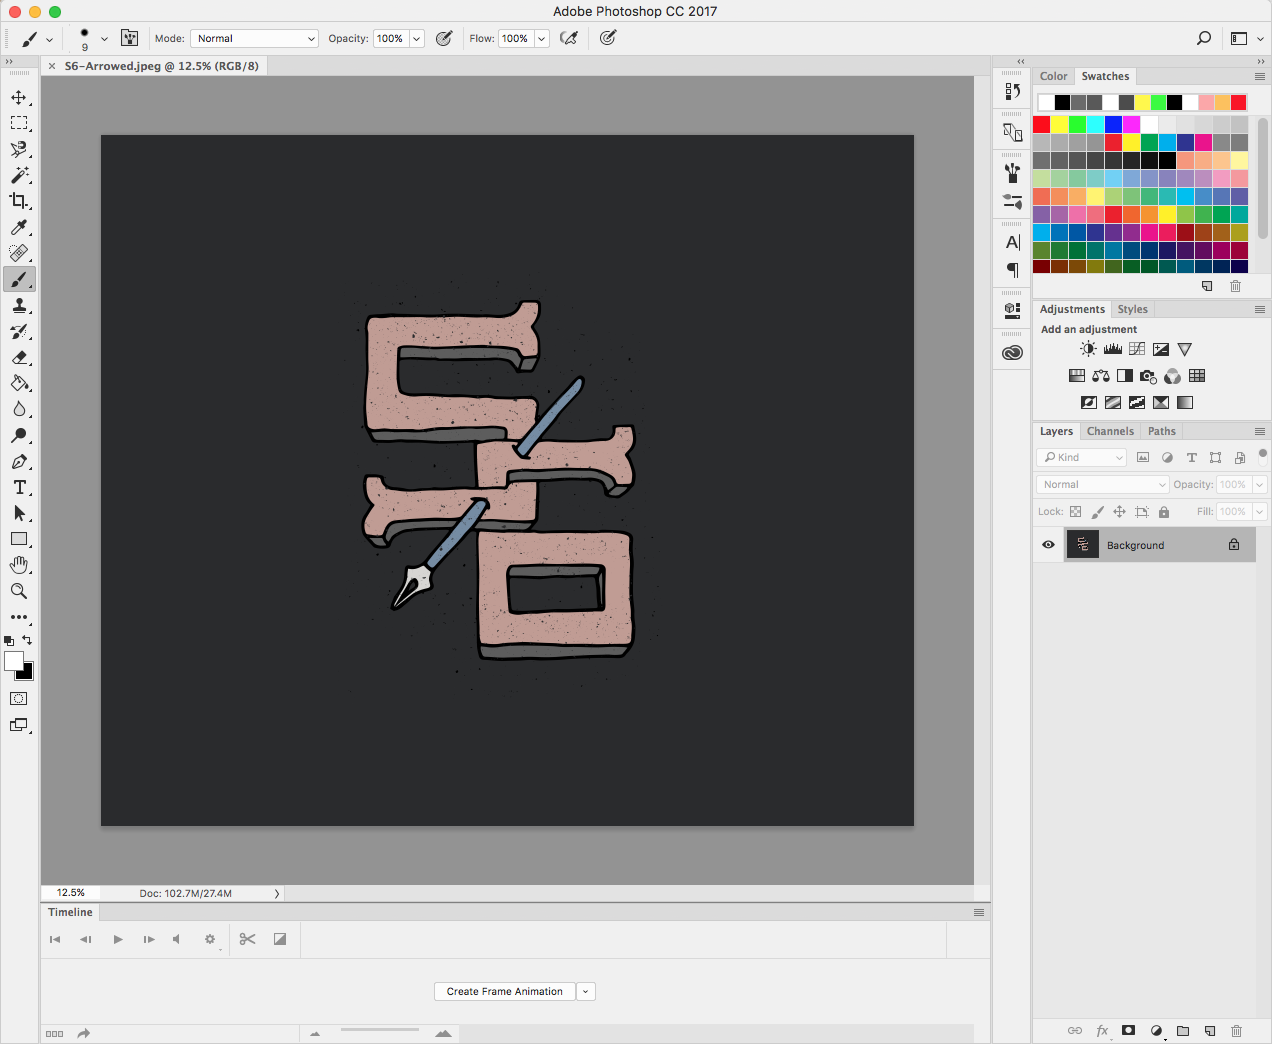
Step 1: Open your artwork in Photoshop (or create a new canvas)
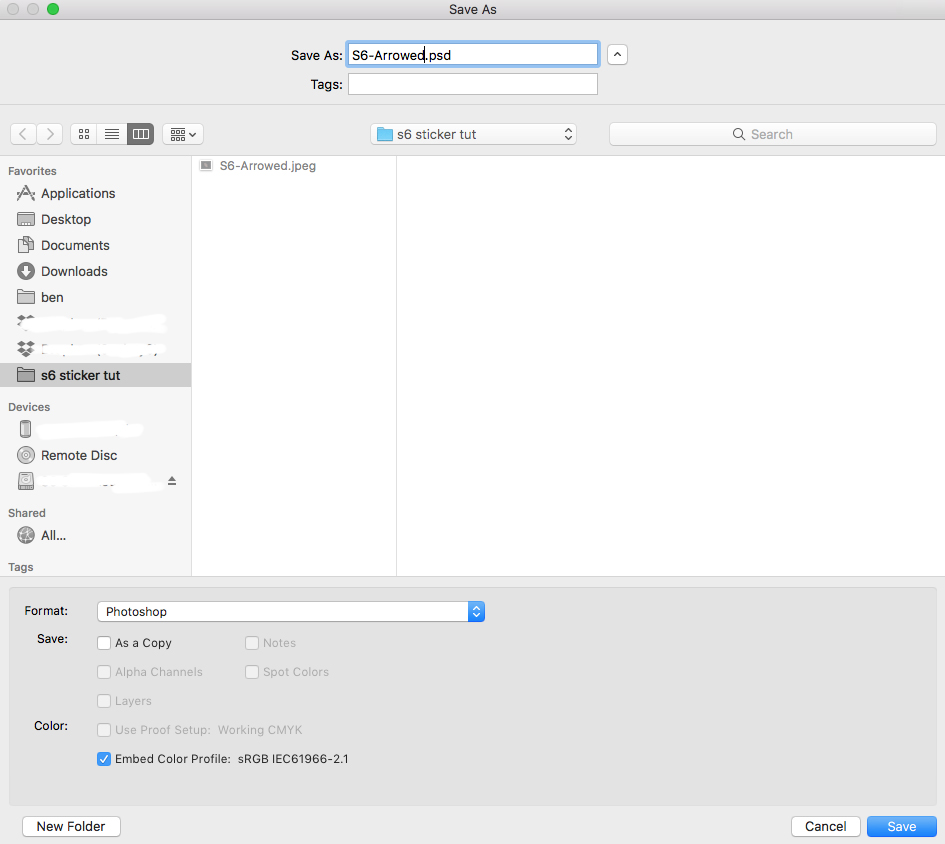
Step 2: Save your PSD right away
This should be standard procedure if it’s not already. Save early. Save often. Can’t stress this enough. You don’t want to get halfway through the process just to lose everything in a software crash.
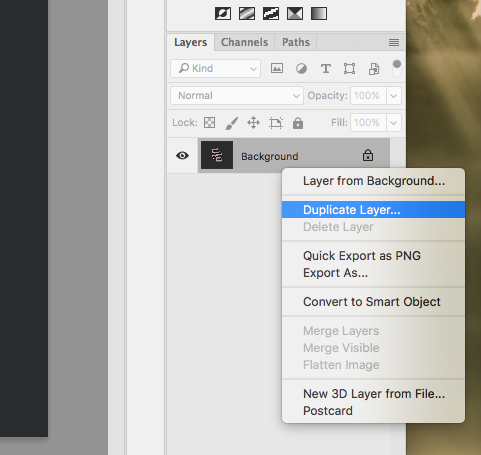
Step 3: Create a duplicate layer of your background
Right click on your “Background” layer and selecting “Duplicate Layer”.
Keyboard Shortcuts: Mac: Cmd + J, Win: Ctrl + J
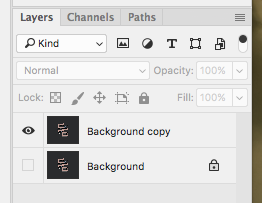
Then make the “Background” layer invisible by clicking the little eye to the left of the “Background” text.
Step 4: Remove all areas of a design you want transparent (or white)
To reiterate, any pixels with a transparency of 50% or higher, will be printed. To avoid a customer returning your product because of an unintended and/or awkward print area, make sure to clean up any stray pixels using the below method.
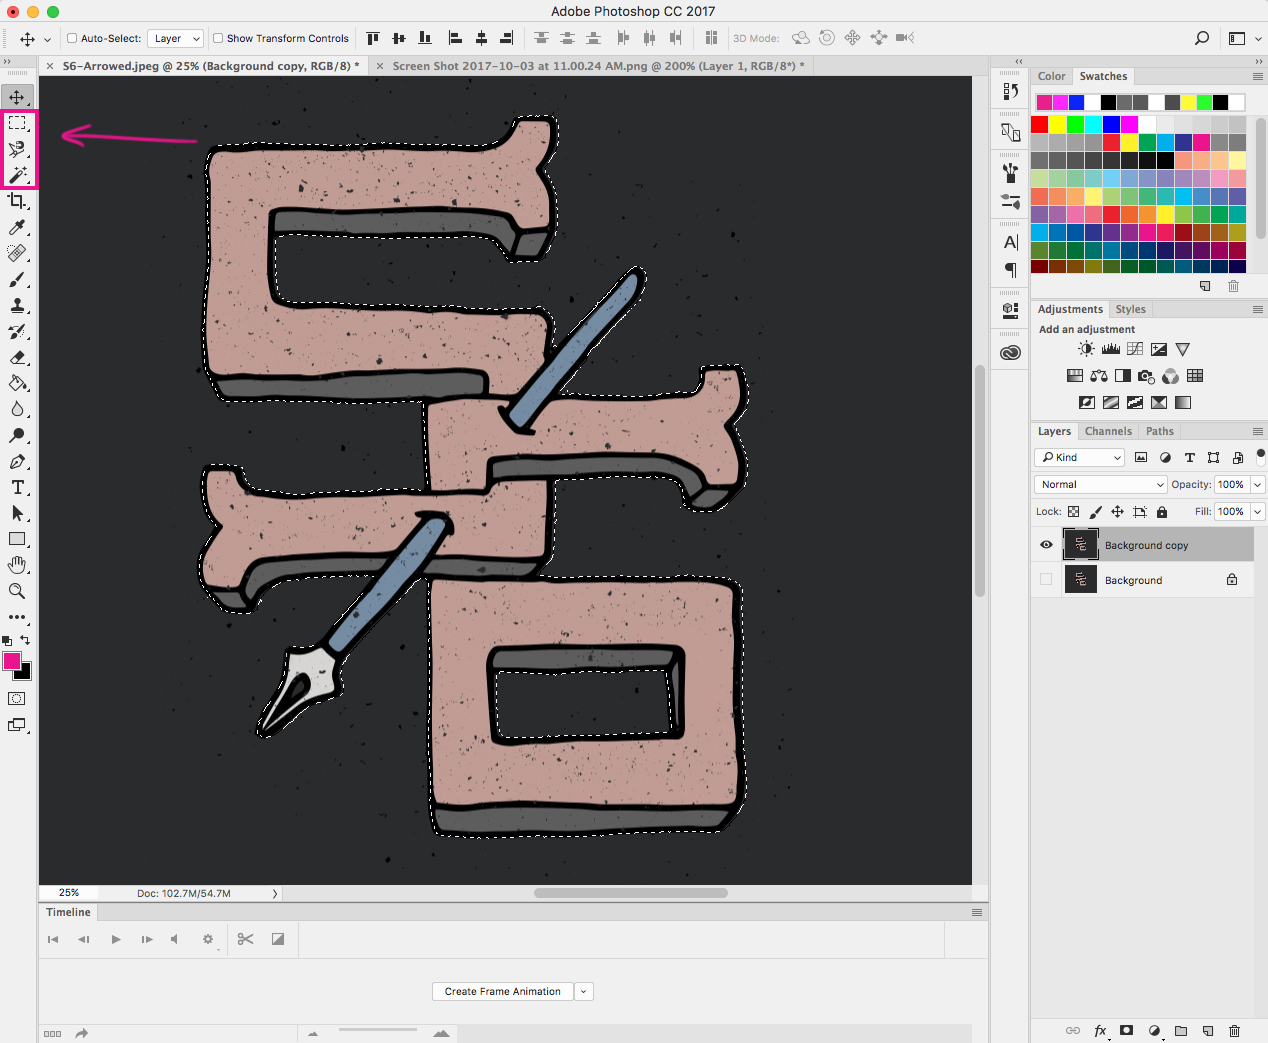
Step 4a: Select ONLY the preferred print area.
Use your selection tools (Marquee, Lasso or Magic Wand). This is to establish the design area you wish to be printed for your sticker.
Step 4b: Invert your selection.
Go to Menu: Select > Inverse
Keyboard shortcuts: Mac: Cmd + Shift + I, Win: Ctrl + Shift + I

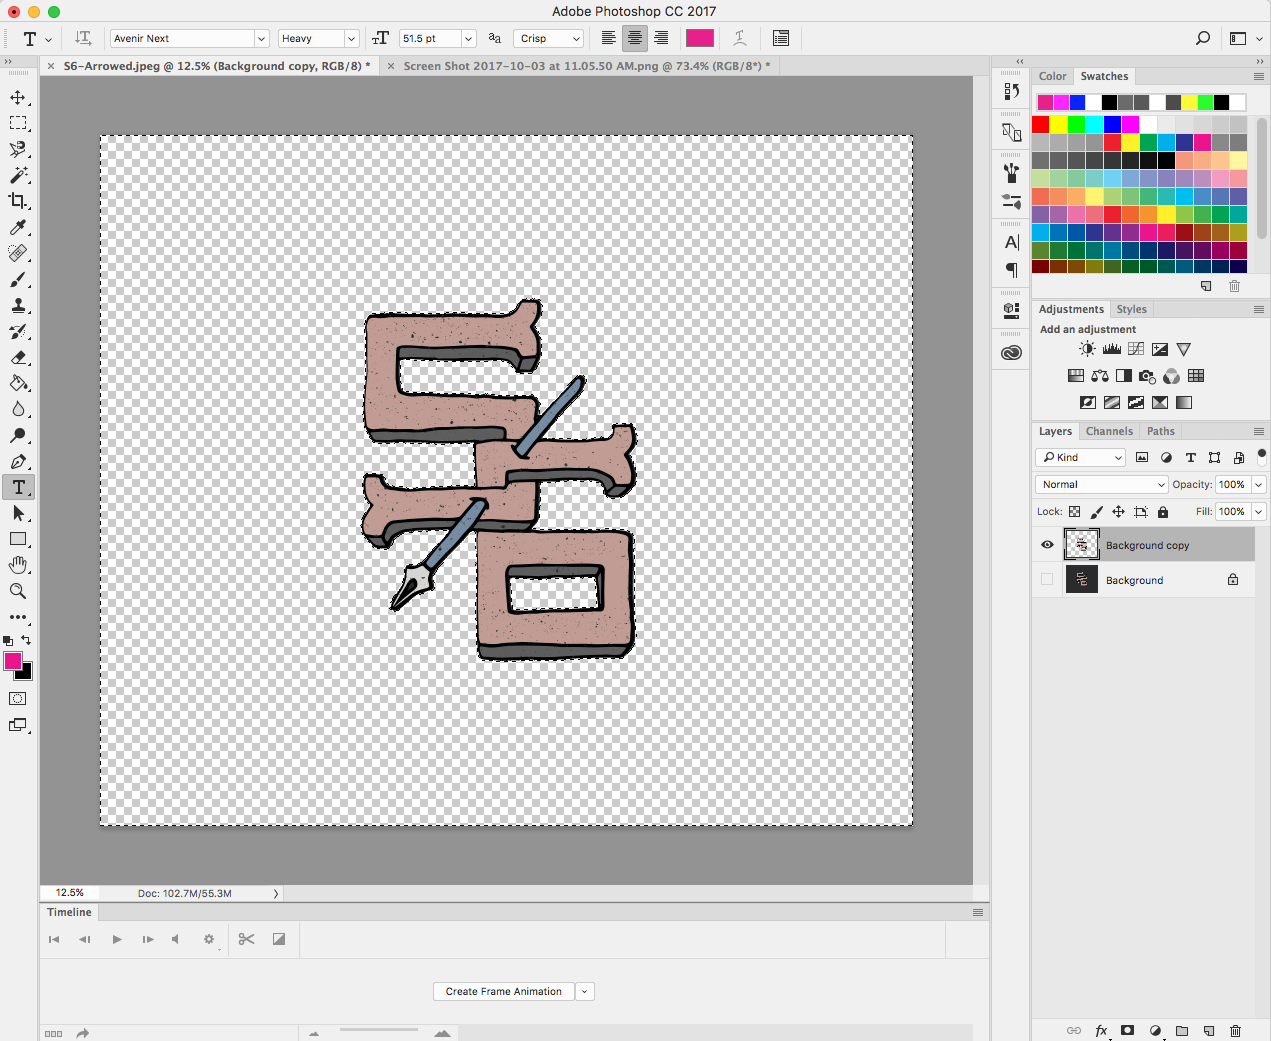
Step 4c: Delete the inverted selection from 3b.
With the proper layer selected, press the delete key. You now have a clean image.
In future a blog post, we’ll cover the more advanced method of non-destructive editing using Layer Masks (i.e. how the pro’s do it). This allows you to edit without destroying the original image.
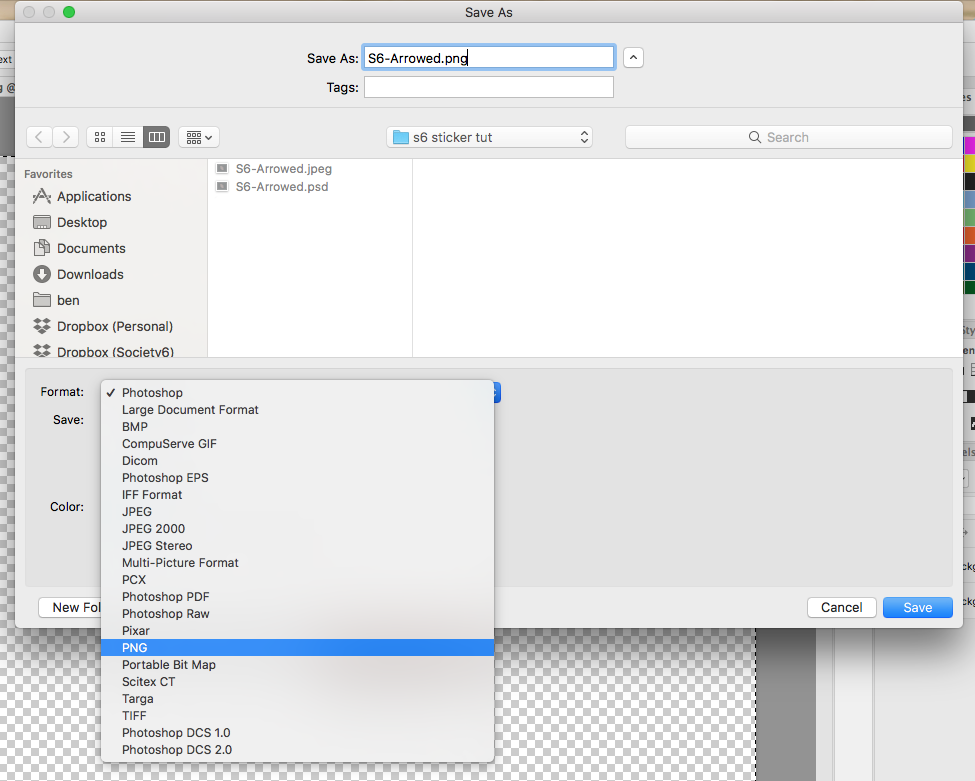
Step 5: Save your final as a transparent PNG
Navigate to your Photoshop menu: File > Save As… > Select PNG from the dropdown > Save
Upload your newly created PNG to Society6
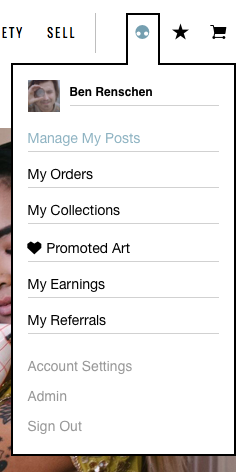
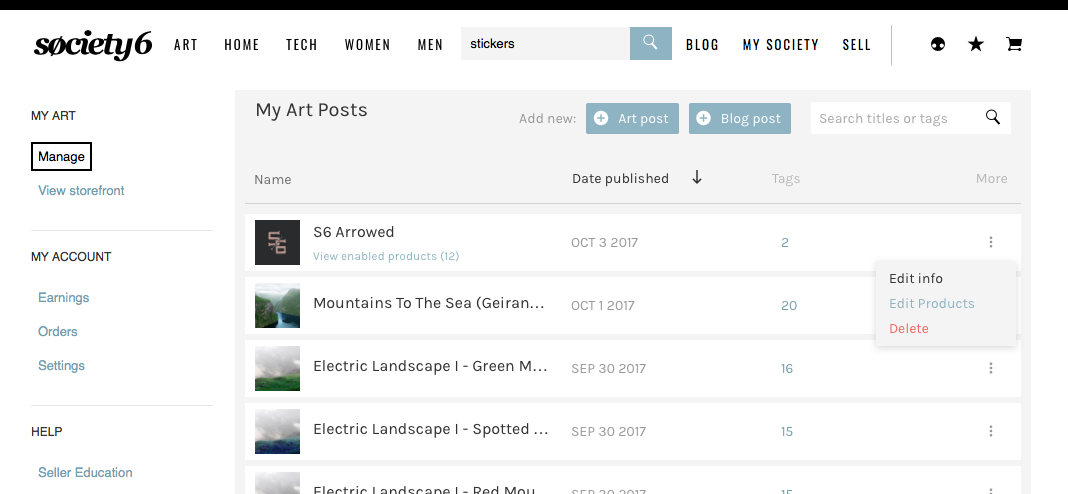
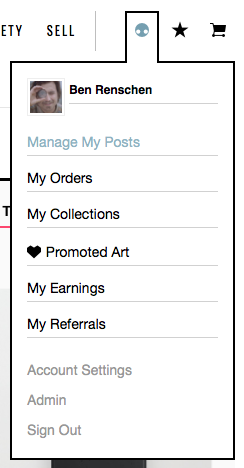
Click on Manage My Artwork from your user navigation dropdown (upper right of browser window).
*We’re assuming you already have your design available for sale in this example. If you need to upload your design first, click Sell in the nav bar and follow the prompts.
Locate the design you wish to add stickers to and click the vertical ellipse on the far right of the products. Choose “Edit Products”.
Click on “Tech” in the category nav and then hover over the Sticker. Click “Edit”.

Drag & drop your newly created PNG into the “Upload Customer Image” box.
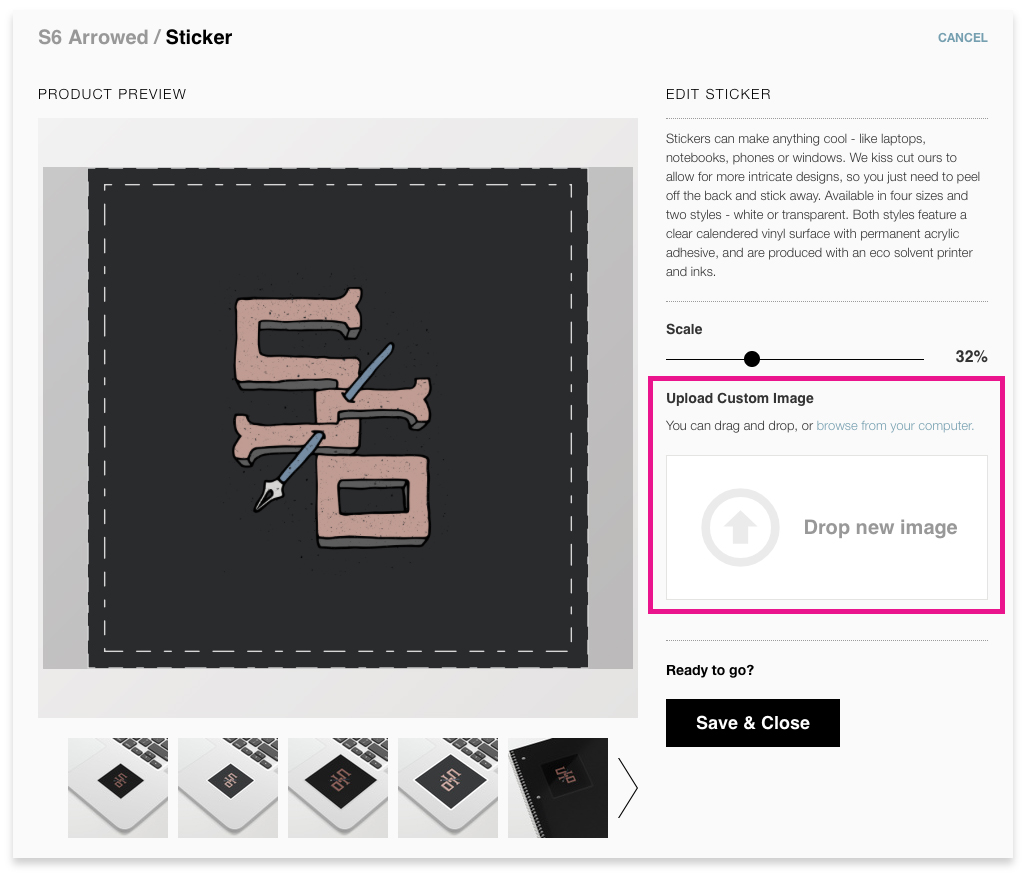
Now, adjust size and position to your liking.
Make sure your design extends to the edges of the safe margin zone without crossing them. This way, your stickers will print at the correct size and with a nice rounded edge. For example, when a customer purchases a 3″ Sticker, they get a Sticker that is actually 3 inches. Click Save & Close when you’re done.
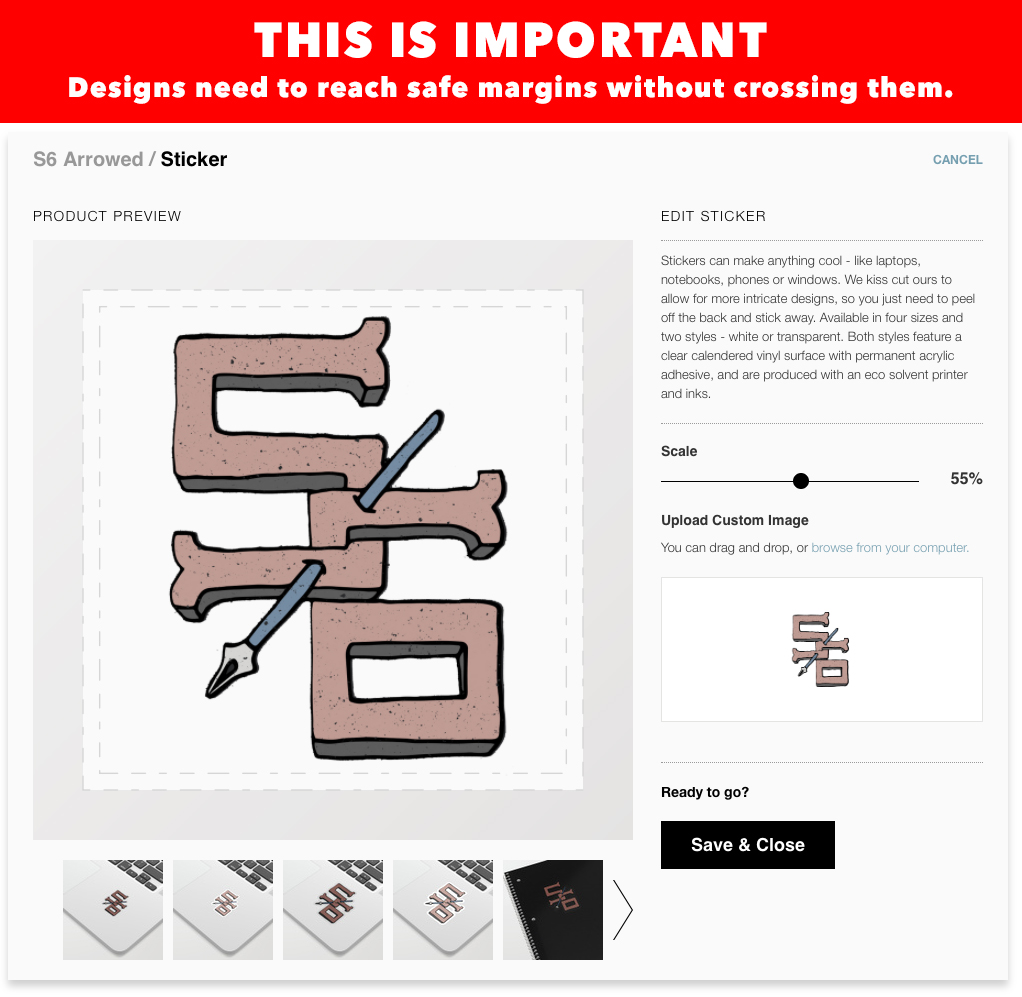
If this is a new piece of artwork, click “Publish” once you’ve activated the products you’re interested in selling.
*Depending on volume of site activity, there may be a slight delay before your newly designed product show up in your shop.
Find your product URL & start selling
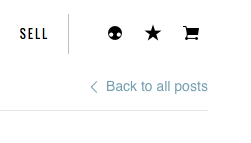
Go back to your Artwork Management page. You can do so by clicking “< Back to all posts” in the upper right corner of the Artist Studio. Alternatively, you can hover over your profile avatar and click on “Manage My Artwork” (like you did before).
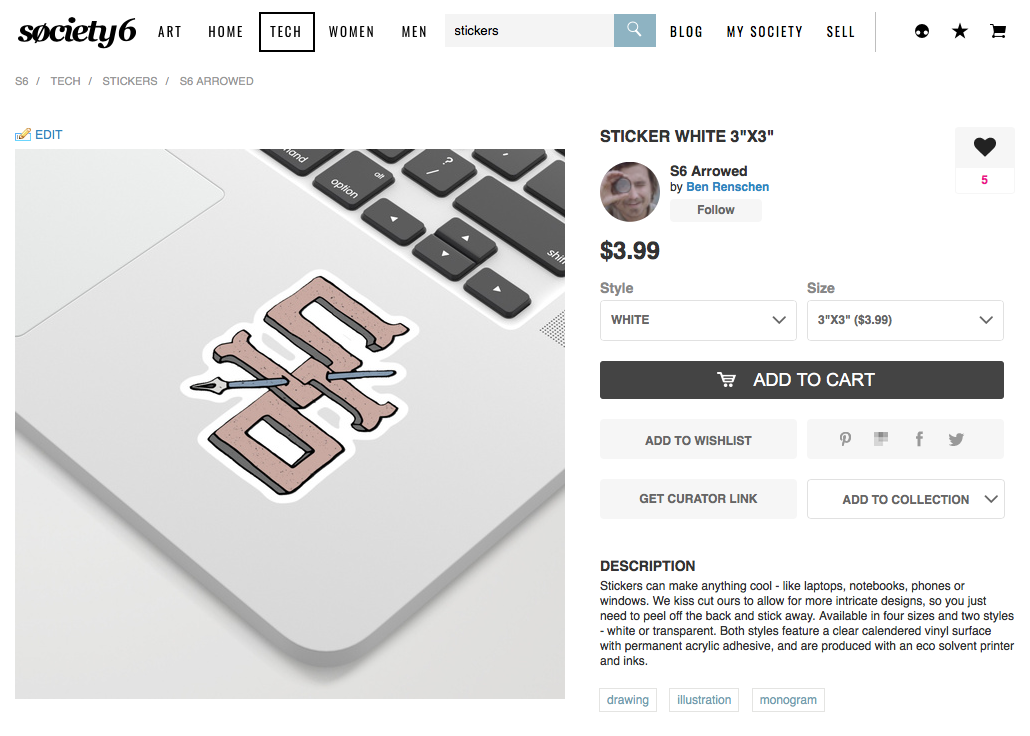
Find the design you just edited. Click on “View enabled products” just below the title of your artwork. Then navigate your newly designed sticker. Click on the icon that looks like an eye.

Voila! We look forward to seeing everyone’s designs!
To learn more about all aspects of selling your artwork online make sure to visit the Seller Guide section of our blog or jump right into our Artist Bootcamp.
Comments