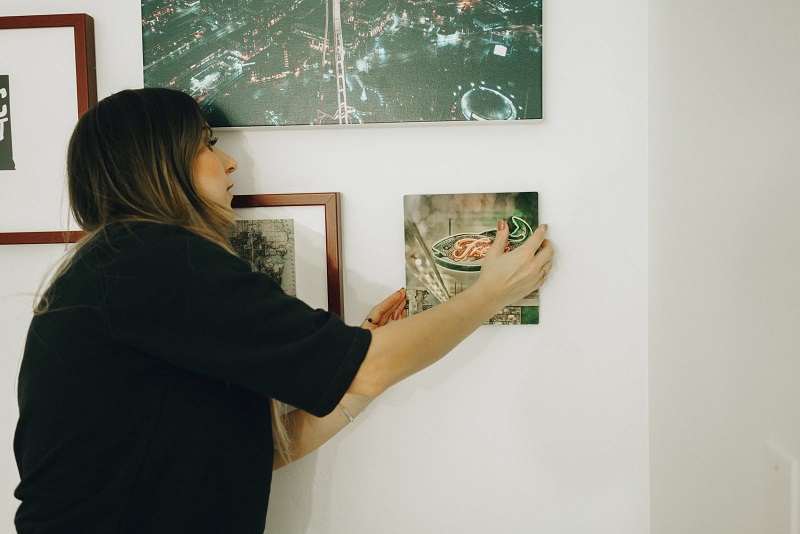
Welcome to the wonderful world of wall art hanging! In this guide, we’ll teach you how to hang wall art to transform your space into a visual masterpiece. Hanging artwork may seem like a daunting task, but fear not! With the right techniques and a touch of creativity, you can showcase your favorite pieces in a way that brings joy and beauty to your surroundings.
So, grab your measuring tape, put on your DIY hat, and let’s dive into this step-by-step guide on how to hang art to bring your wall decor ideas to life!
Understand the Basics
Before we embark on our hanging adventure, it’s important to understand the impact of choosing the right wall art. Each piece of framed art tells a story and contributes to the overall design scheme of your space. From framed artwork to canvas wall art prints and art installations, there’s a wide array of options to explore. Whether you’re going for a minimalist vibe or a burst of vibrant colors, your chosen art sets the tone for the entire room. So, take a moment to envision your ideal space and let your creativity guide you in selecting the perfect pieces to hang.
Gather Essential Tools and Materials
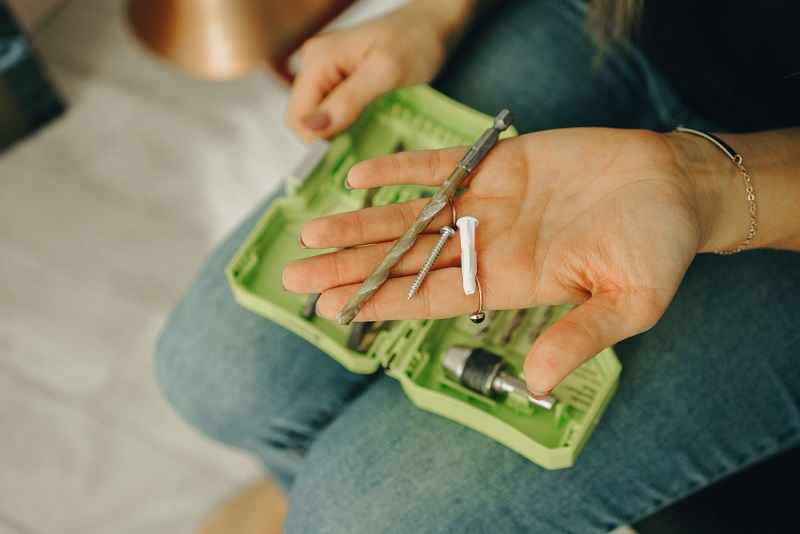
After you’ve decided on your wall art decoration, it is important to also have all the right tools and materials to hang it up with confidence. Here’s a handy checklist:
- Picture frames to display your art
- Hanging hardware, including hooks, wires, anchors, and nails
- A measuring tape for precise measurements
- A wall stud finder to locate solid wall support
- A level to ensure your art hangs straight
- Masking tape and kraft paper for marking and planning
- Picture hangers and nails for secure hanging
- Command strips and adhesive hooks for damage-free options
With these essential tools in your arsenal, you’ll be ready to tackle any wall art hanging project with ease.
Prepare the Space
Before diving into the hanging process, take a moment to prepare your space by following these steps:
- Clear the area: Remove any furniture, decor, or obstructions around the wall where you plan to hang your art. This will give you a clear and open space to work with.
- Clean the wall: Ensure the wall surface is clean and free from dust or debris. Use a soft cloth or a mild cleaner to wipe away any dirt or smudges. A clean surface will ensure proper adhesion and prevent any imperfections from affecting the hanging process.
- Repair imperfections: Inspect the wall surface for any cracks, holes, or dents. Use spackle or putty to fill in any imperfections, and then sand it down to create a smooth finish. This step will ensure that your wall provides a solid and even backdrop for your art.
- Prime the area (if necessary): If you have repaired any imperfections or if the wall has uneven patches, consider applying a primer to create an even surface. Priming will help the paint or adhesive stick better, resulting in a more polished look for your wall art.
- Consider wall color: Take a moment to consider the existing wall color and how it will interact with your art. Choose a blank wall that provides a suitable backdrop and complements the colors and tones of your art pieces. A well-chosen wall color can enhance the visual impact of your art and create a cohesive and harmonious display.
- Evaluate lighting conditions: Assess the lighting conditions in the room. Consider the natural light sources, as well as the artificial lighting fixtures, and how they may affect the visibility and presentation of your art. Adjust the position of your art accordingly to ensure optimal lighting and to prevent glare or shadows that may detract from the artwork’s impact.
- Take furniture placement into account: Consider the arrangement of furniture in the room in relation to the wall where you plan to hang your art. Ensure that the furniture placement and other home decor don’t obstruct or overwhelm the art pieces. Find a balance that allows your art to take center stage and complements the overall aesthetic of the room.
By following these steps to prepare your space, you set the foundation for a successful wall art hanging process. Clearing the area, cleaning the wall, repairing imperfections, priming if necessary, considering wall color, evaluating lighting conditions, and taking furniture placement into account will contribute to creating a harmonious display that allows your wall art to shine its brightest.
Measure and Mark Your Walls
Now it’s time to measure and mark your wall for precise art placement. Follow these itemized steps:
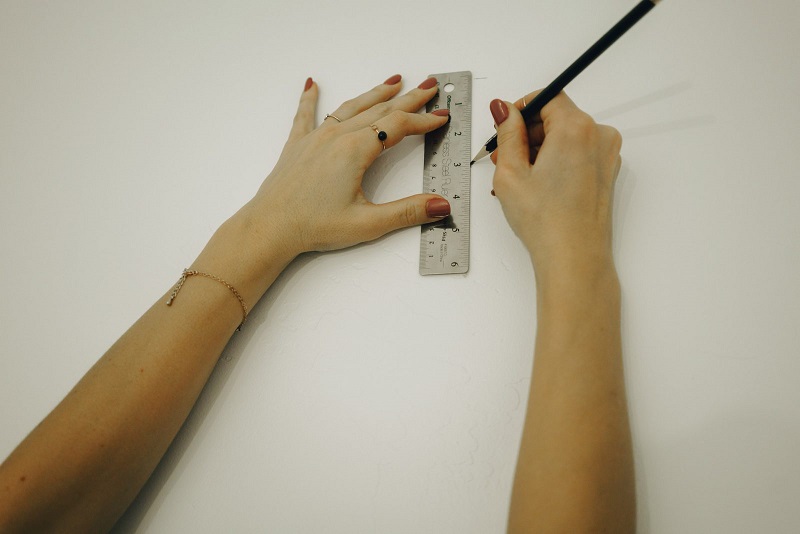
- Gather your tools: Retrieve your measuring tape, level, masking tape or a light pencil, and kraft paper.
- Determine the ideal height: Decide on the desired height at which you want to hang your art pieces. This will depend on personal preference and your wall art sizes. Consider factors such as eye level and the room’s overall aesthetics.
- Measure and mark: Using your measuring tape, measure the distance from the floor to the determined height for each art piece. Mark these spots on the wall with masking tape or make light pencil marks that can easily be erased later. Ensure that the marks are level and aligned with each other.
- Draw a reference line: Take your level and place it horizontally along the marked spots. Adjust it until it shows that it’s perfectly level. With the level in place, draw a straight reference line using a pencil or a piece of masking tape. This line will serve as a guide to ensure that your art hangs straight and aligned.
- Create paper templates: If you plan to hang multiple pieces or create a gallery wall, use kraft paper to create templates. Trace the outline of each frame onto the kraft paper and cut out the shapes. Arrange the paper templates on the wall using masking tape, experimenting with different layouts until you find the desired arrangement. This step allows you to visualize the placement and make adjustments before committing to any holes in the wall.
- Fine-tune the arrangement: Step back and assess the paper templates on the wall. Make any necessary adjustments to spacing, alignment, or overall composition. Take time to find the arrangement that pleases your eye and complements the space.
Measuring and marking the ideal height, drawing a reference line, and creating paper templates for multiple pieces or a gallery wall makes arranging wall art easy. It also allows you to make necessary adjustments before proceeding with the hanging process. This meticulous approach ensures that your art pieces are showcased with precision and artistic flair.
Choose the Right Hanging Technique
When it comes to hanging your large wall art ideas, there are various techniques to suit different situations.
- If you’re working with drywall, use picture hooks or nails to securely hang your artwork.
- For heavier pieces, consider using wall anchors to provide additional support.
- Adhesive hooks or command strips offer a damage-free hanging option, perfect for renters or those who prefer flexibility.
When creating a gallery wall, experiment with different gallery wall layouts and use a level to ensure a visually pleasing display. Remember, the technique you choose should align with the weight, size, and style of your art pieces.
Step-by-Step Wall Art Hanging Process
Now it’s time to put our plan into action and hang that art! Follow these steps to achieve wall art hanging perfection:
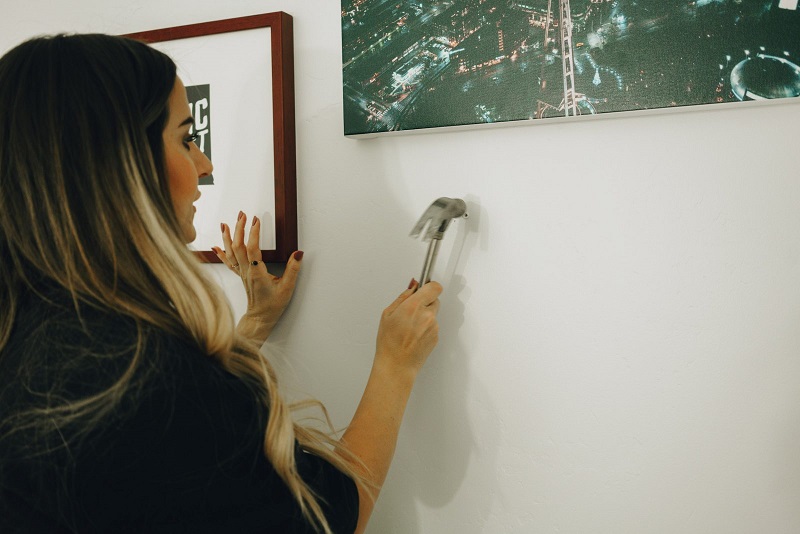
- Locate wall studs using a stud finder for added stability.
- Measure and mark the desired height for each piece.
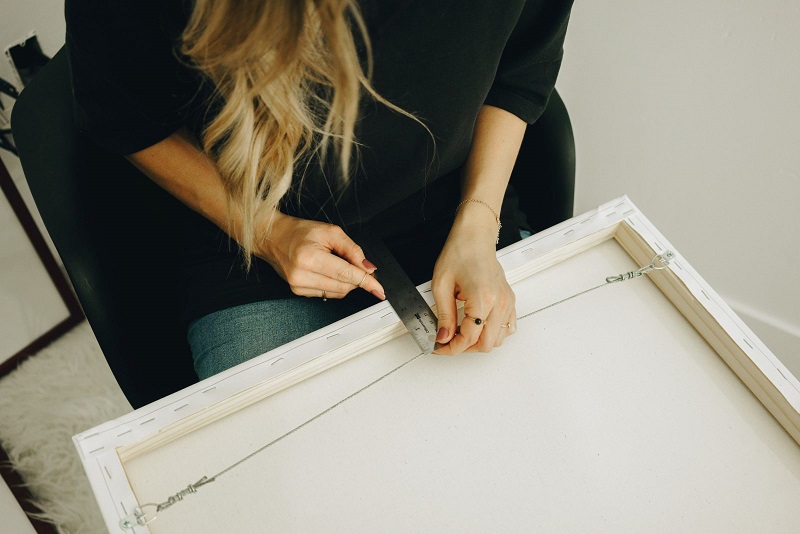
- Install the appropriate hanging hardware on the back of your frames or canvases.
- Place the frame or canvas on the wall, aligning it with the marked spot.
- For heavier pieces, use wall anchors to securely fasten them to the wall.
- Double-check the level of your art and make any necessary adjustments.
- For a gallery wall, repeat the process for each piece, ensuring proper spacing and alignment.
- Stand back and admire your perfectly hung wall art, reveling in the sense of accomplishment!
Troubleshooting Tips
Hanging wall art isn’t always a smooth-sailing adventure, but fear not! Here are some troubleshooting tips to help you navigate common challenges:
- If your art is hanging unevenly, use a level to readjust and ensure a balanced display.
- When working with delicate walls or rented spaces, consider using adhesive hooks or command strips for damage-free hanging.
- If you accidentally make a hole in the wrong place, use a spackle to fill it and touch it up with matching paint.
Remember, mistakes happen, and they often lead to unexpected creative solutions!
Additional Considerations
As you embark on your wall art hanging journey, keep these additional considerations in mind:
- Unconventional surfaces: If you’re hanging art on brick, tile, or other non-traditional surfaces, utilize specialized hanging hardware designed for these materials.
- Specific room considerations: Bathrooms and kitchens require moisture-resistant art or protective frames to withstand humidity and potential splashes.
- Rented spaces: If you’re renting, explore alternative hanging options that won’t damage the walls, such as removable adhesive hooks or leaning art against the wall.
Remember, creativity knows no boundaries, so adapt these tips to fit your unique circumstances and make your wall art display truly yours.
Armed with the right tools, techniques, and a sprinkle of creativity, you can turn your blank walls into captivating displays of hanging art that showcase your personal style. Remember to measure twice, hang once, and trust your instincts. Embrace the joy and satisfaction that comes with transforming your space into a gallery of self-expression. So, grab that hammer, get your favorite art pieces ready, and let the hanging adventure begin!
If you’re looking to add more wall art to your adorned walls, look to Society6! With a variety of designs and sizes, there’s wall art for everyone.
Comments